HOME ➔ Gaming ➔ Guides ➔ Resident Evil 0 ➔ Walkthrough ➔ Walkthrough #2 - The Training Facility
Resident Evil Zero Walkthrough #2
The Training Facility
Posted Jan 21, 2023
List of Walkthroughs
Introduction #1 The Train #2 The Training Facility (Current Page) #3 The Laboratory #4 The Factory #5 The Treatment PlantWalkthrough #2 - The Training Facility
After you wake up, all items that you've dropped in the train will be scattered around;
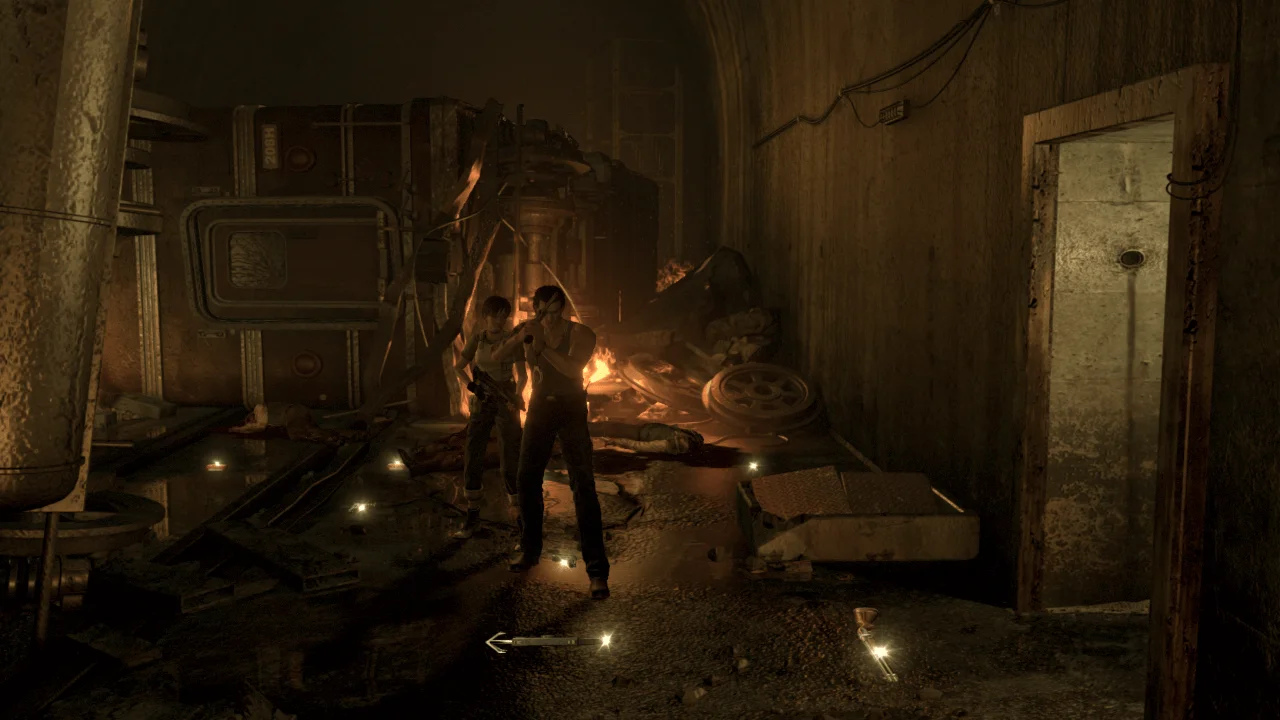
Pick up the Hookshot if you dropped it and leave the area.
After the cutscenes, drop the Hookshot near the stairs (you won't need it for now)
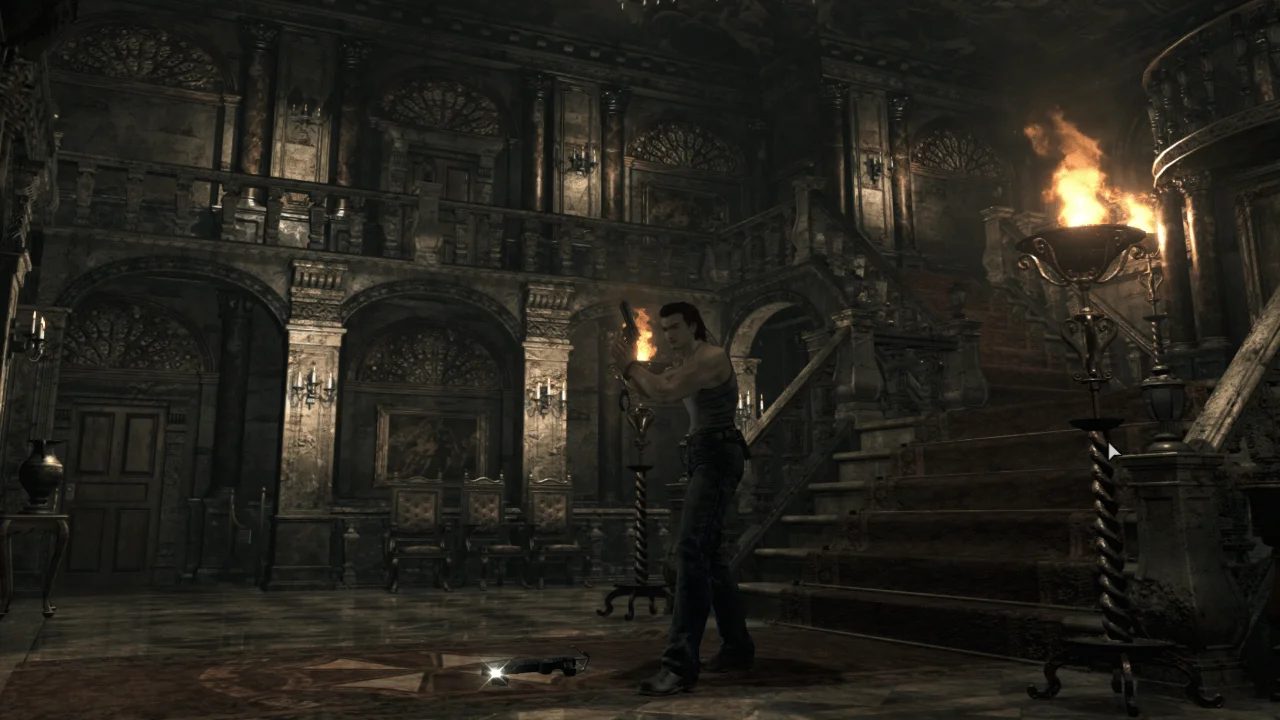
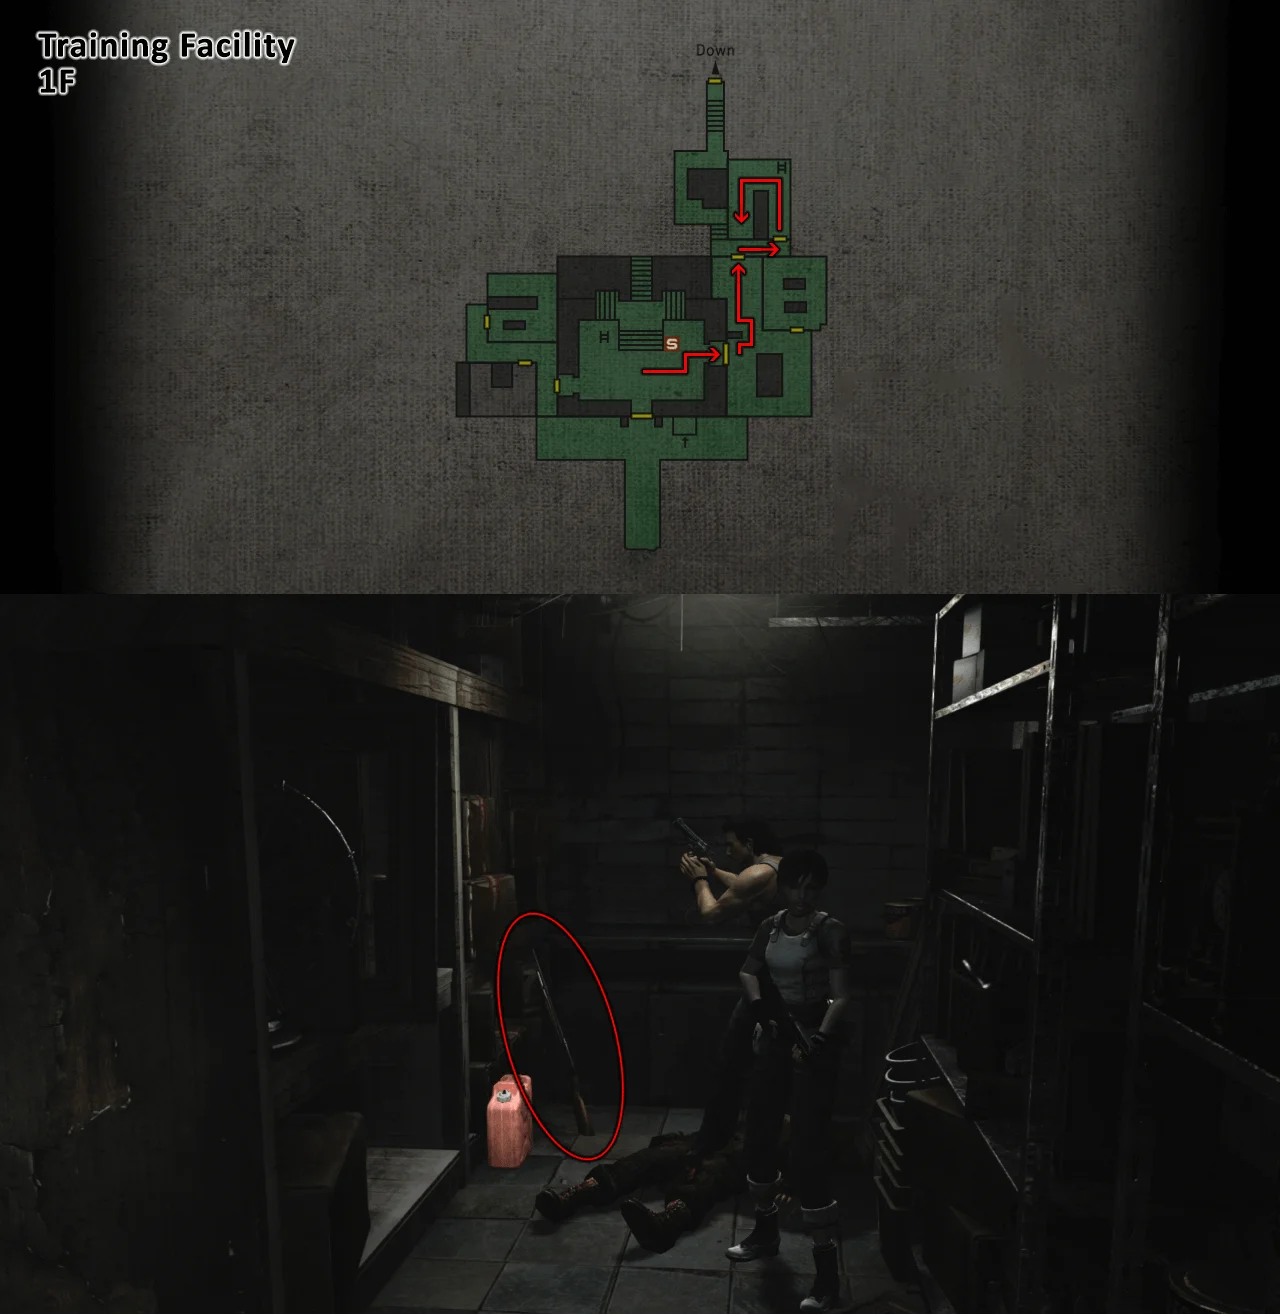
Now go right to the storage room to pick up a better Shotgun
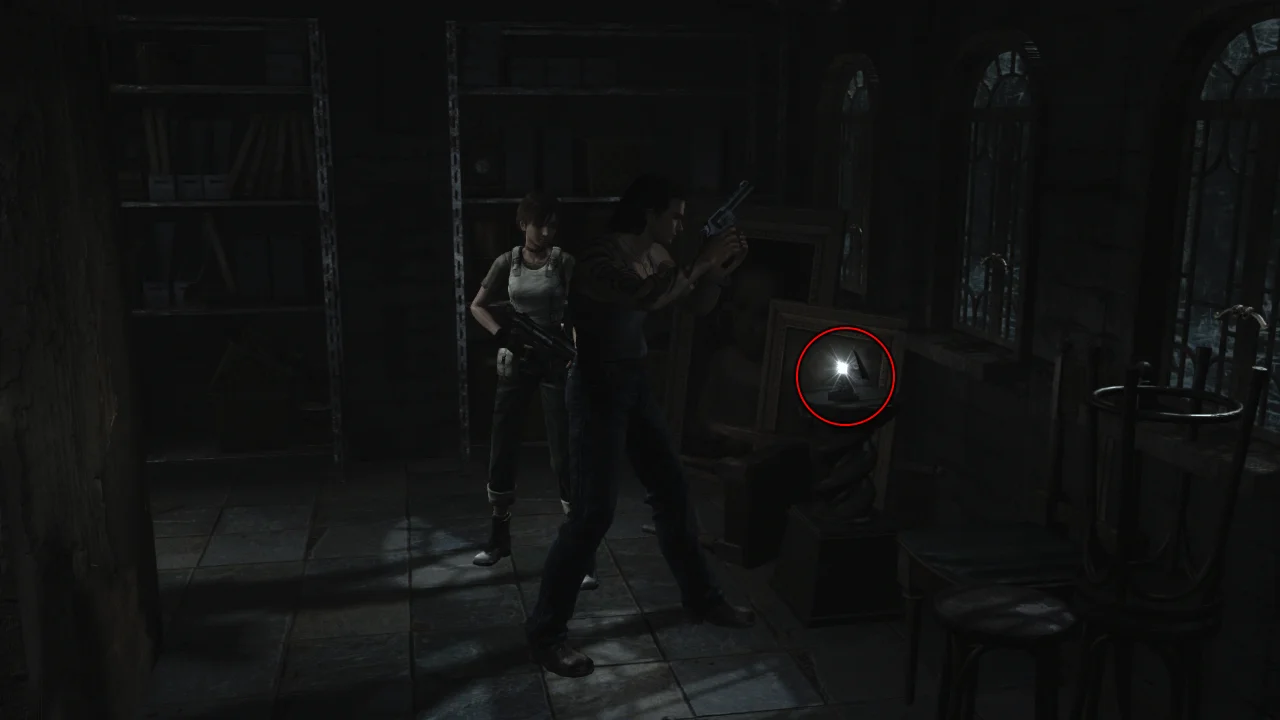
Pick up the Black Statue
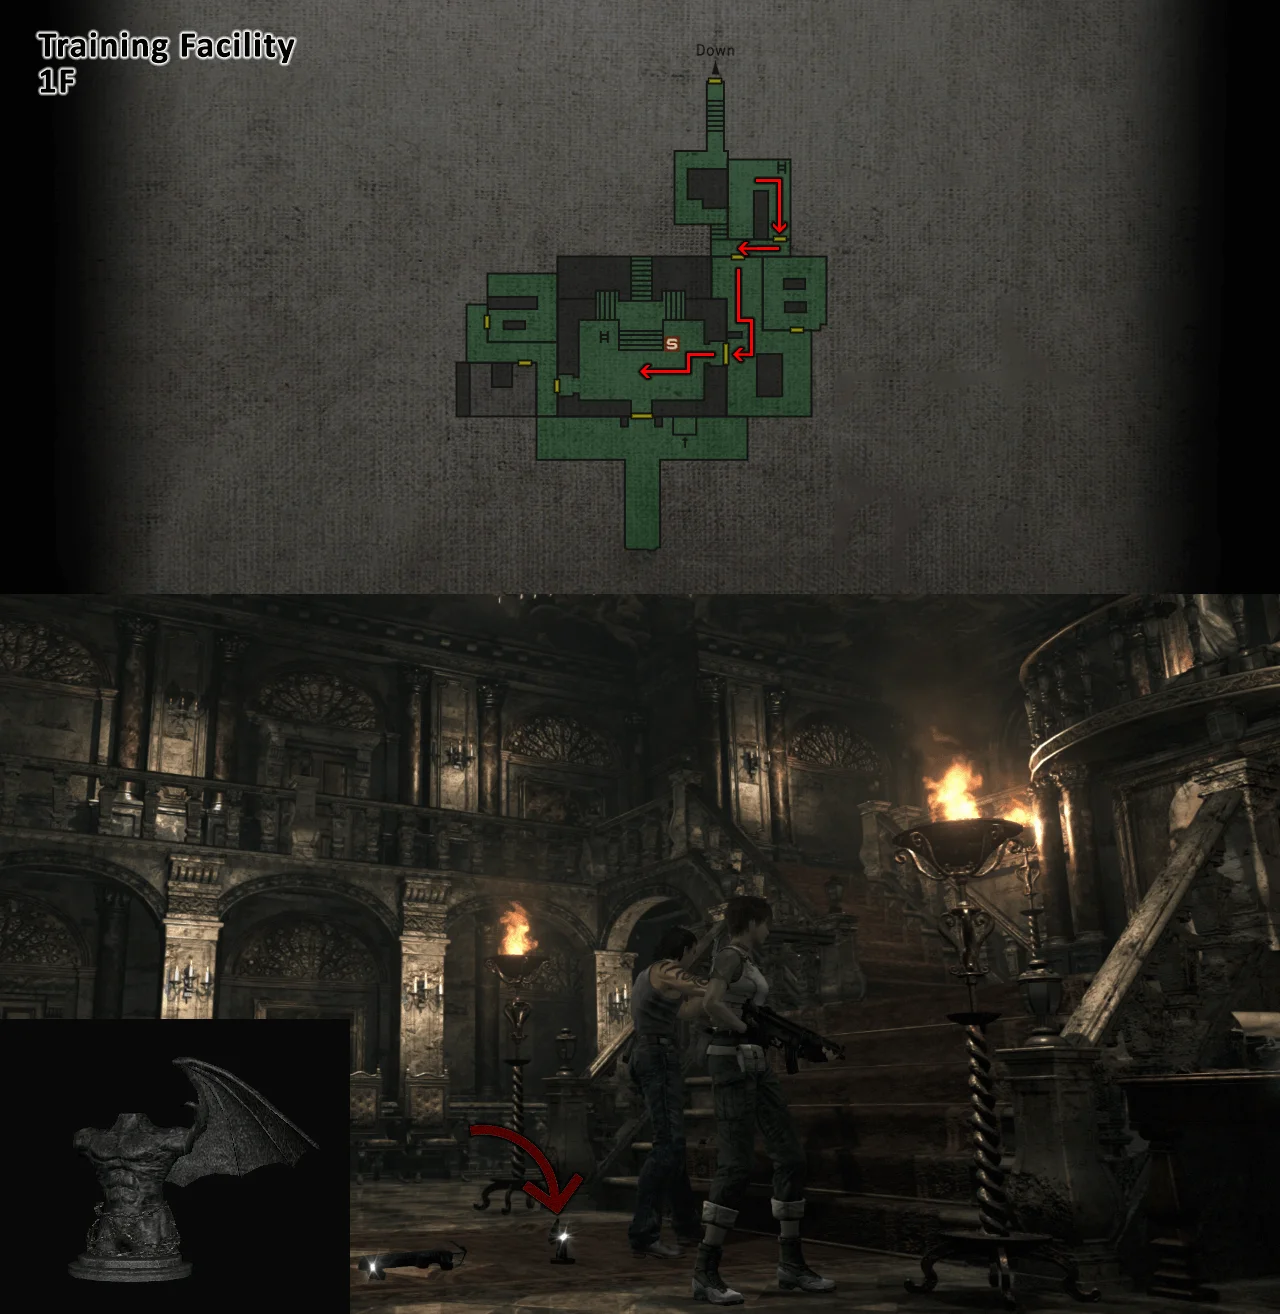
Drop the Black Statue near the stairs along with the Hookshot to save inventory space (you will pick it up later)
Go to the room upstairs
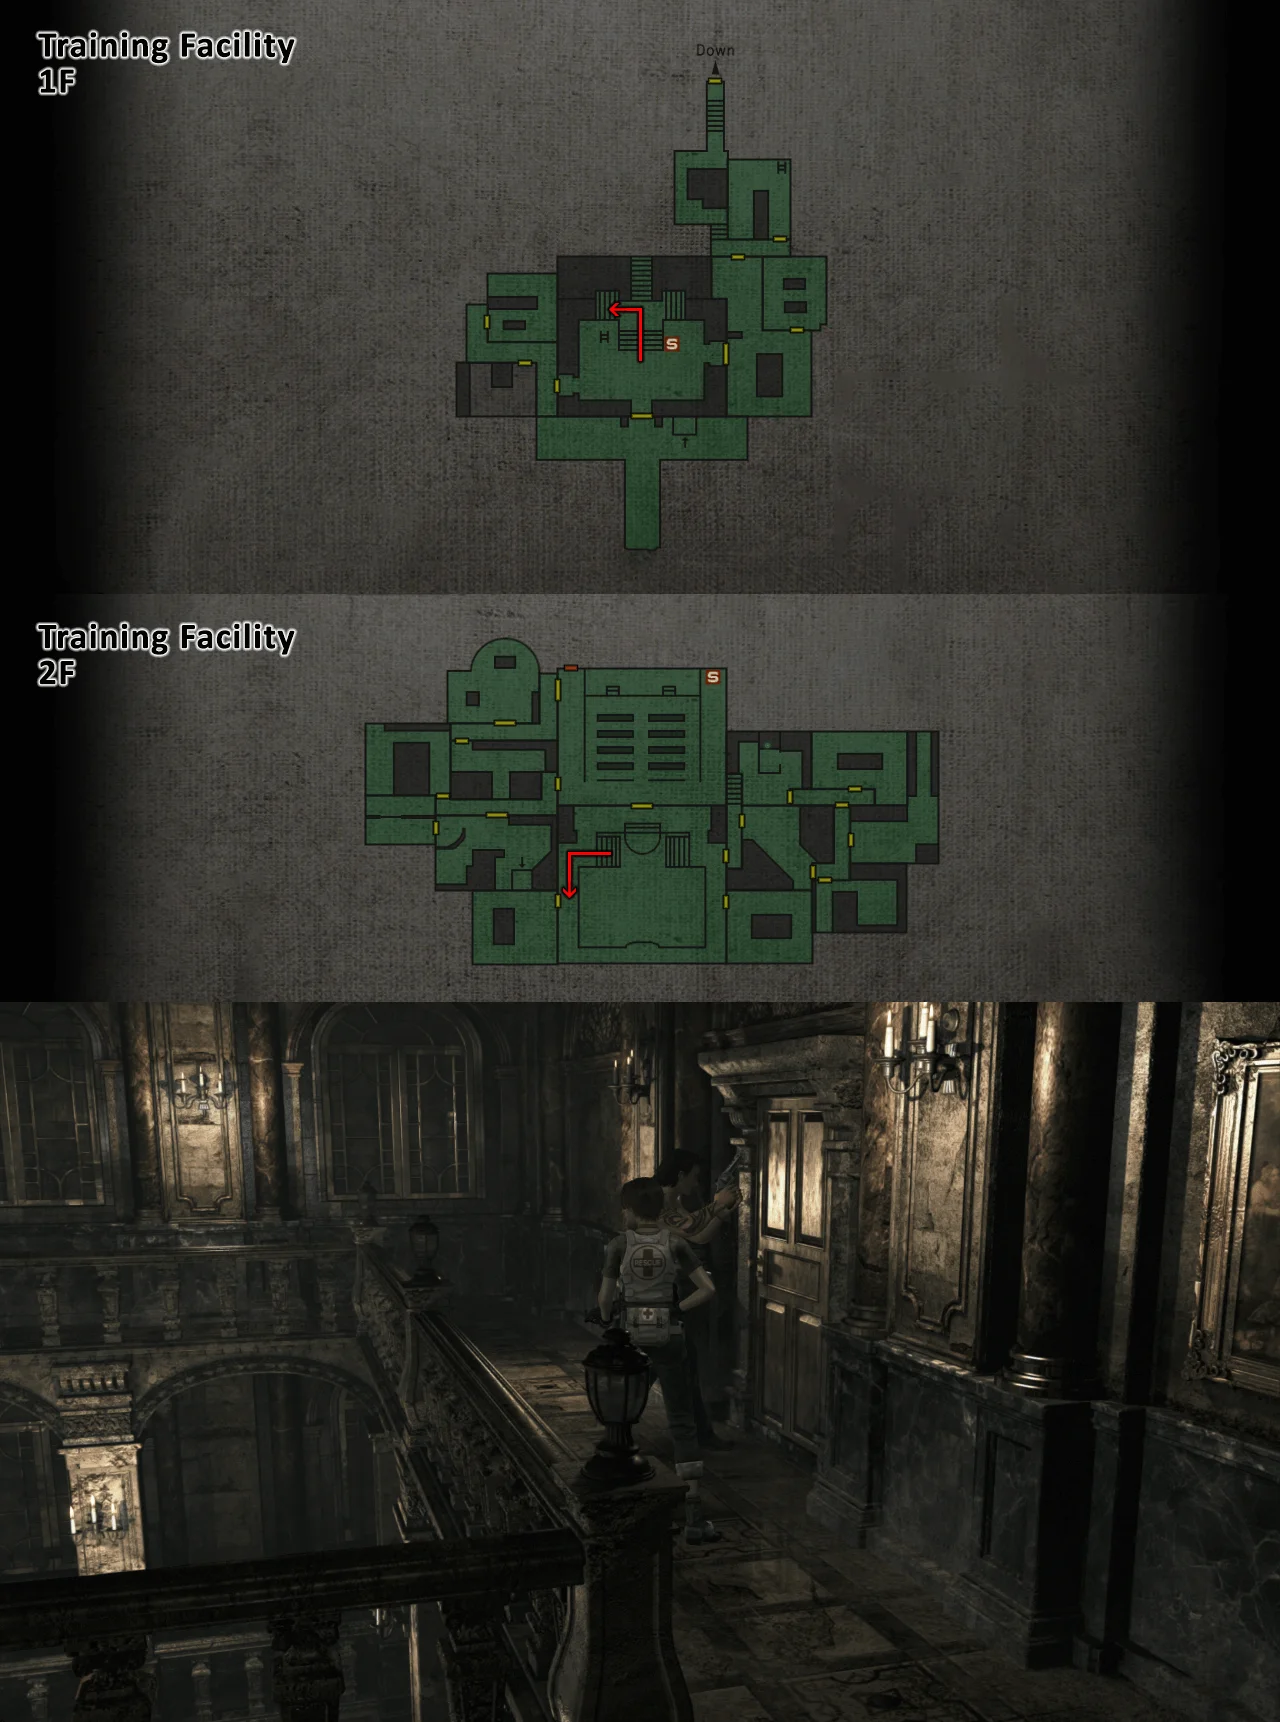
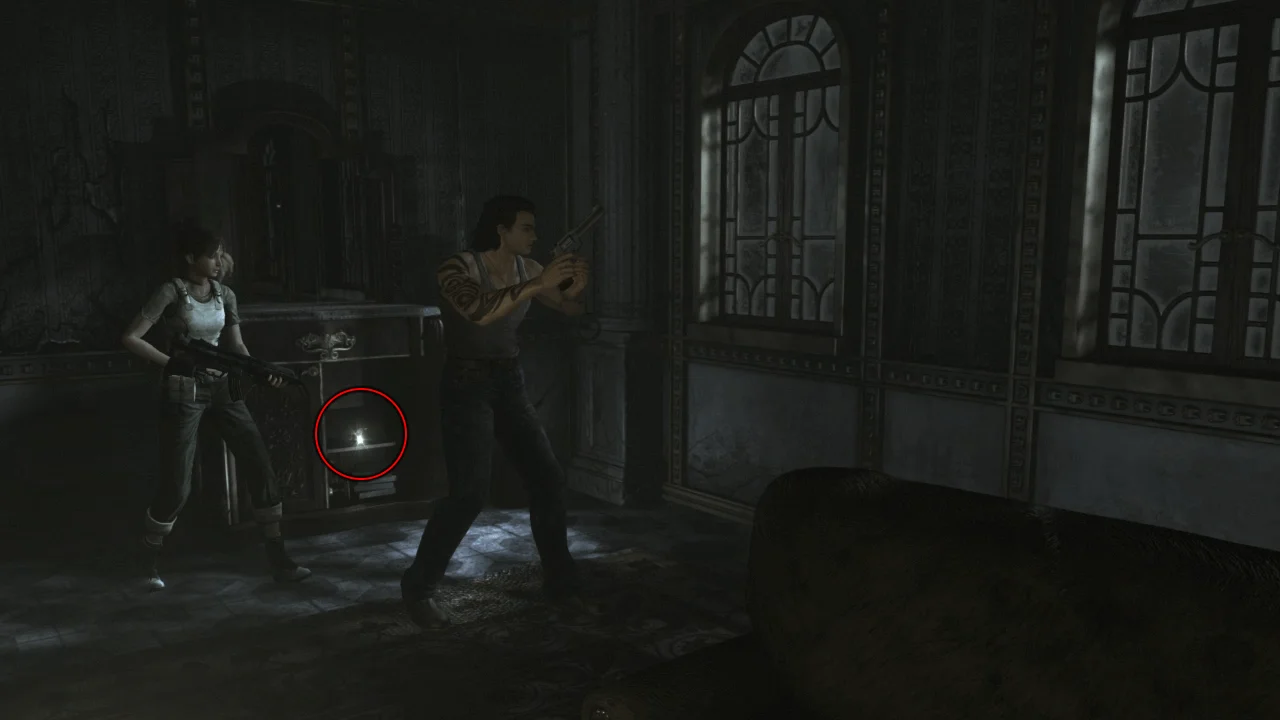
Pick up the Crank Handle and leave the room immediately (no need to waste ammo on the crows)
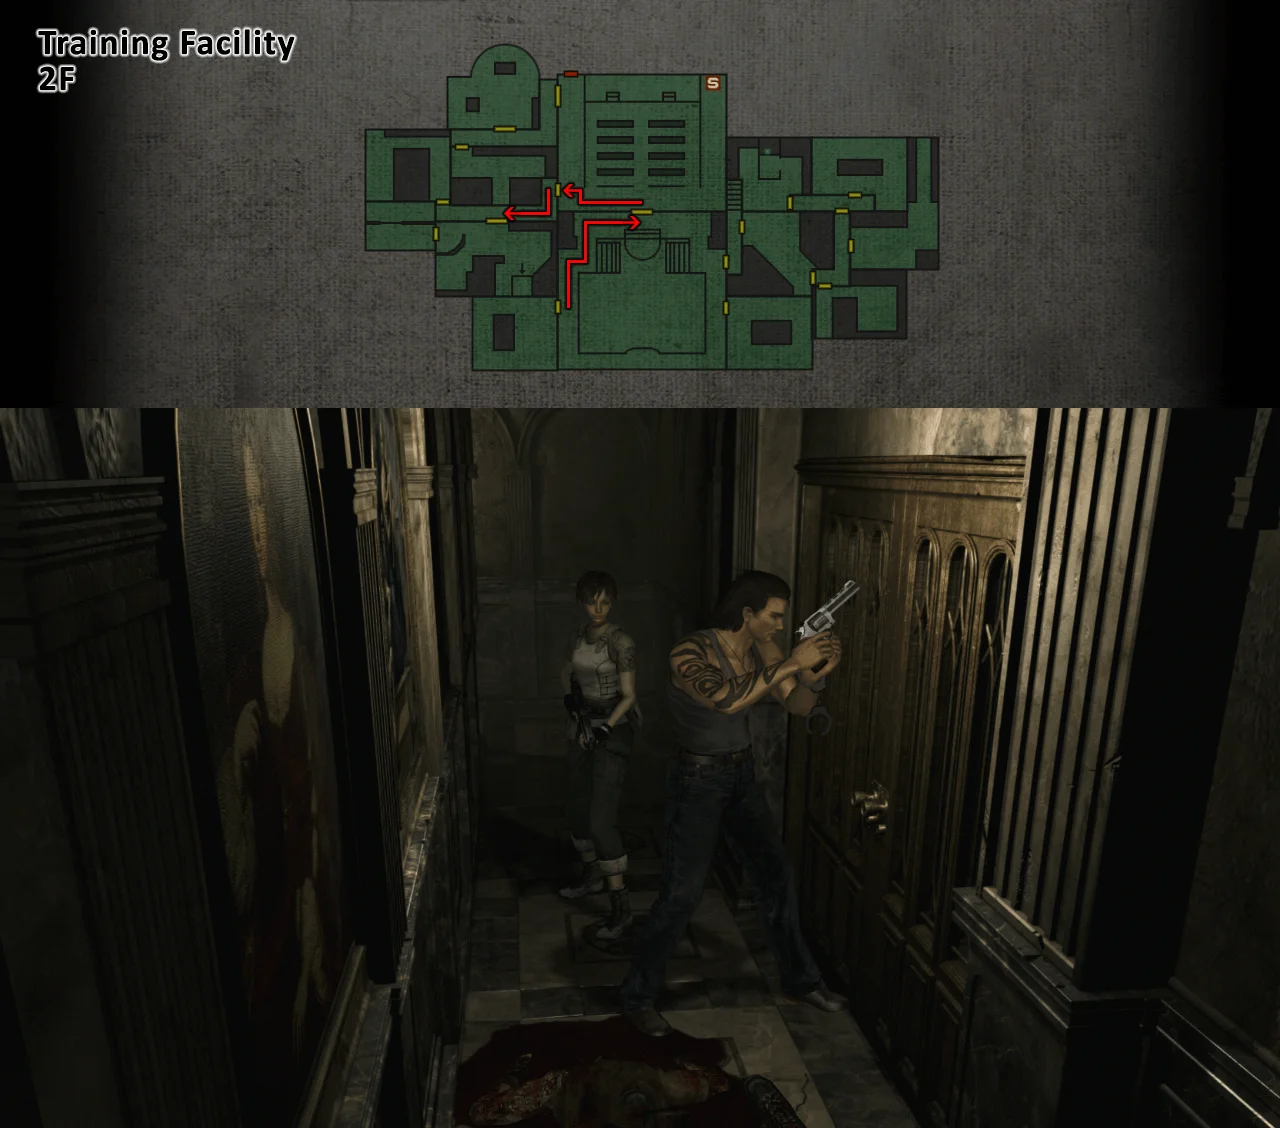
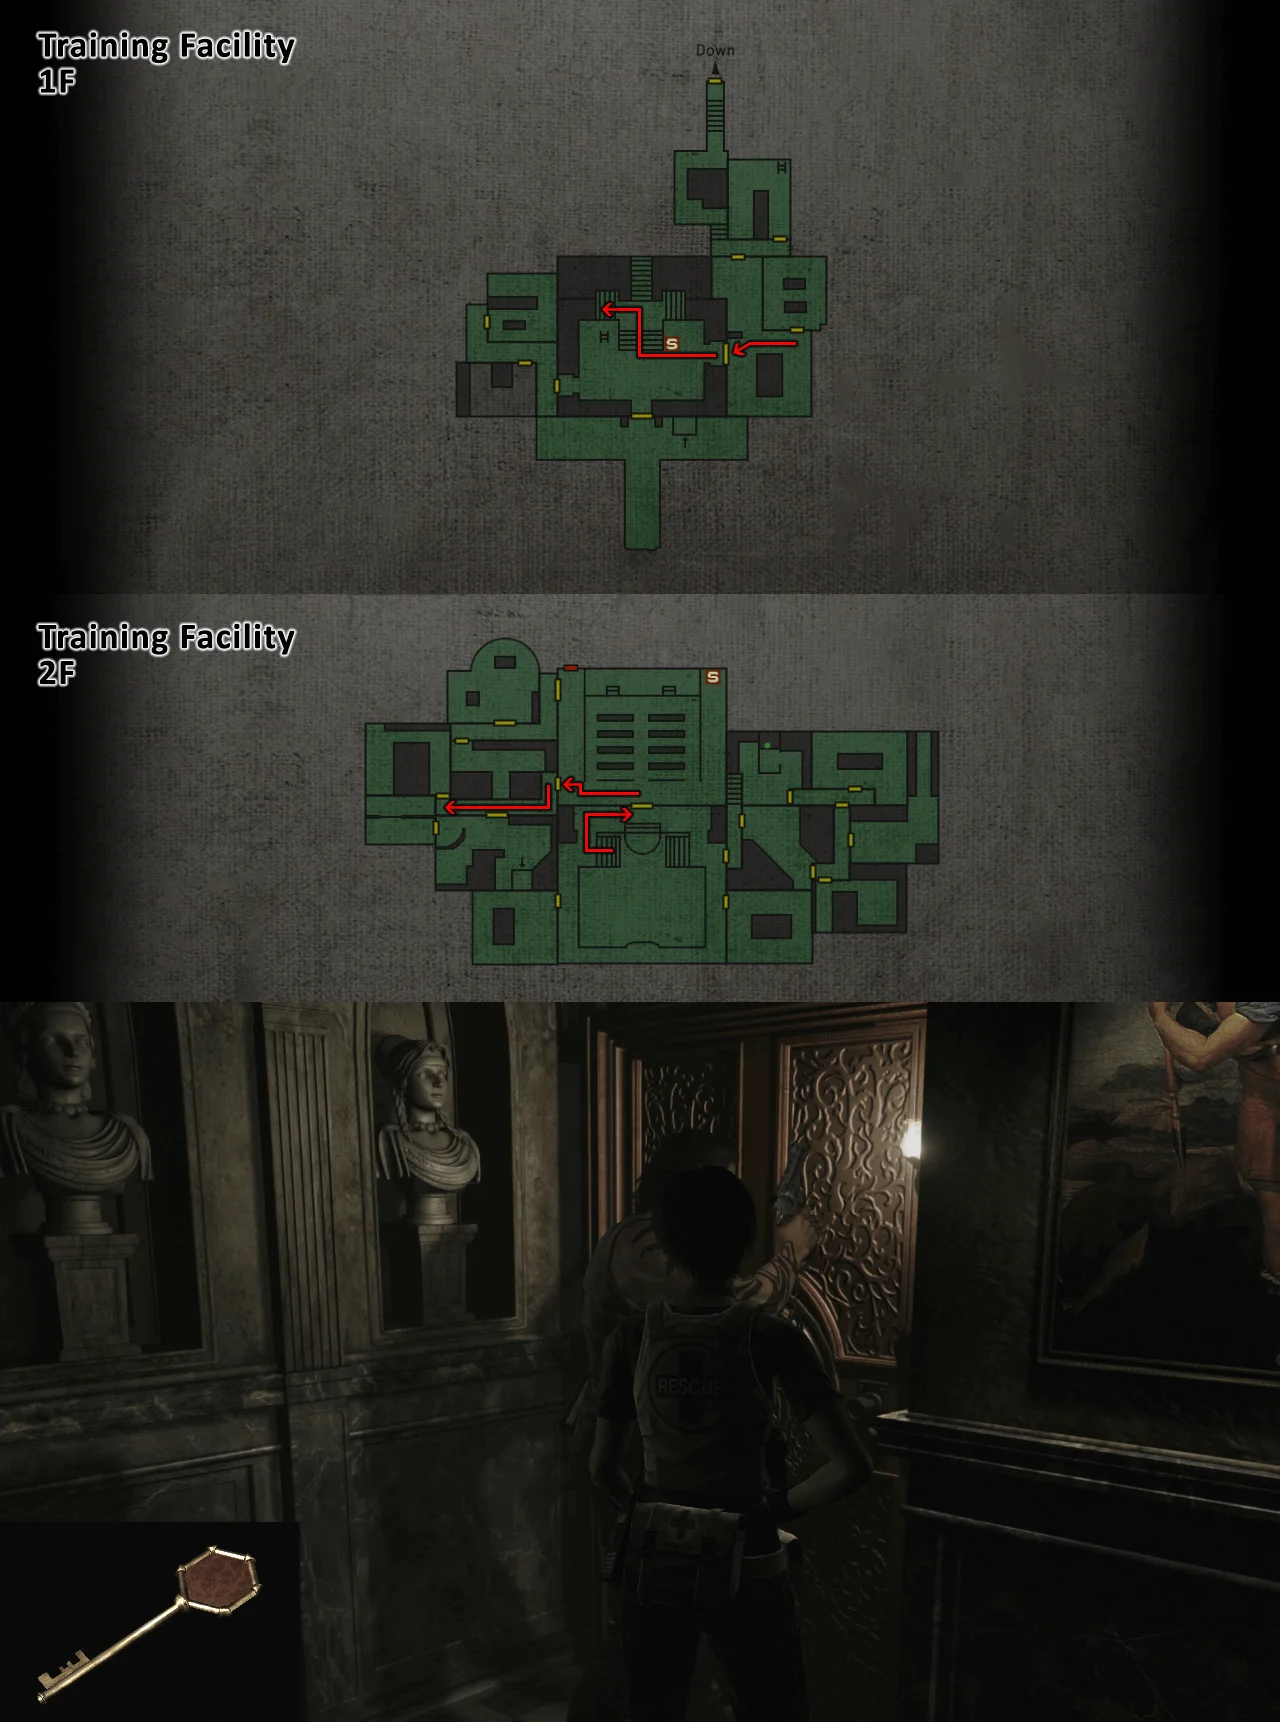
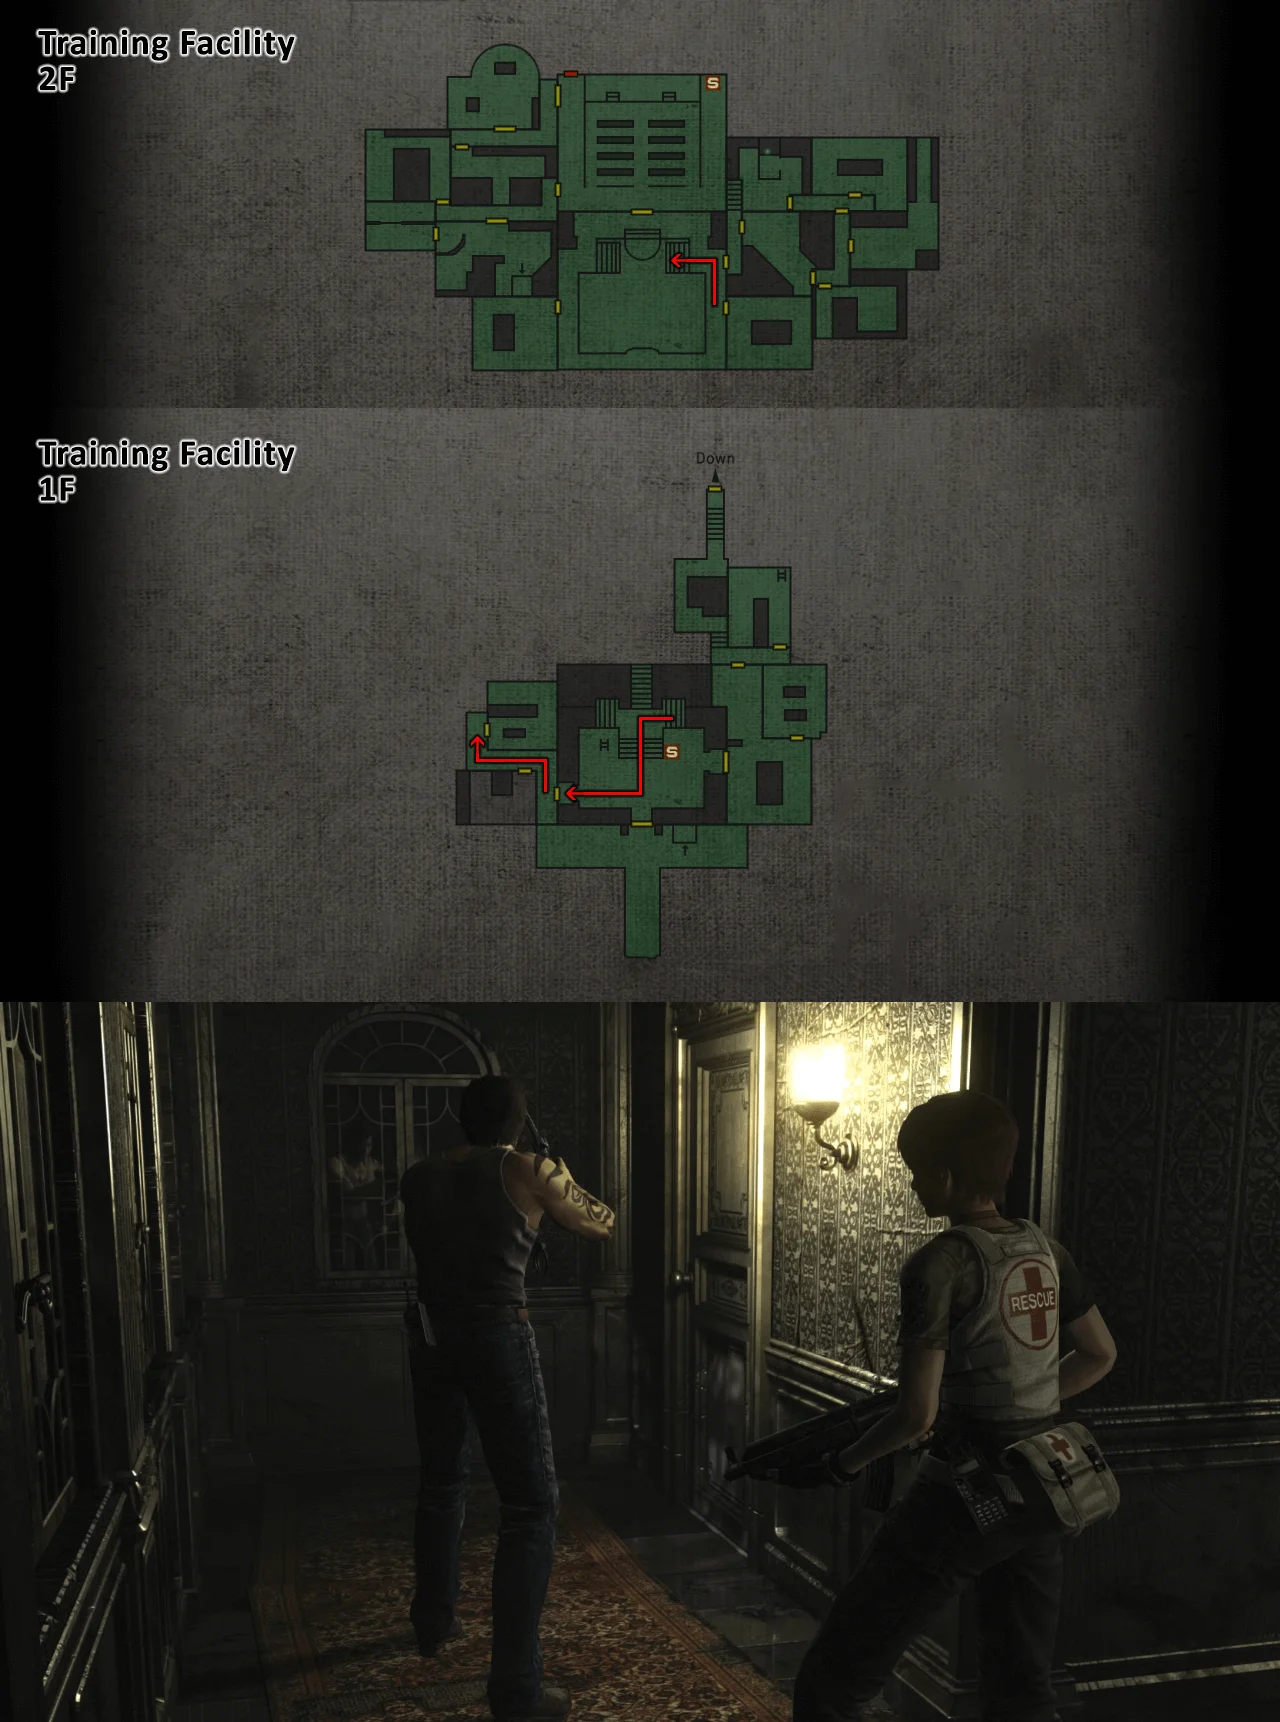
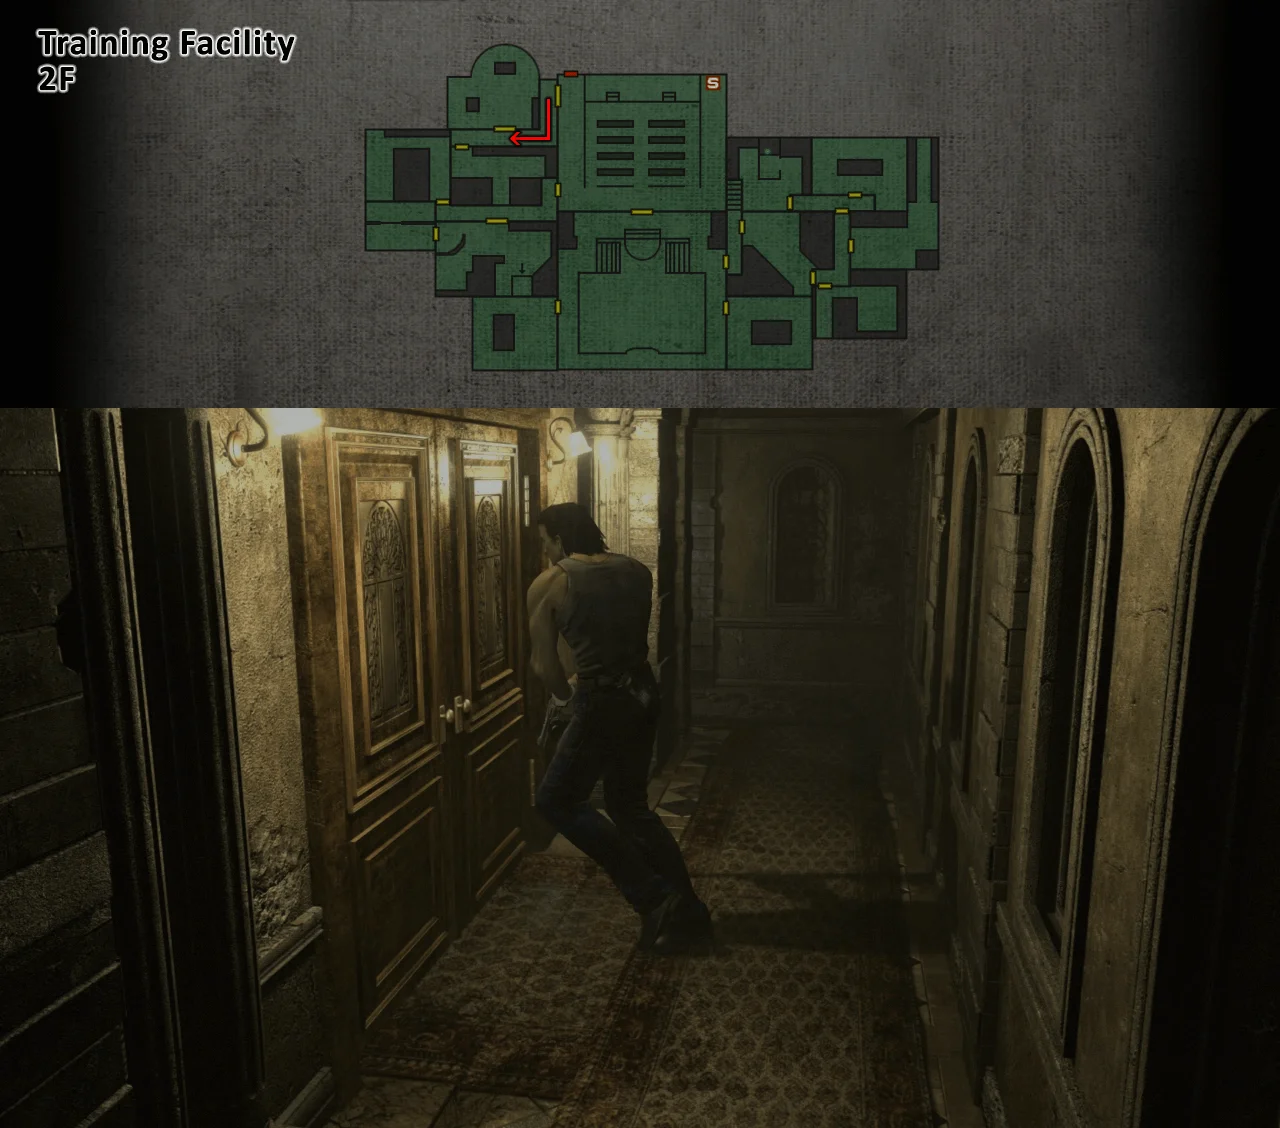
Follow the directions on the map below to the library
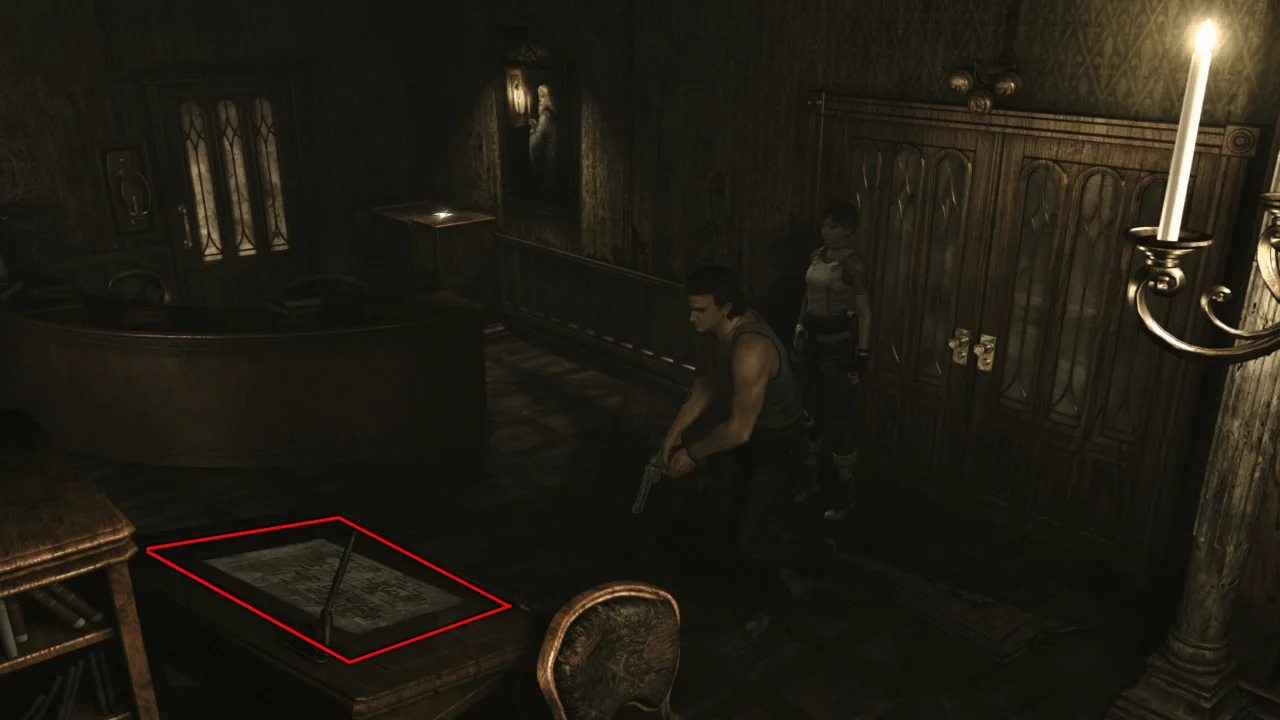
Pick up the Training Facility Map
In the same room, put Rebecca on the platform and use the Crank Handle using Billy to send her up.
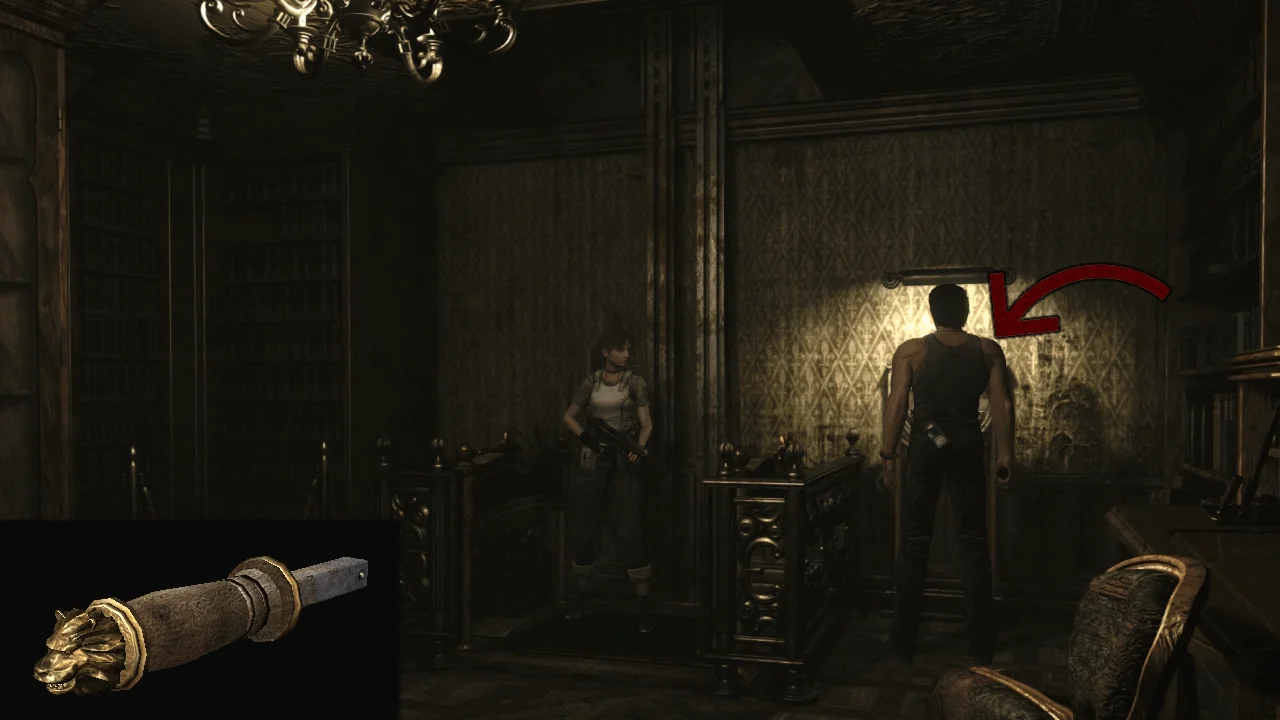
Once up, two insects will attack you, you can put them down or just dodge them to save ammo;
Go unlock the door for Billy
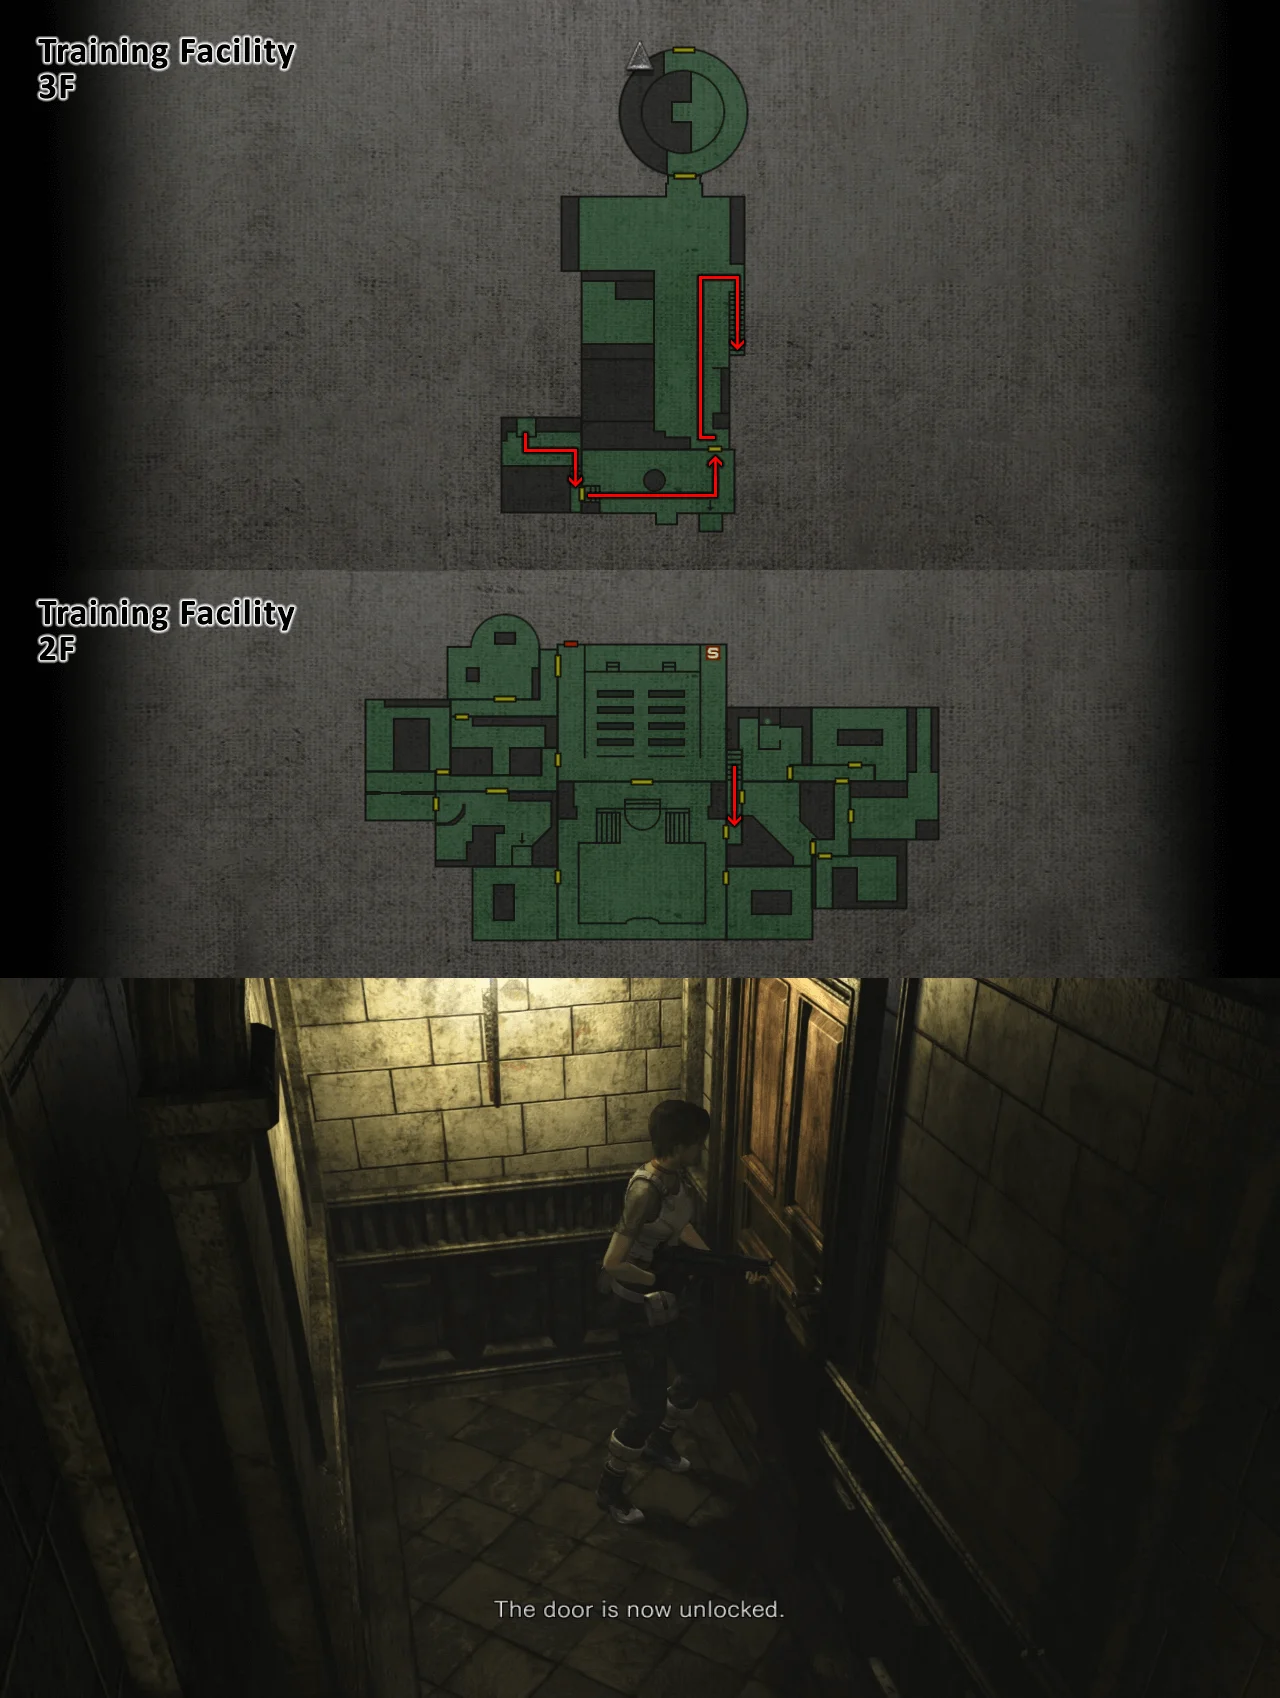
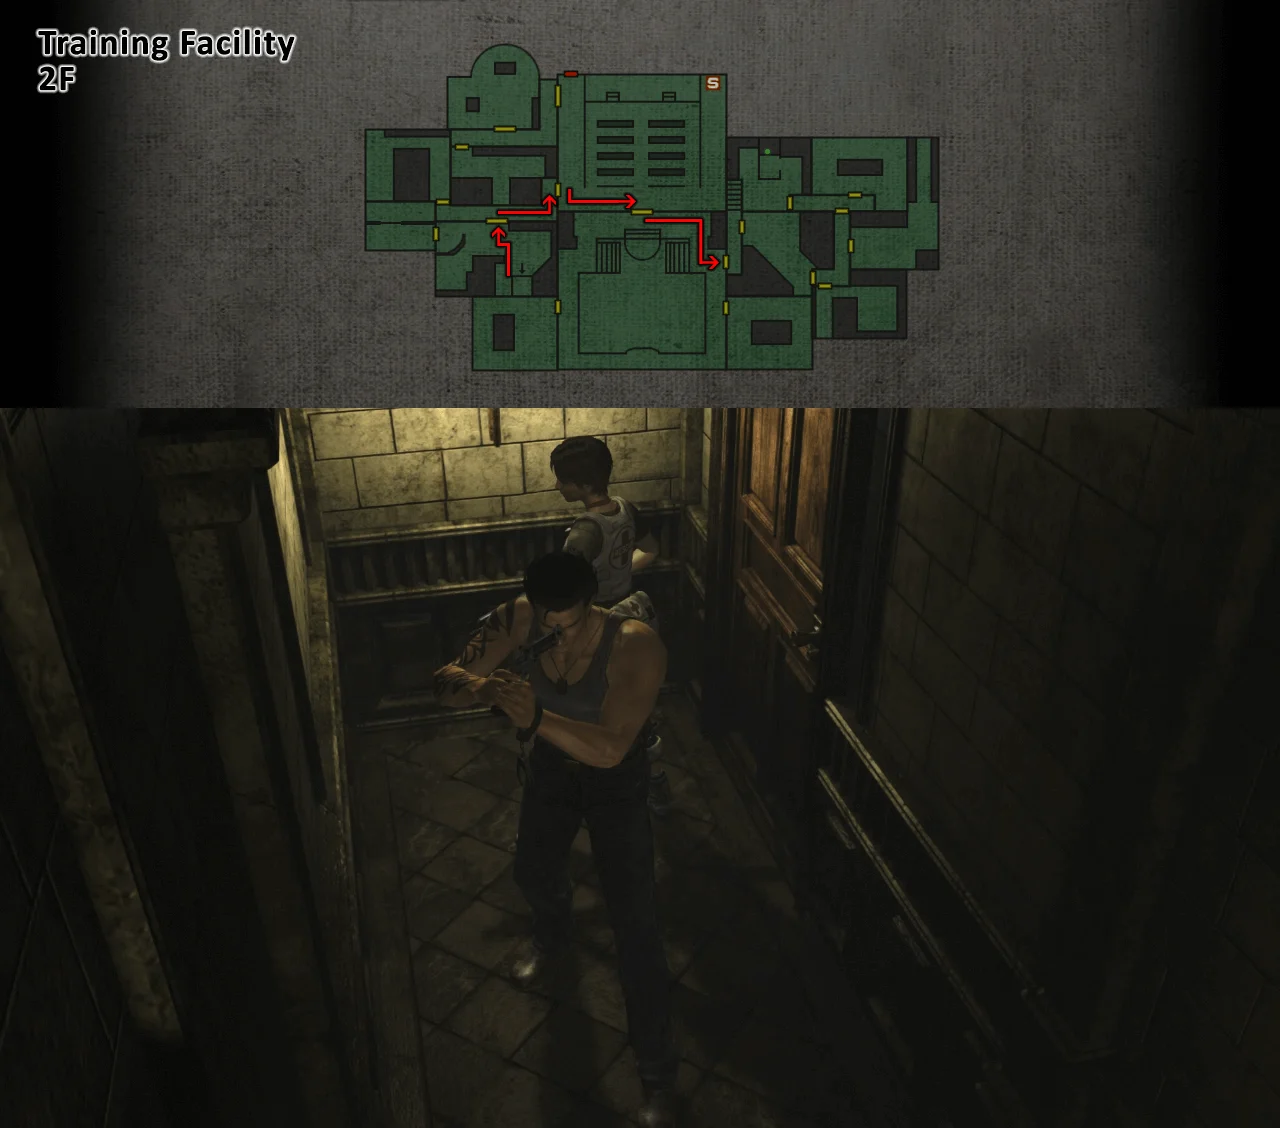
Switch to Billy and reunite with Rebecca
Now go upstairs and start the machine for winding the chain using Billy then use Rebecca to get down the ladder
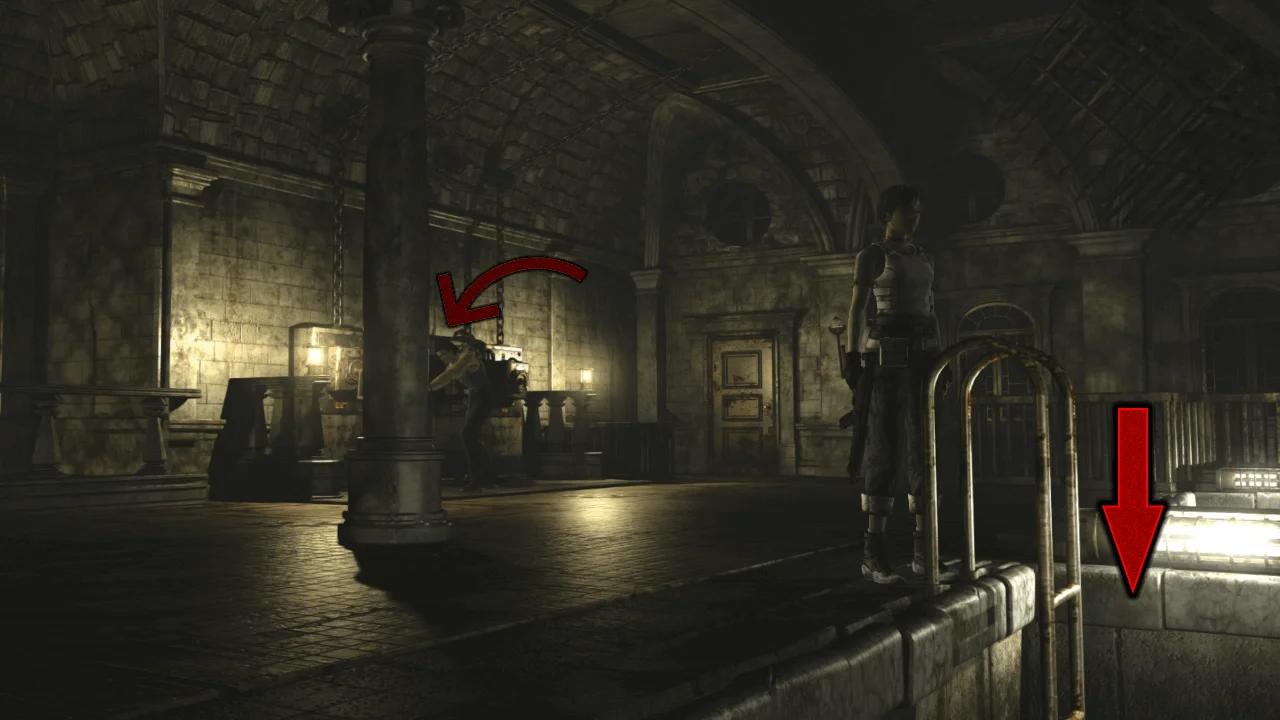
Pick up the Fire Key and get ready to fight the second Boss, Centurion the Centipede
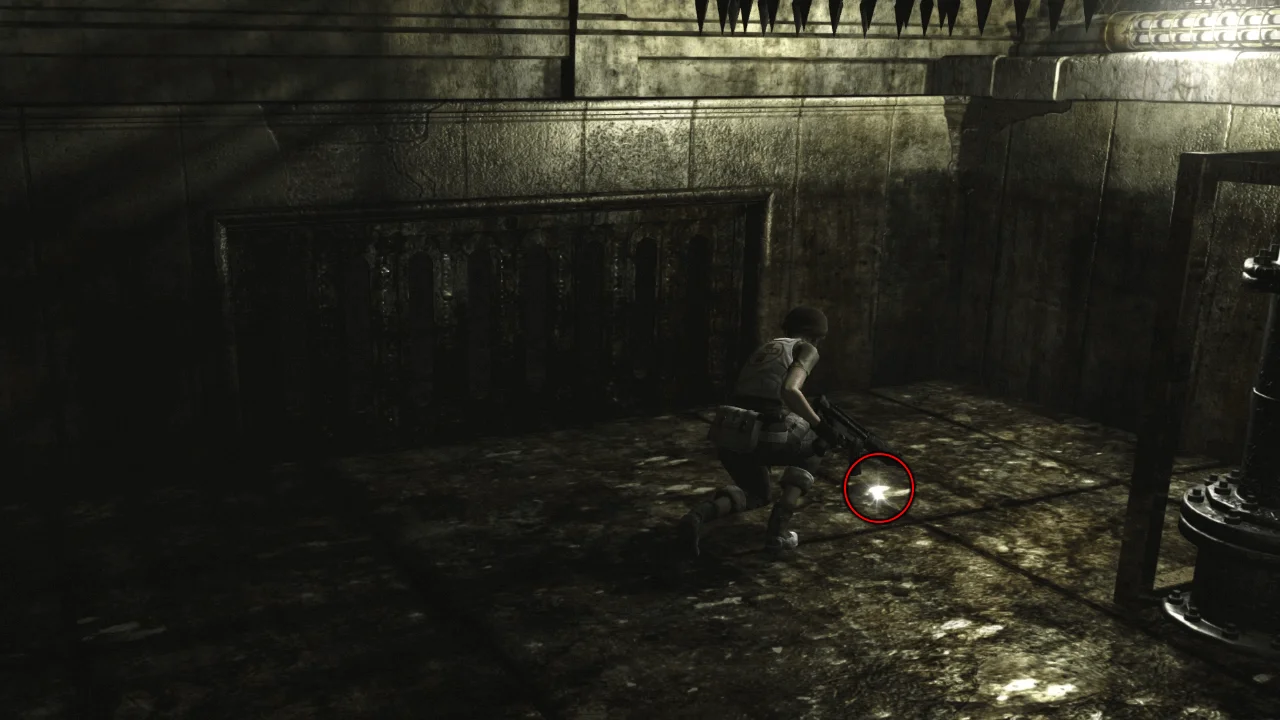
Nothing special with Centurion, just stay out of its way and shoot it with your shotgun
Here is a video on defeating Centurion:
Youtube Video
After defeating Centurion, go to the room downstairs
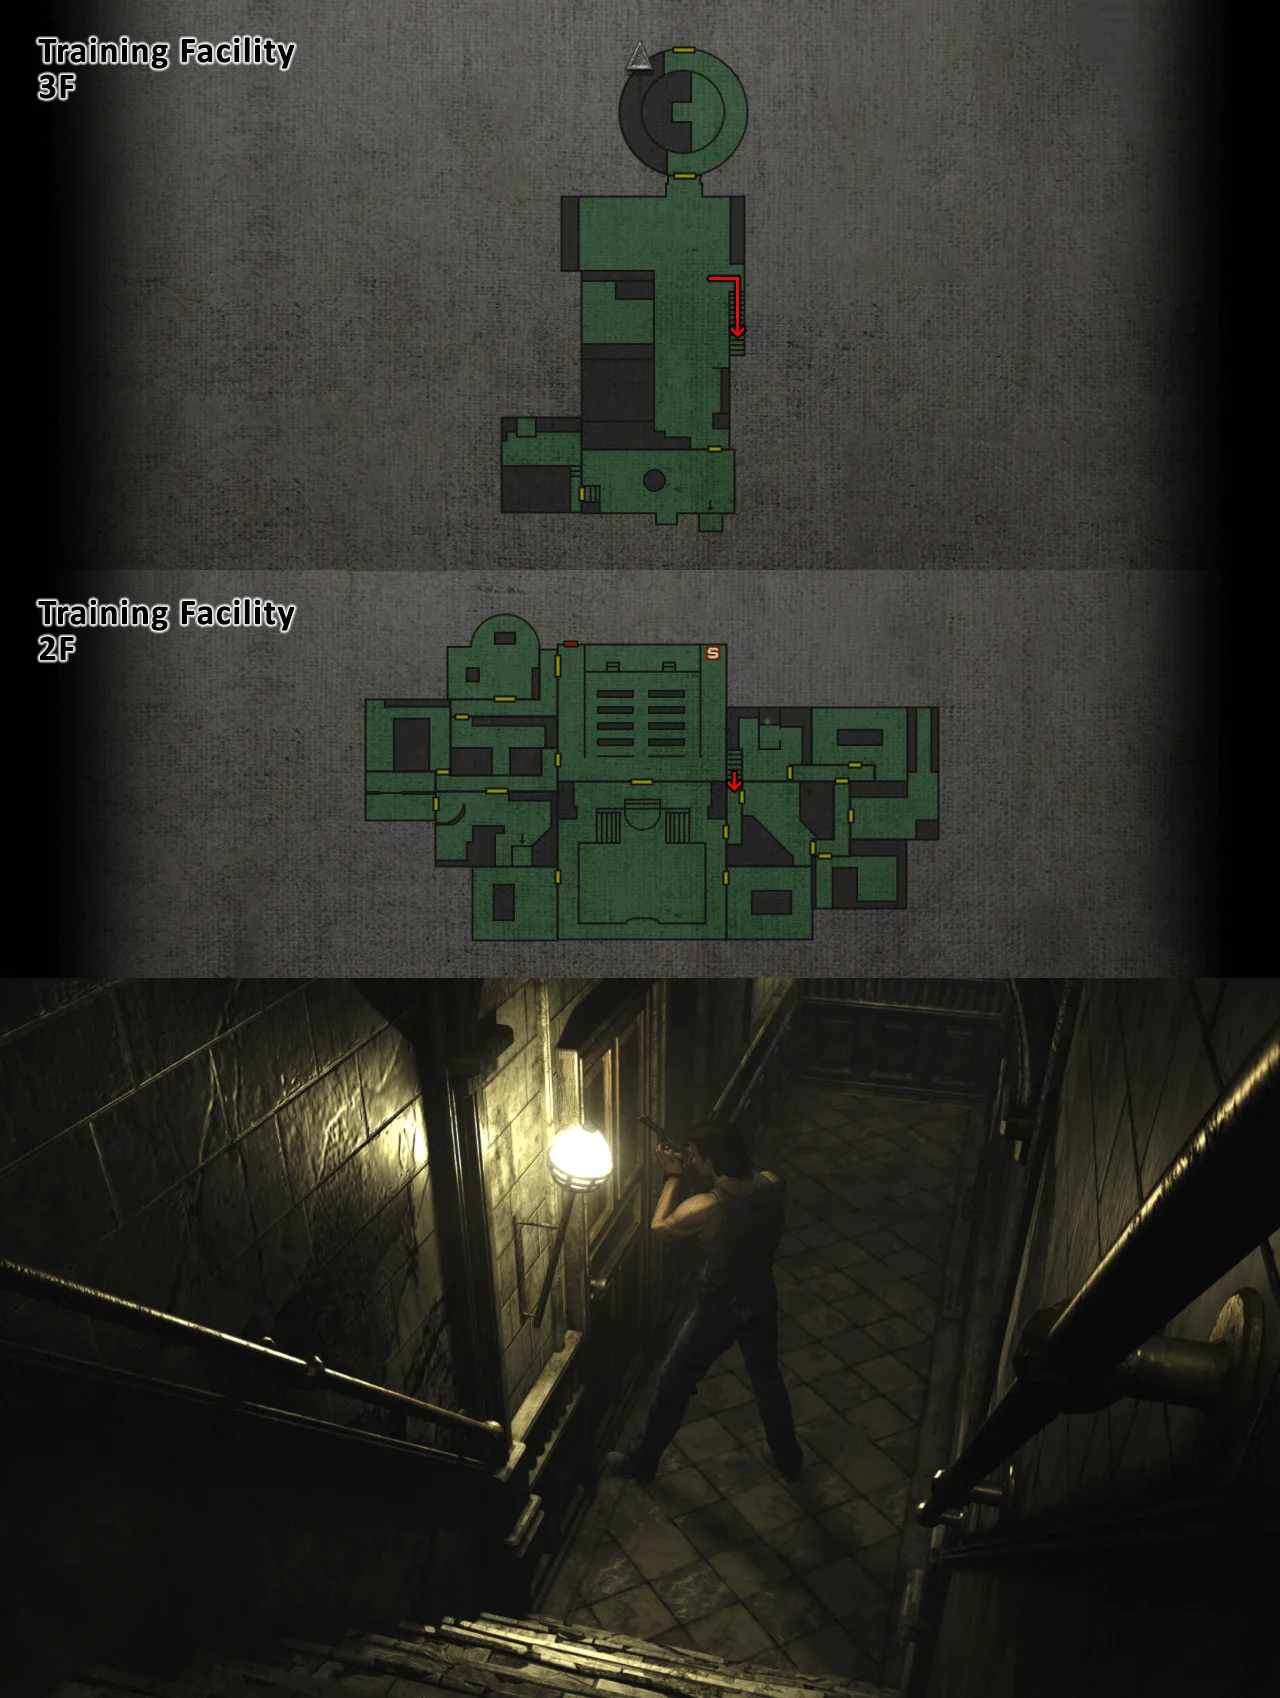
Pick up the White Statue and the Grenade Launcher
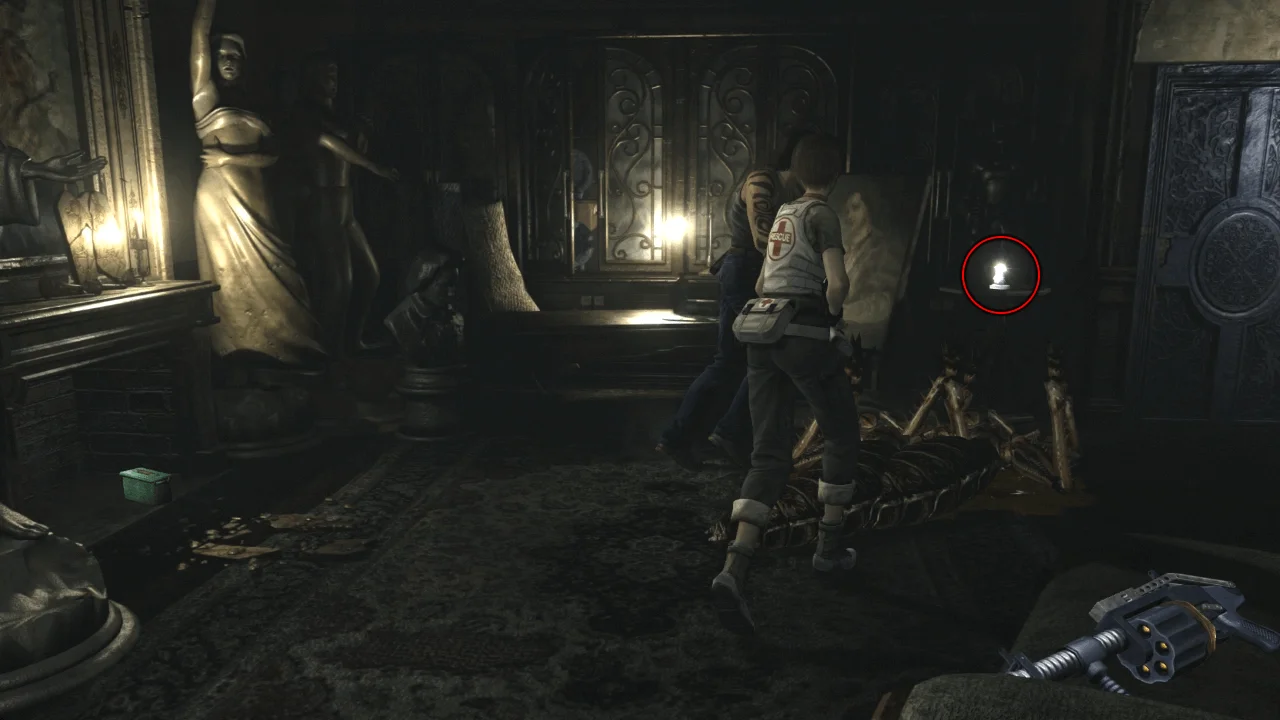
Go downstairs and unlock the red door to the kitchen using the Fire Key
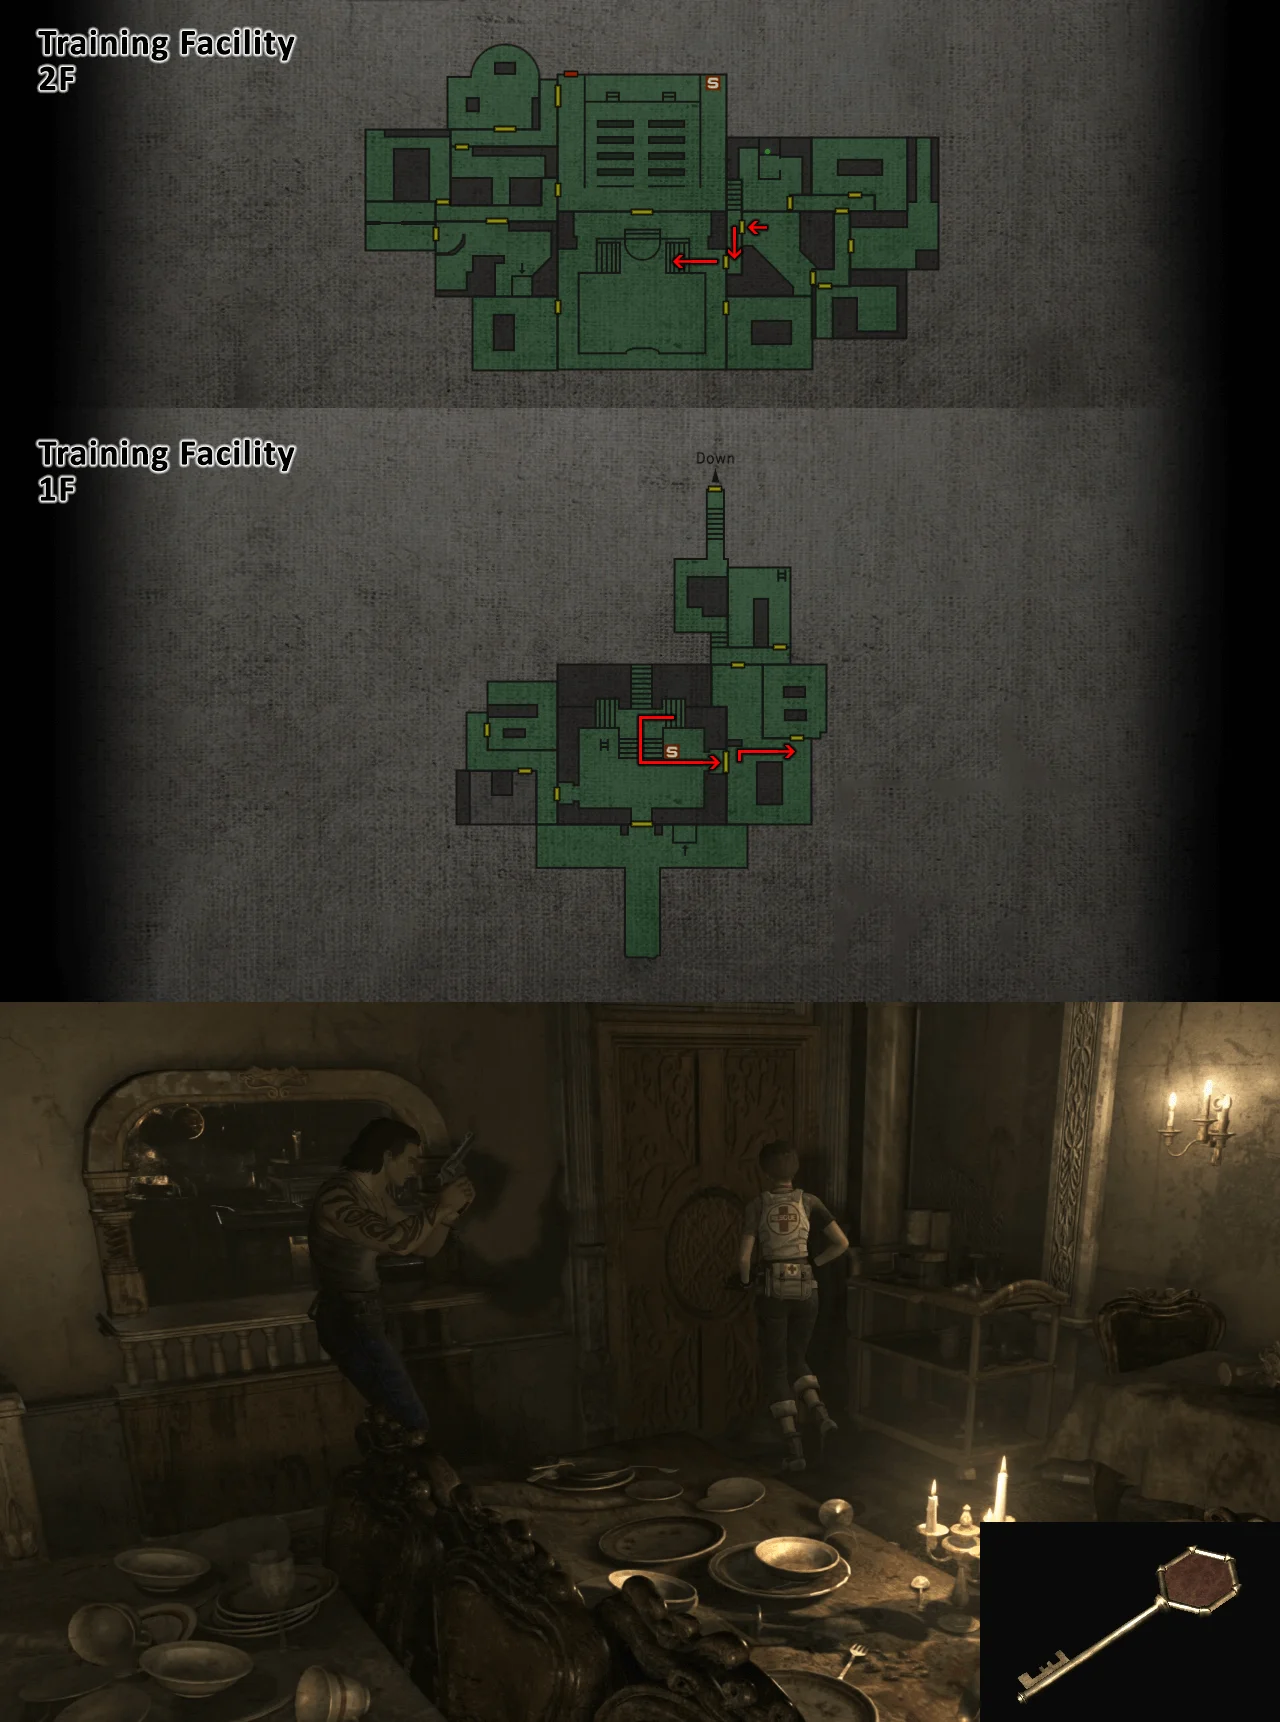
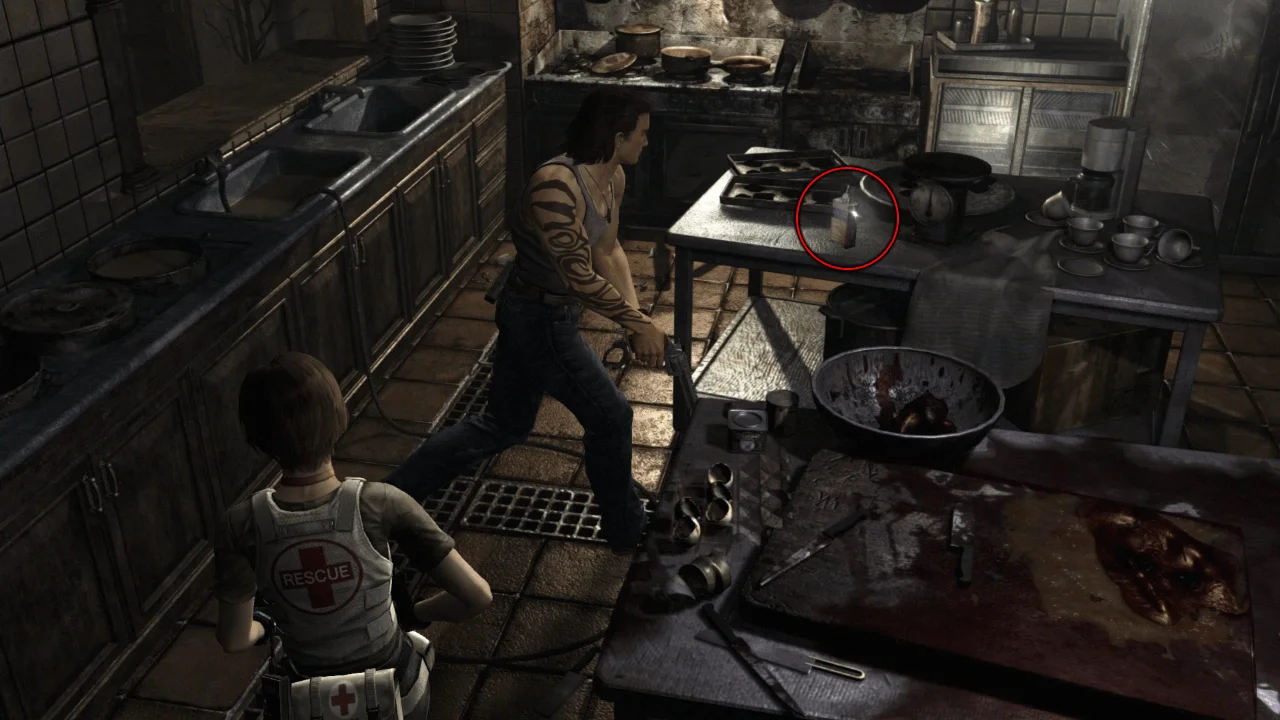
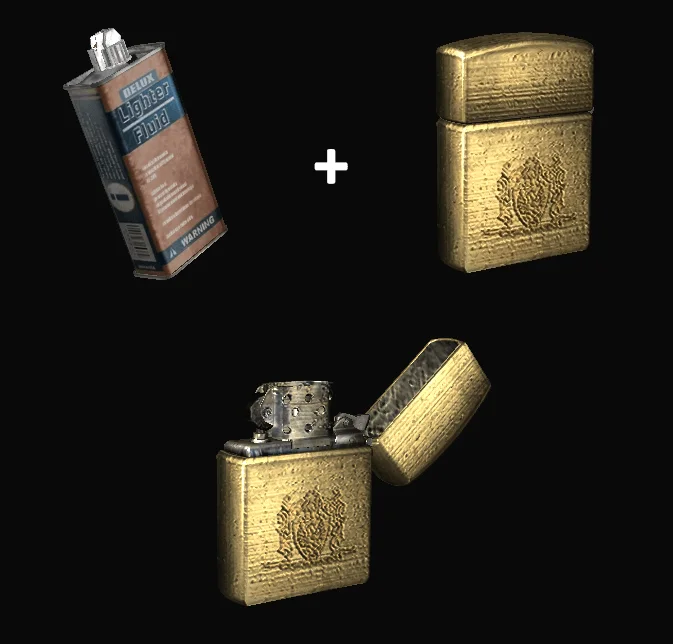
Pick up the Lighter Fluid and combine it with Billy's Lighter
Exit the kitchen and go open the second red door using the Fire Key
Push the table to the end
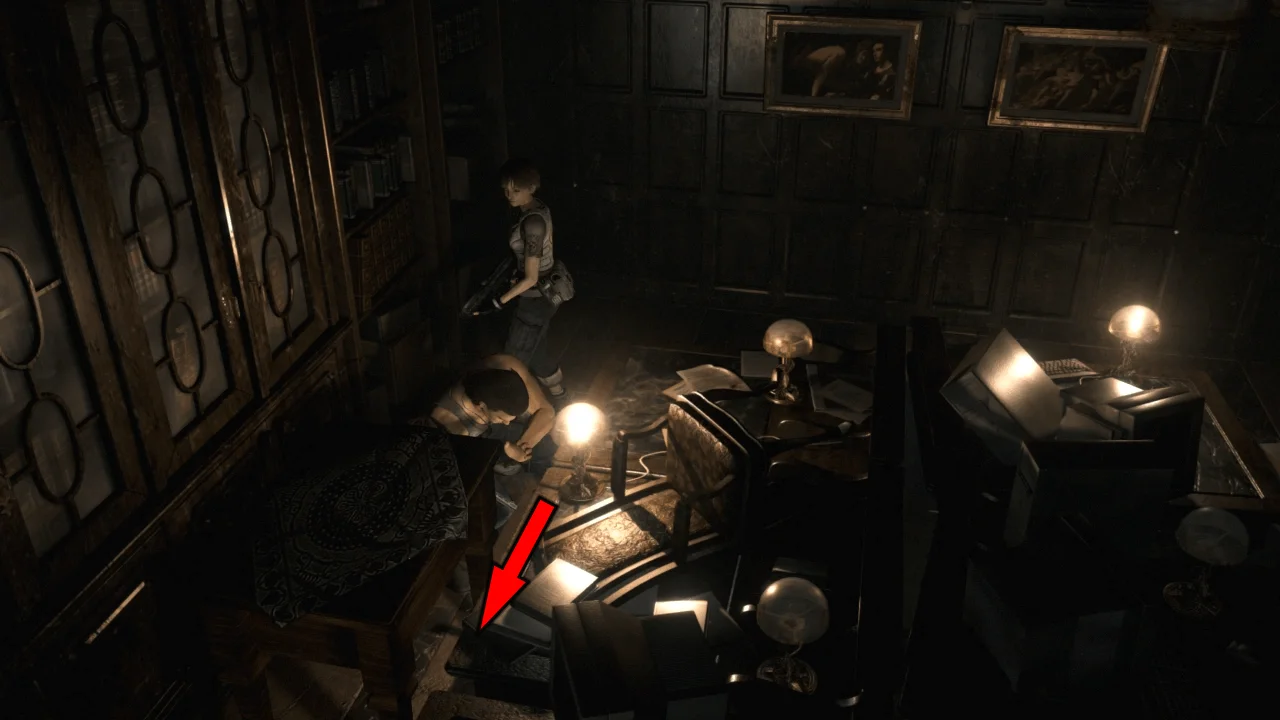
Jump over the table and flip the Switch to turn on the lights
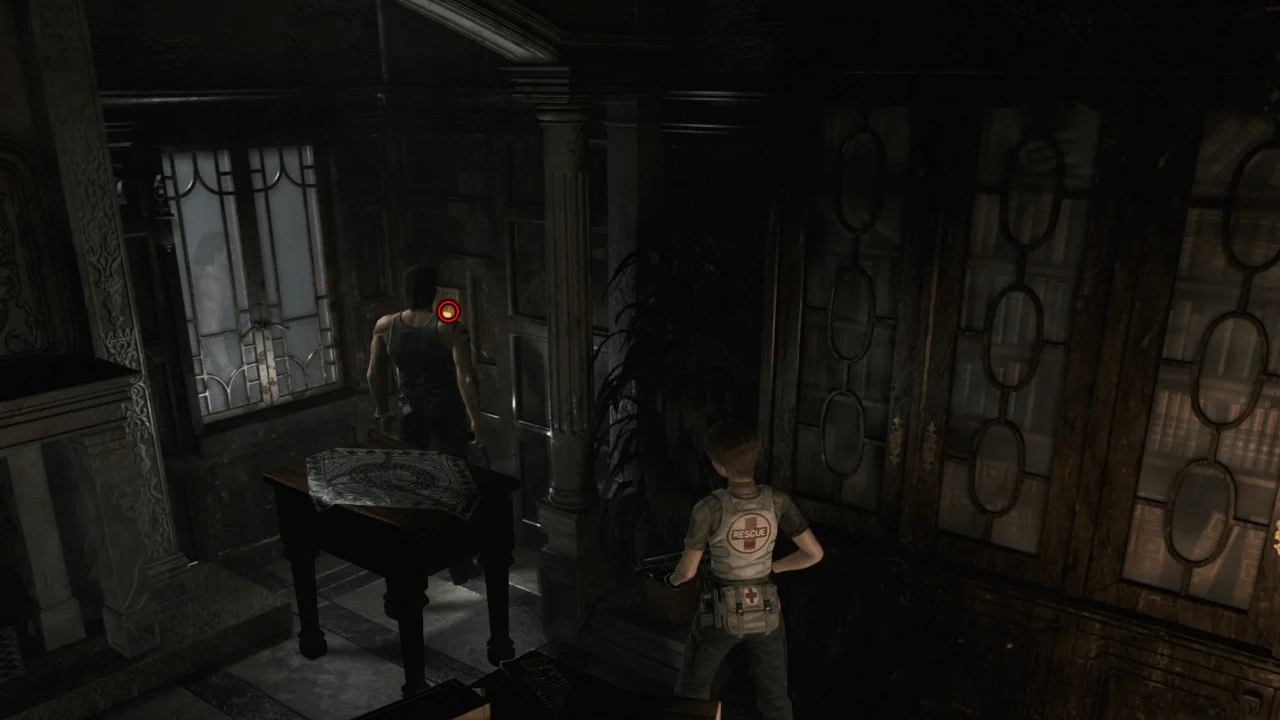
Now push the table until it's under the elk's head; get on top of it and pick up the Iron Needle
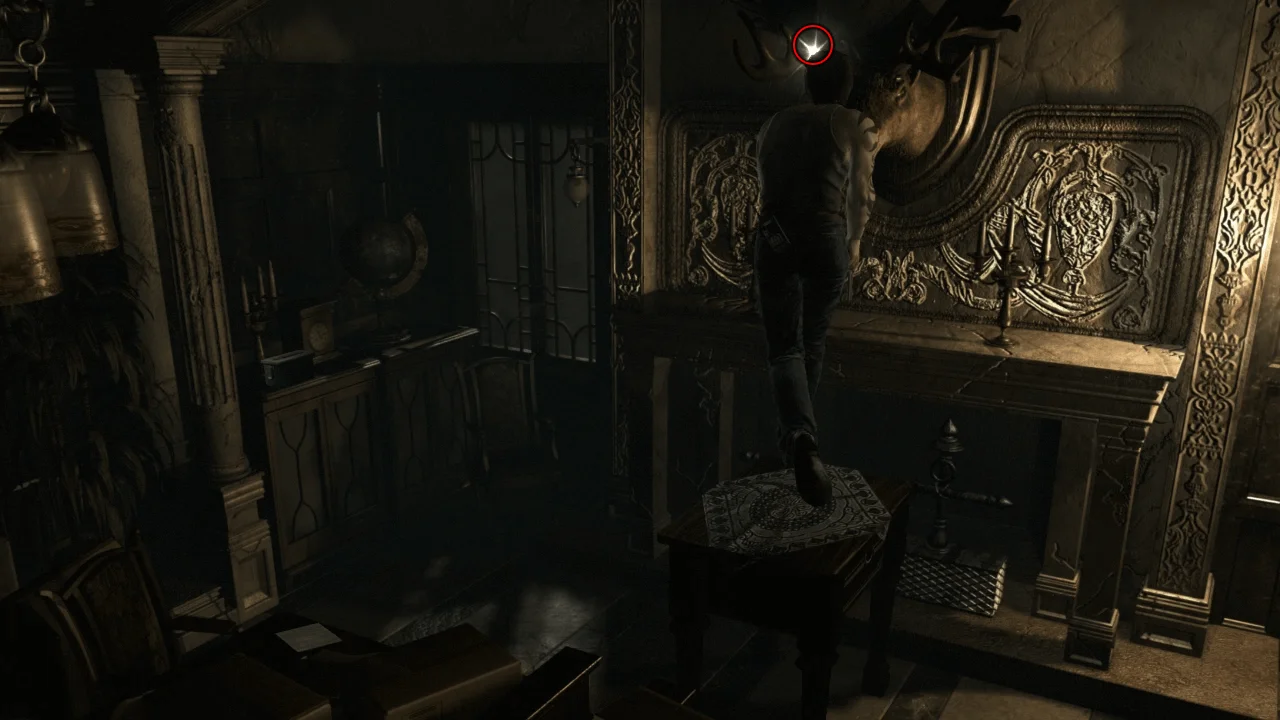
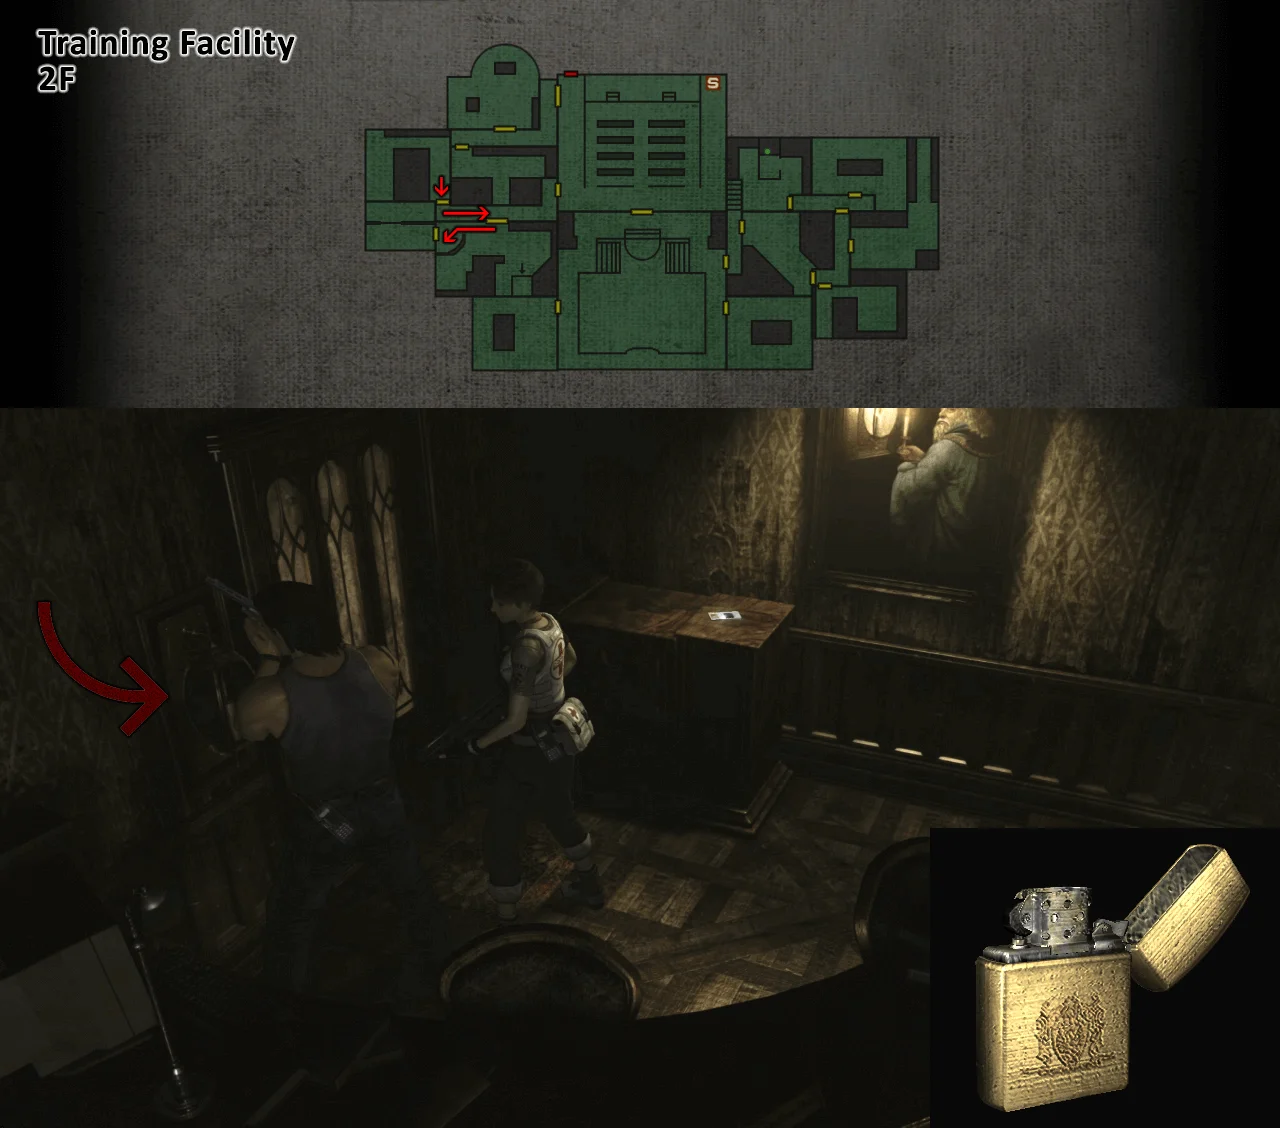
Go to the library and light the candle using Billy's Lighter to unlock the door
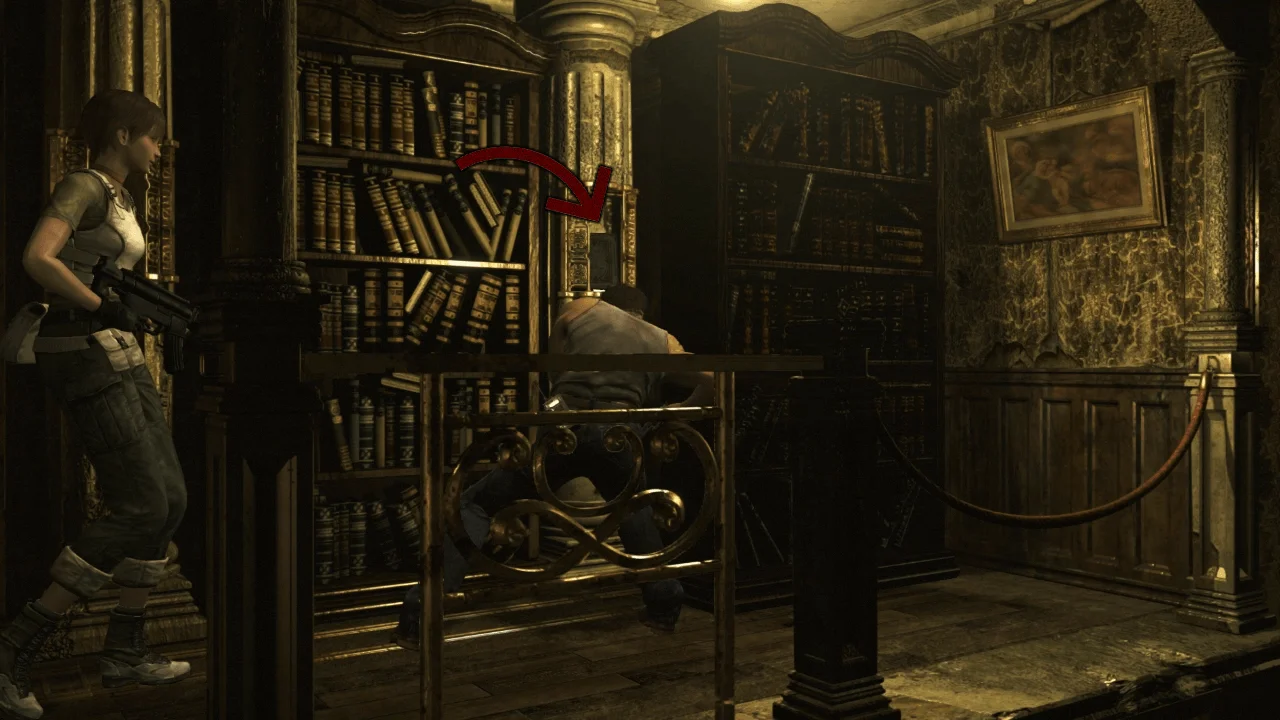
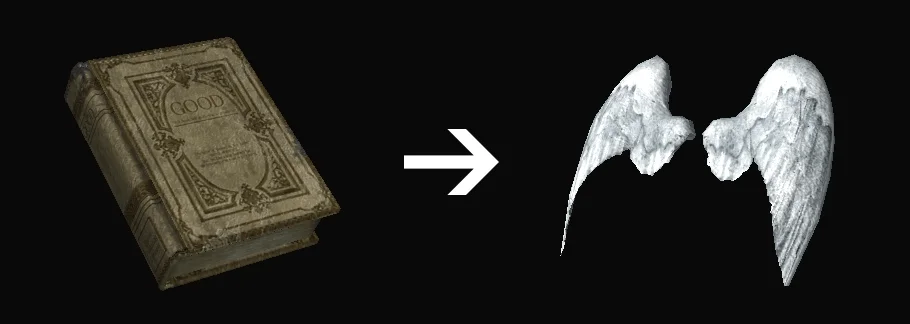
Go in, take care of the zombies then push the bookshelf to the right and pick up the Book of Good
Examine its content to get the Angel Wings
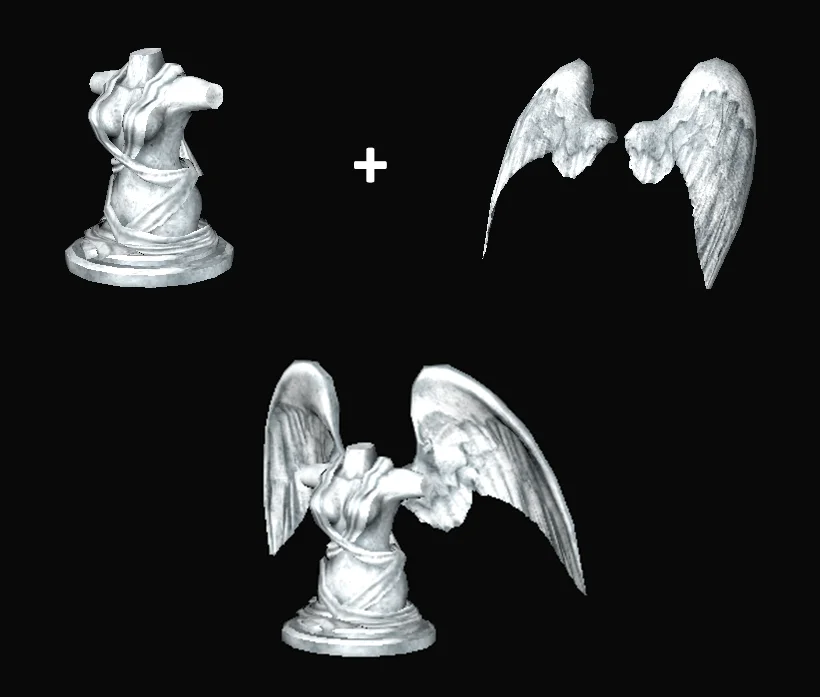
Combine the Angel Wings with the White Statue to get the Statue of Good
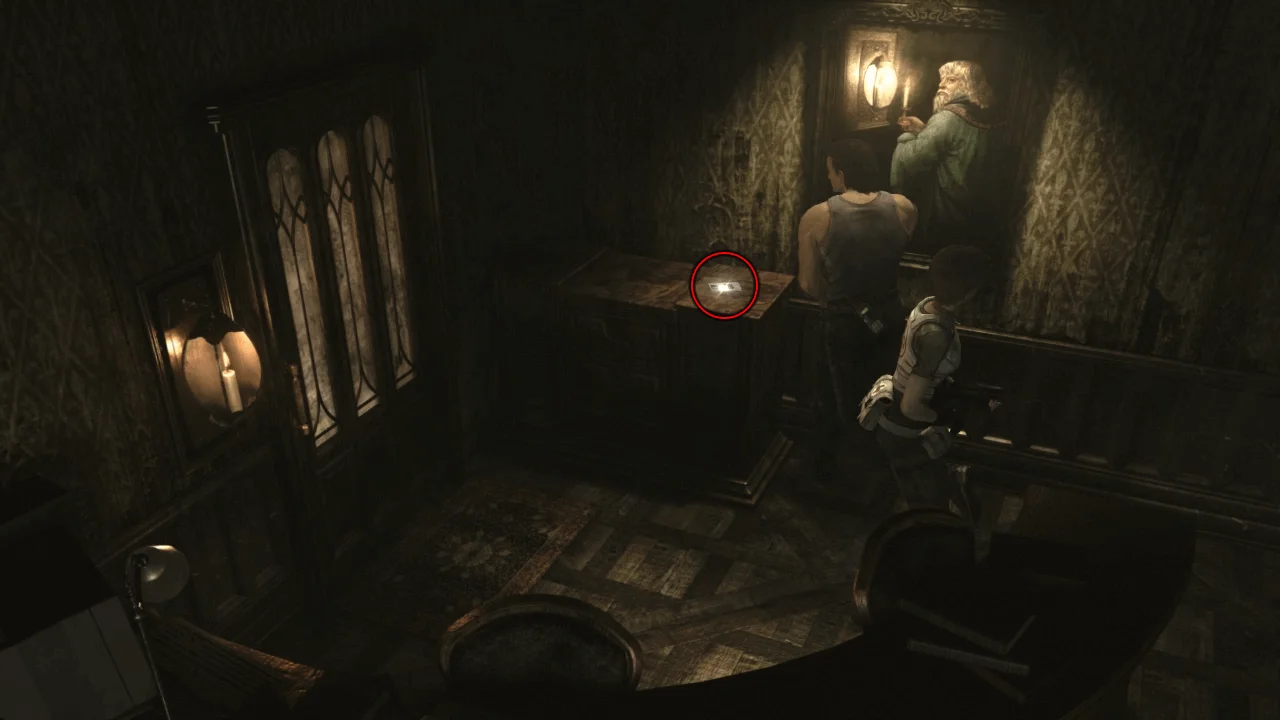
Get out of the room and pick up the Microfilm A
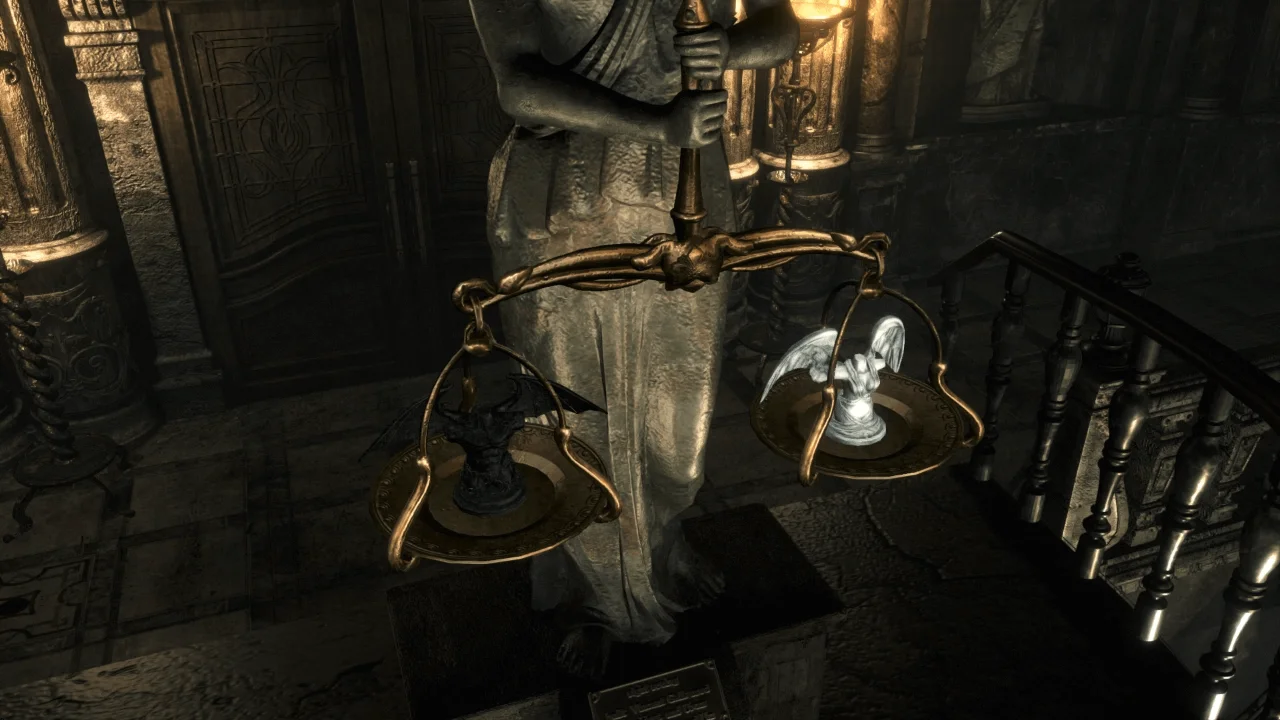
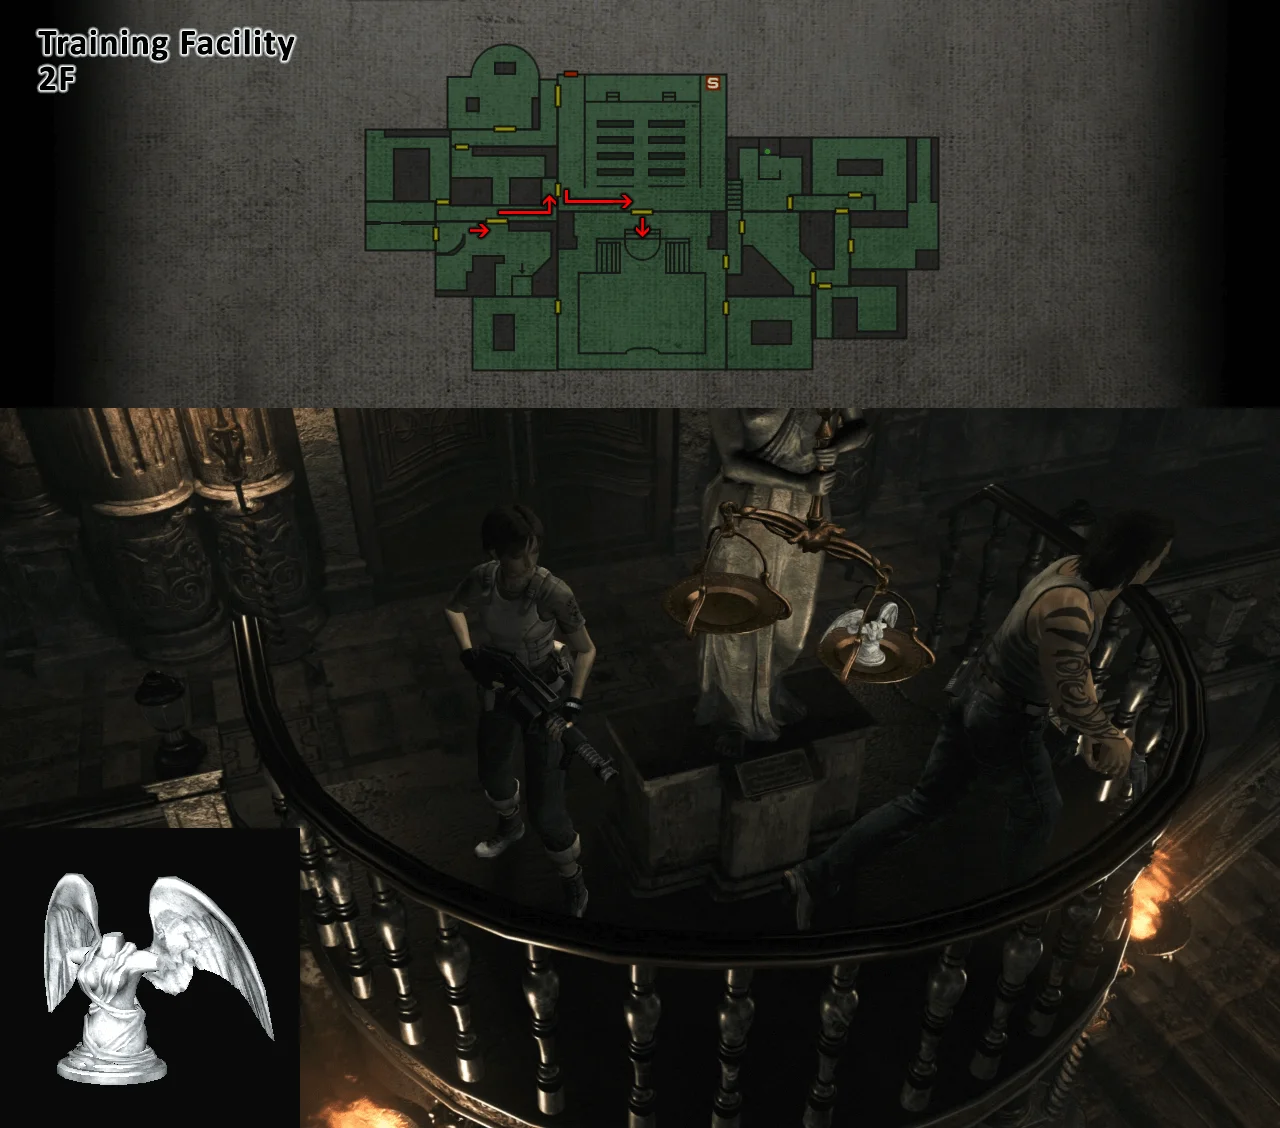
Now go to the statue in the hall and put the Statue of Good on one of the scales
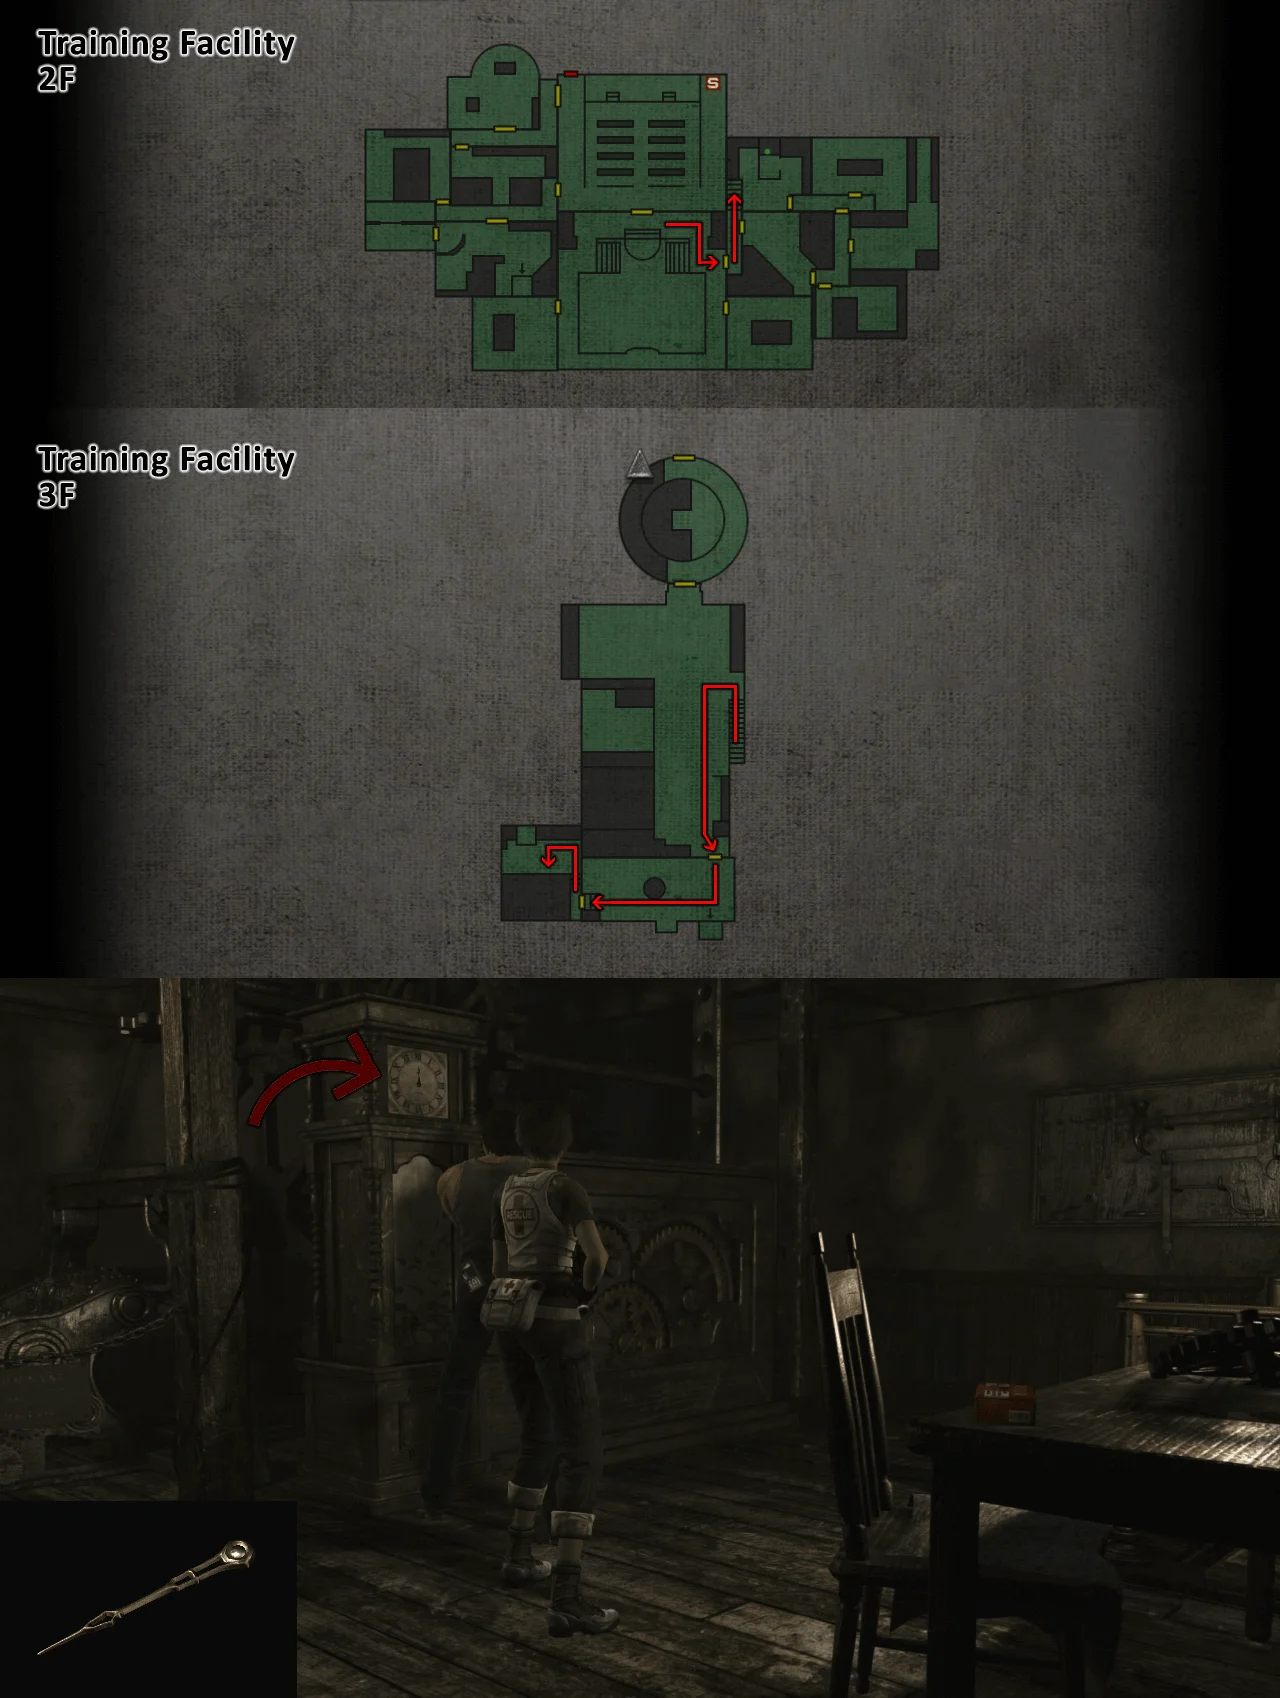
Go to the clock on the 3rd floor and put the Iron Needle in it
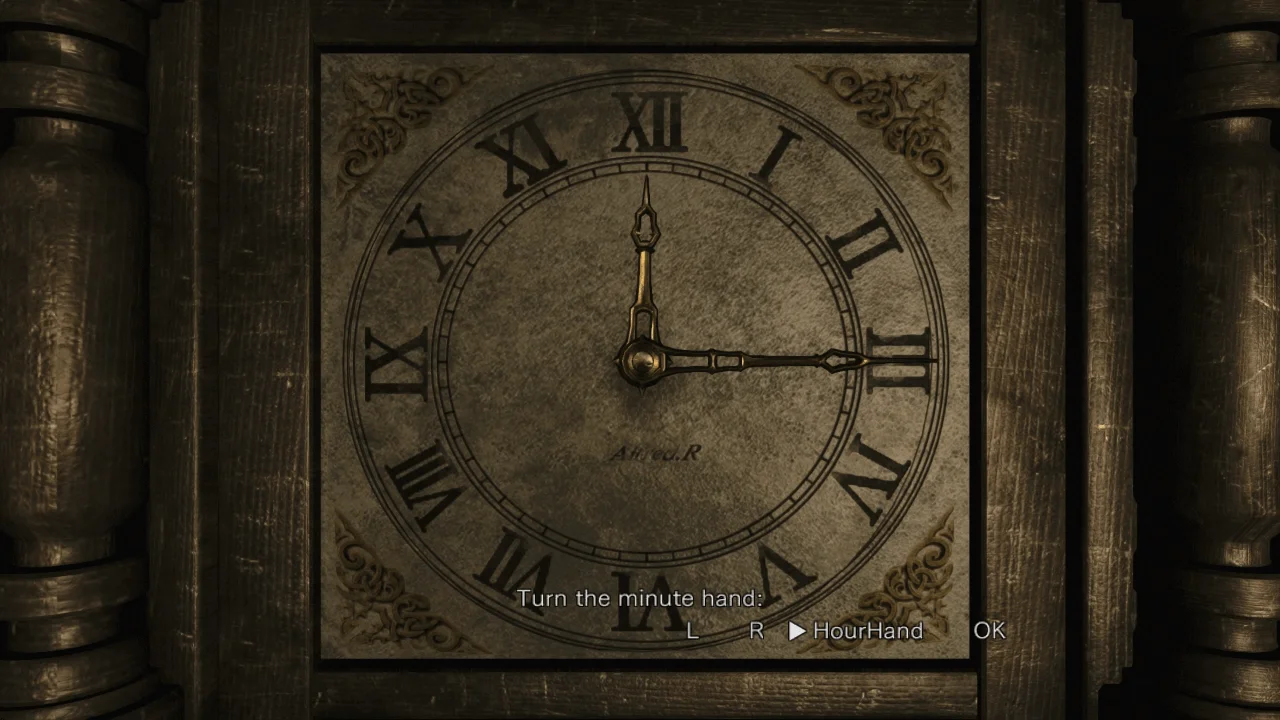
Set the time to 8:15; (you know that from the File "Notice to All Staff") First, turn the Minute Hand to the right 3 times;
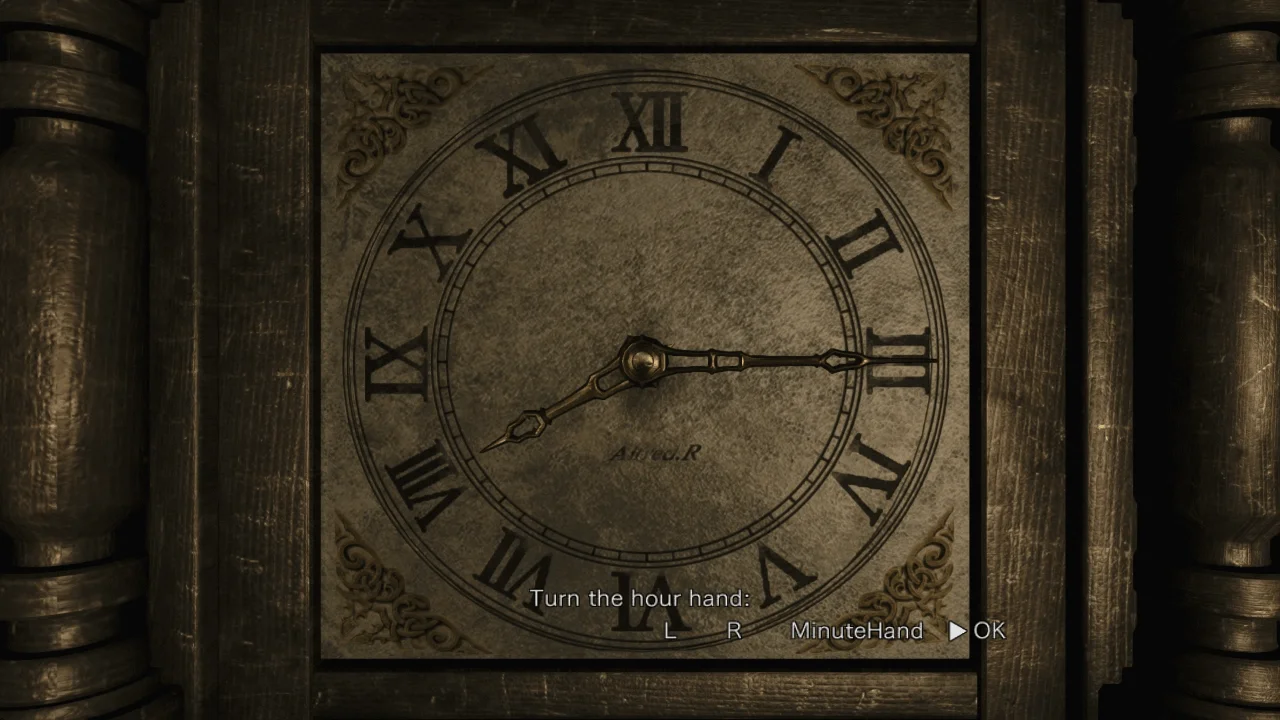
Then click on HourHand and turn the Hour Hand to the left 4 times and click OK
Two doors would open; go to the first one
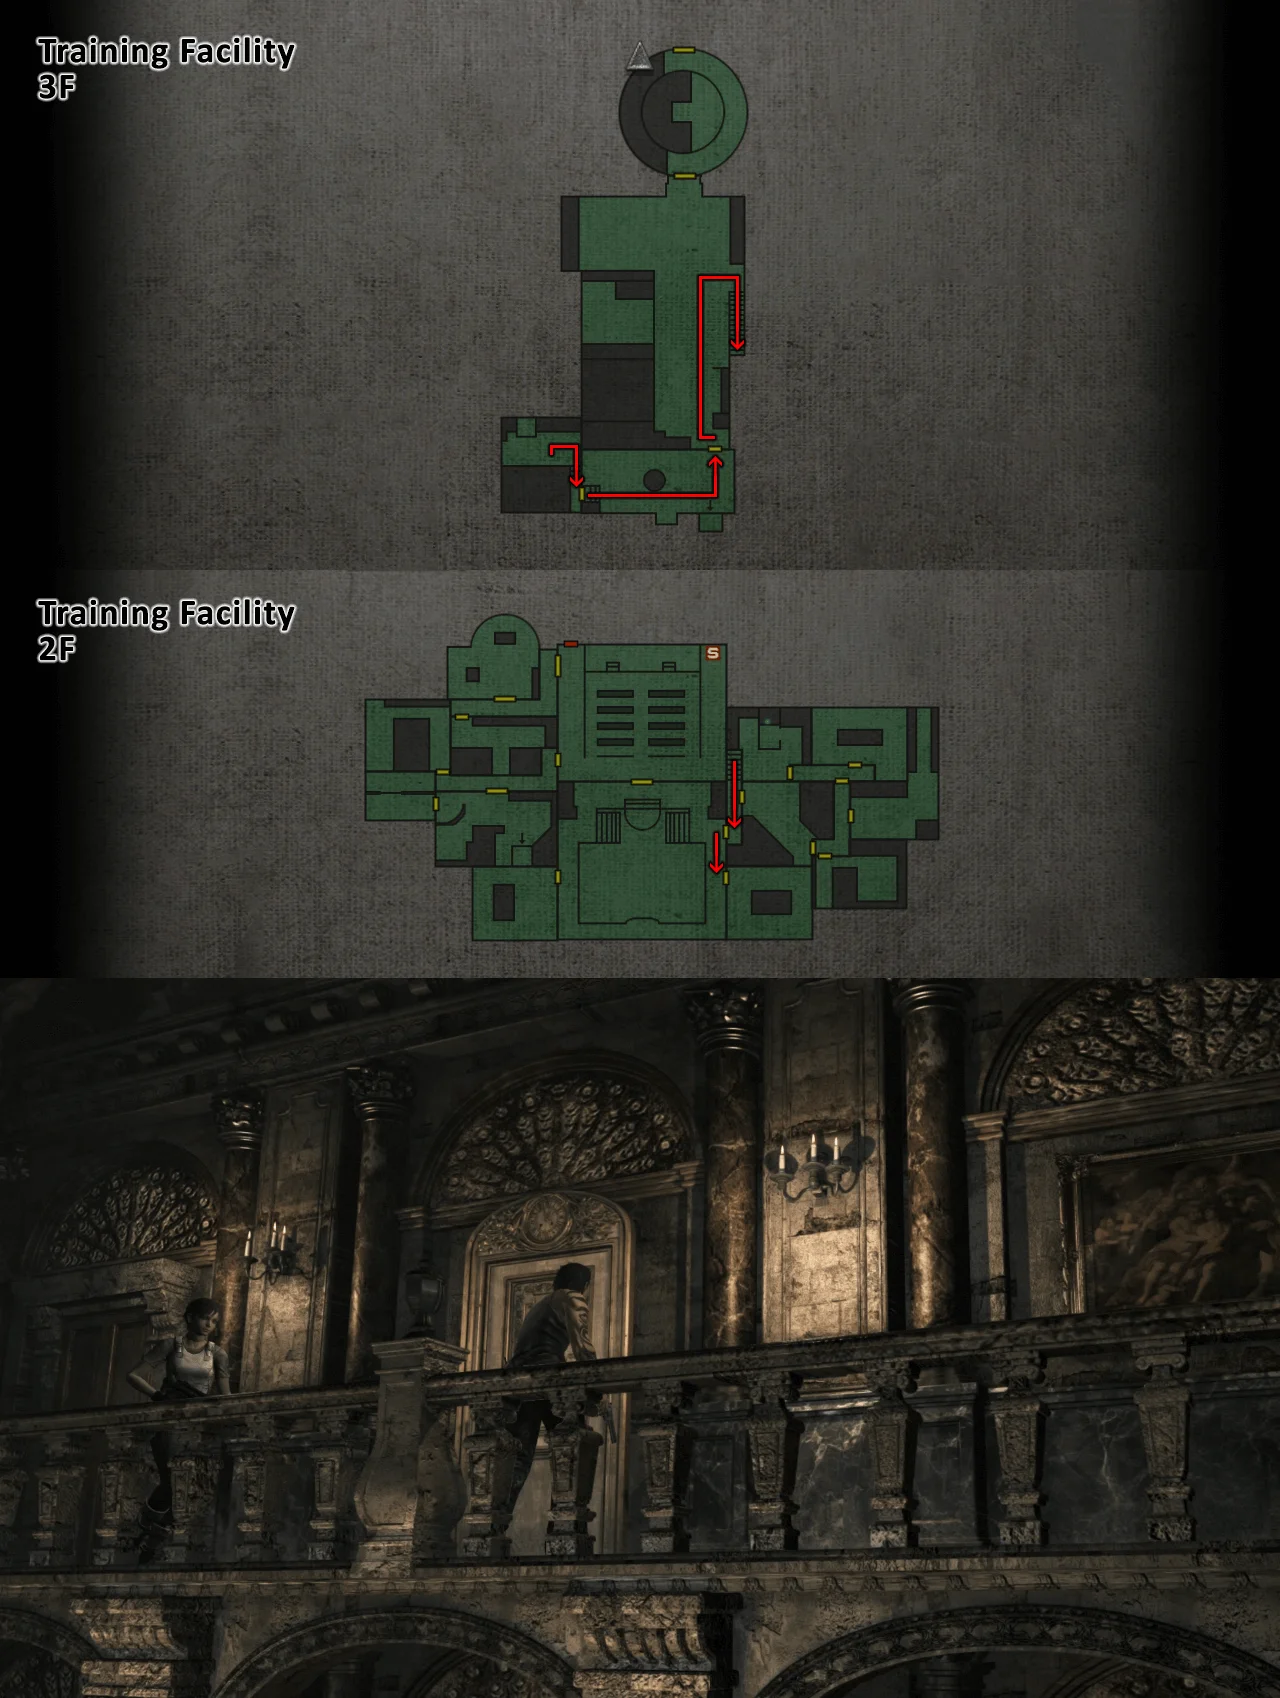
Put down the zombies and pick up the Microfilm B
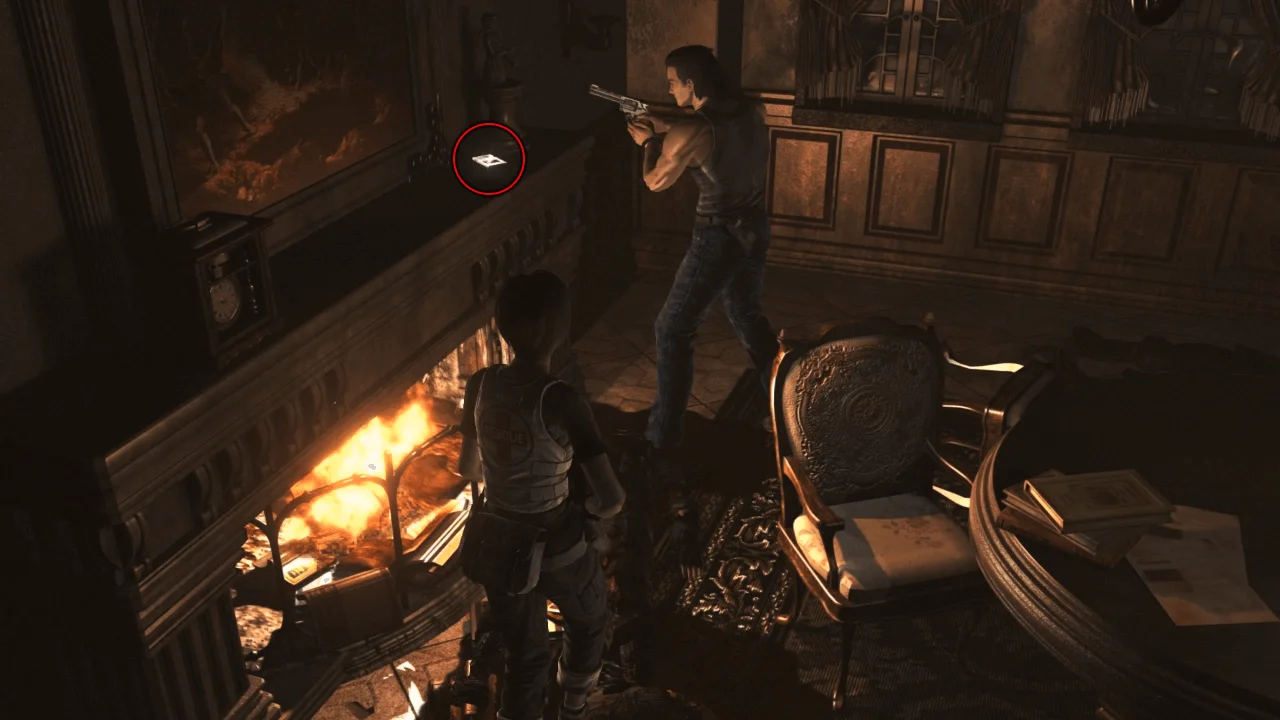
Go downstairs to the second clock door
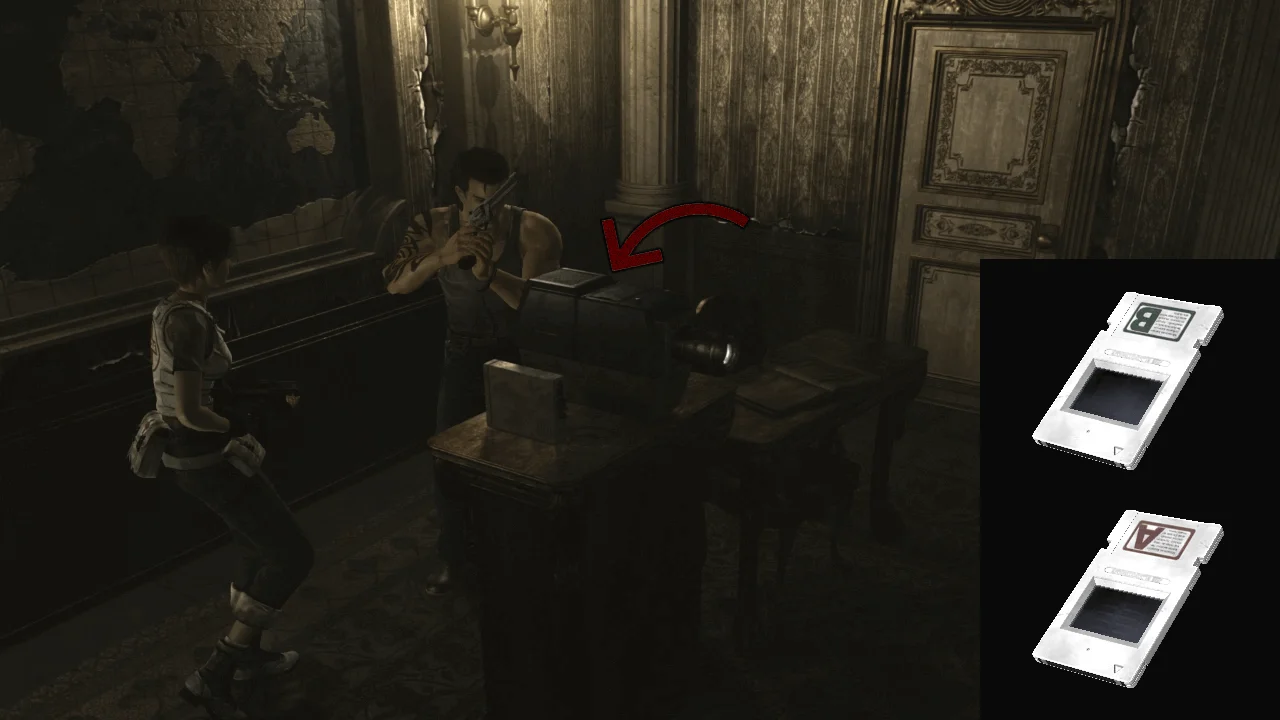
Put the Two Microfilms in the Projector
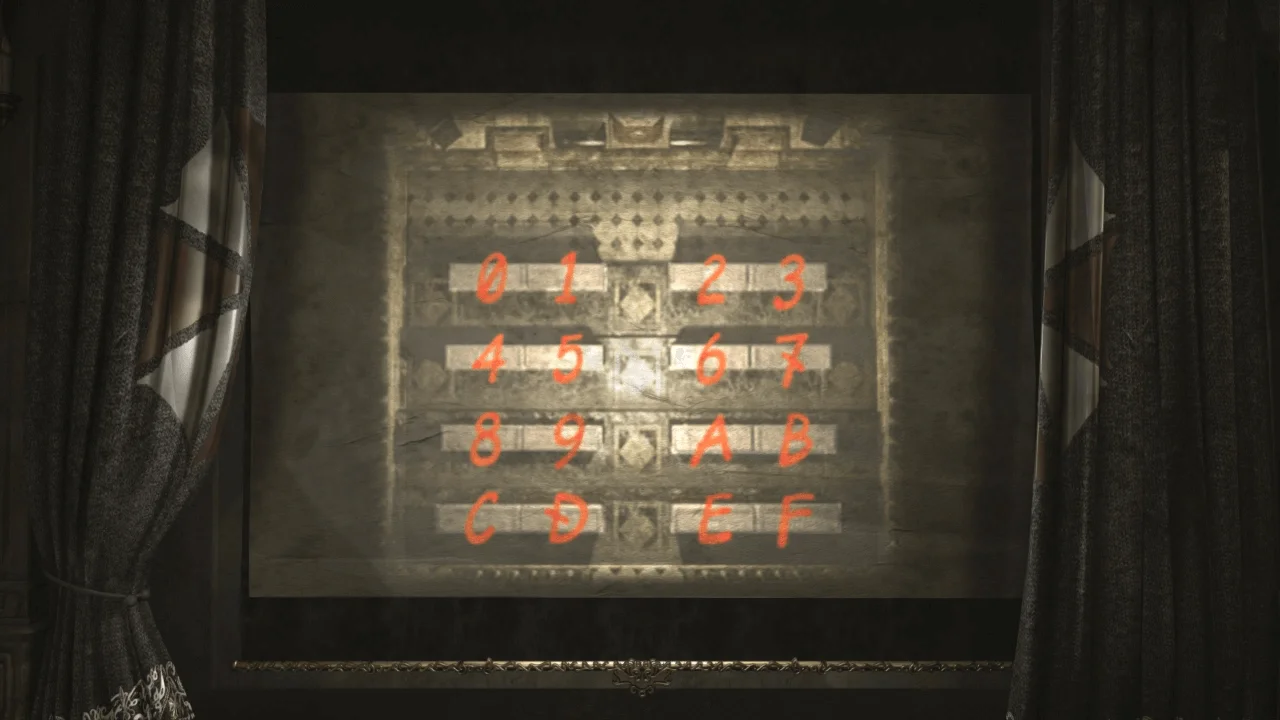
The image below would show up; it's a top view of a Conference Room
Get the MO Disk from the unit linked to the projector
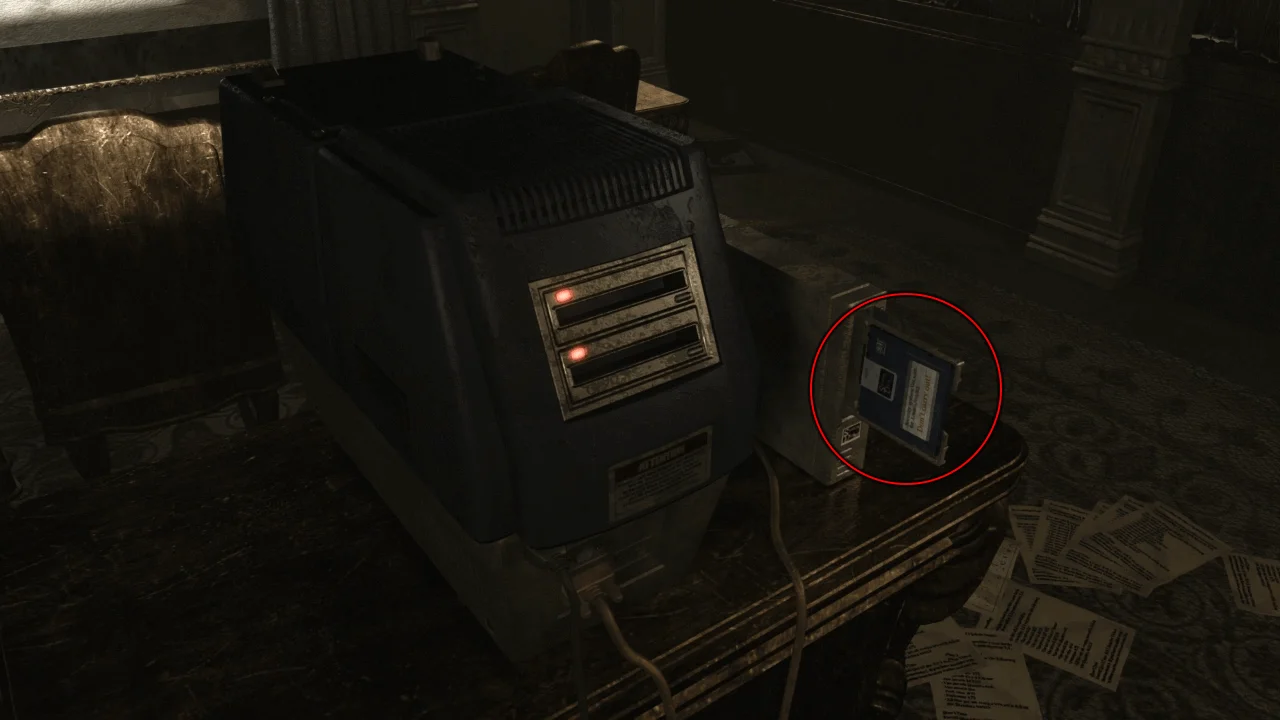
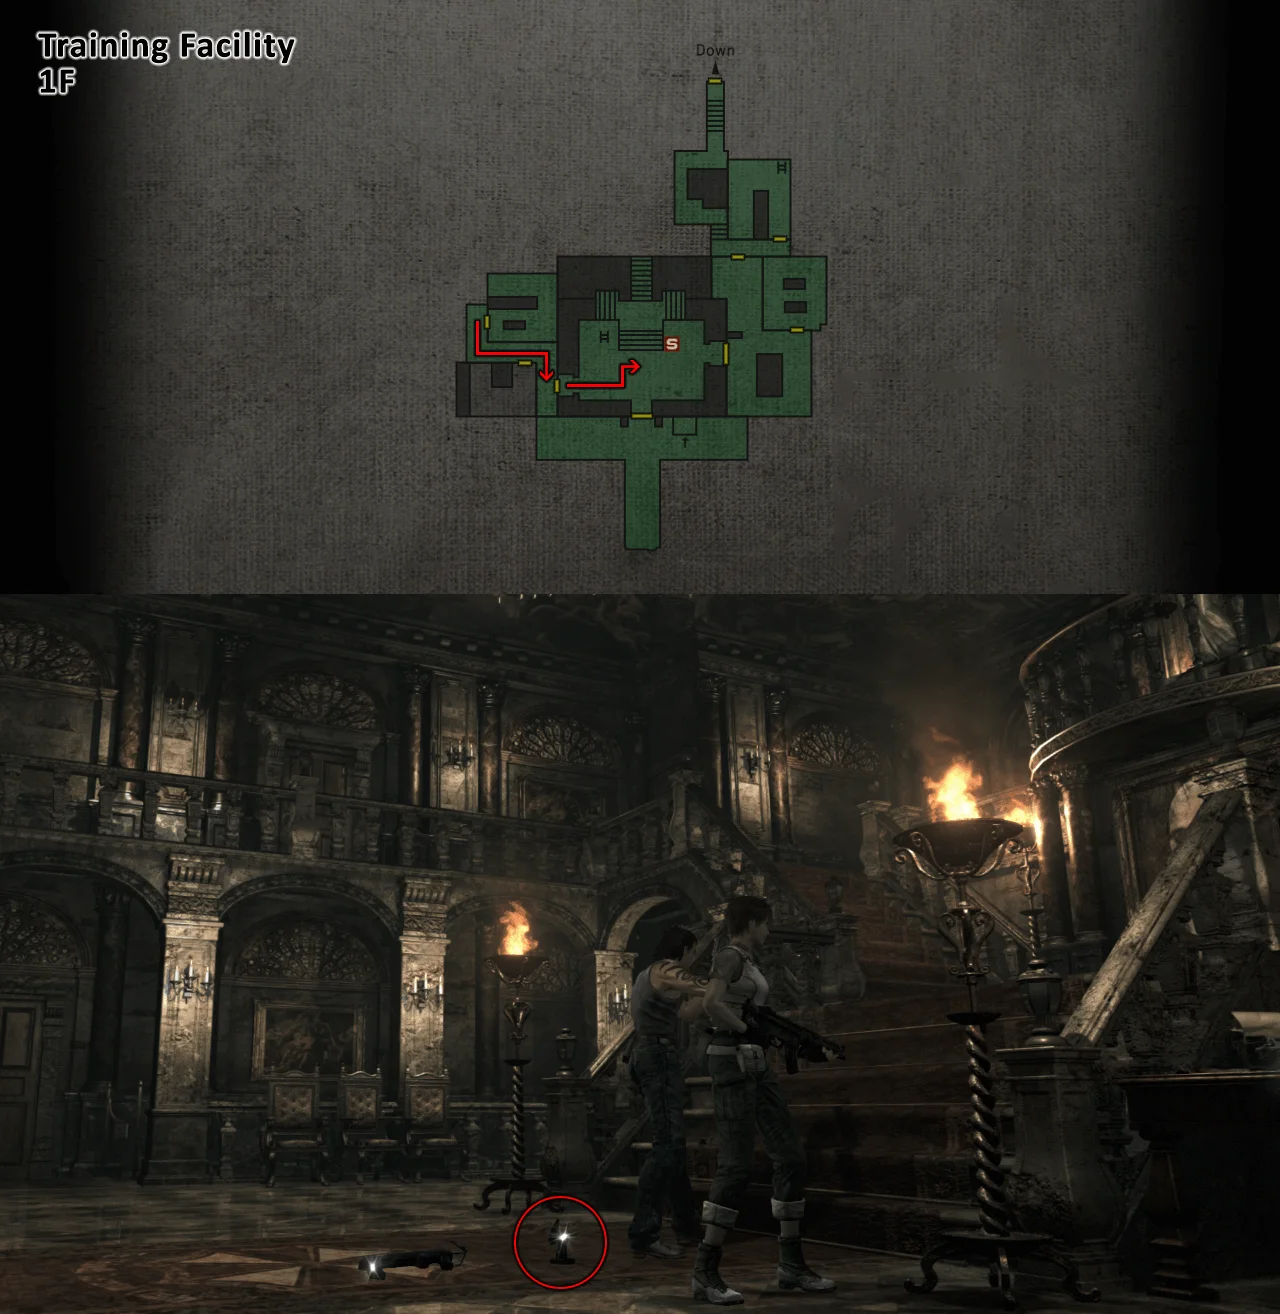
Now go back to the hall (just dodge the Mimicry Marcus on your way out) and pick up the Black Statue that you dropped earlier
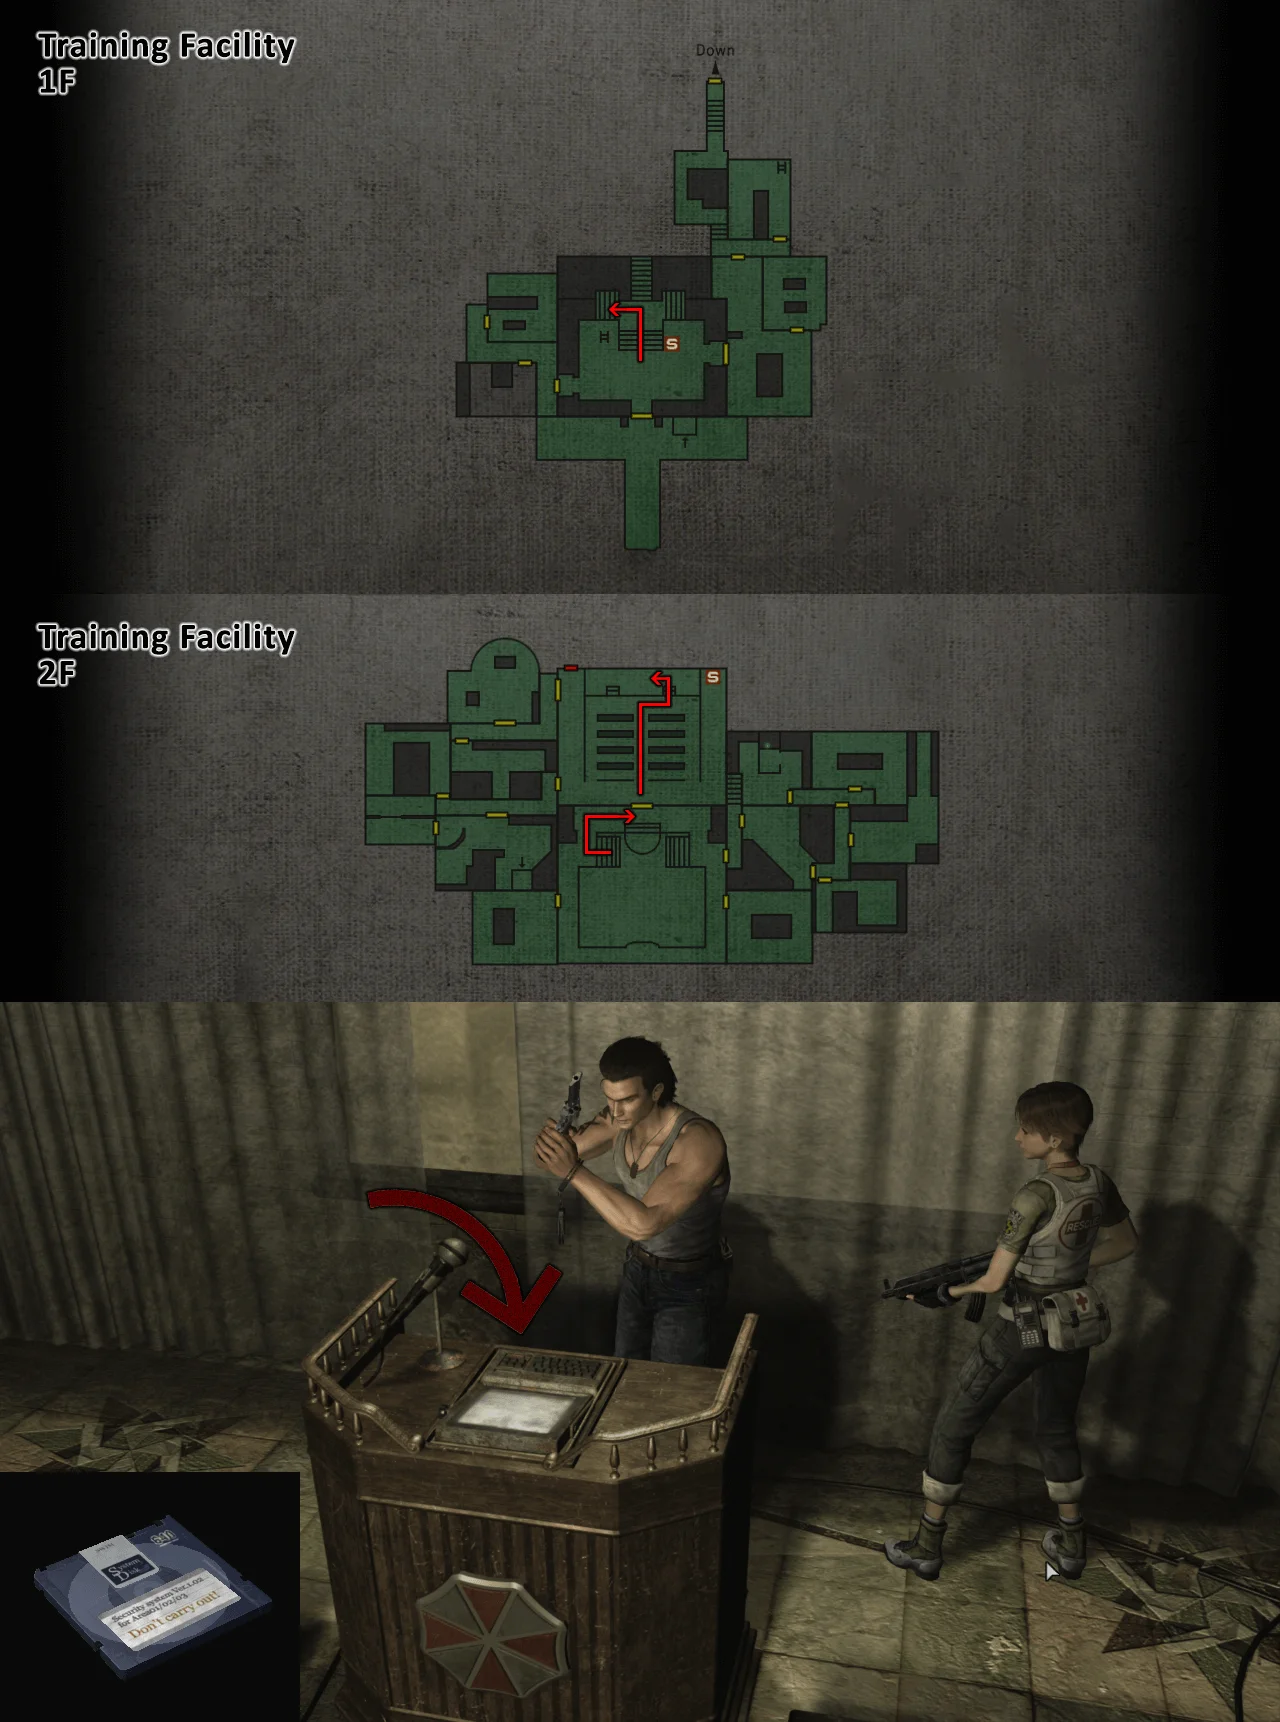
Go to the Conference Room and insert the MO Disk
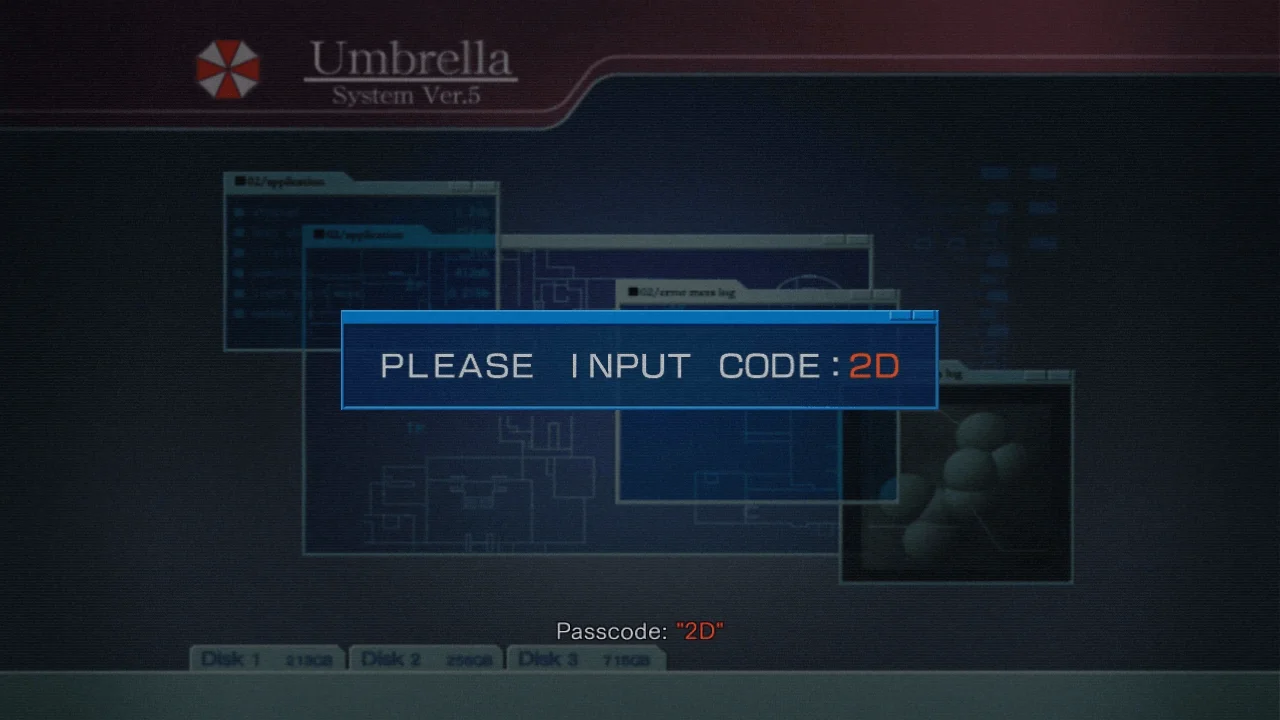
You will be prompted to insert a passcode
You will be using the image that you got from the projector to know what button of what seat you need to push;
The passcode in this case is 2D therefore:
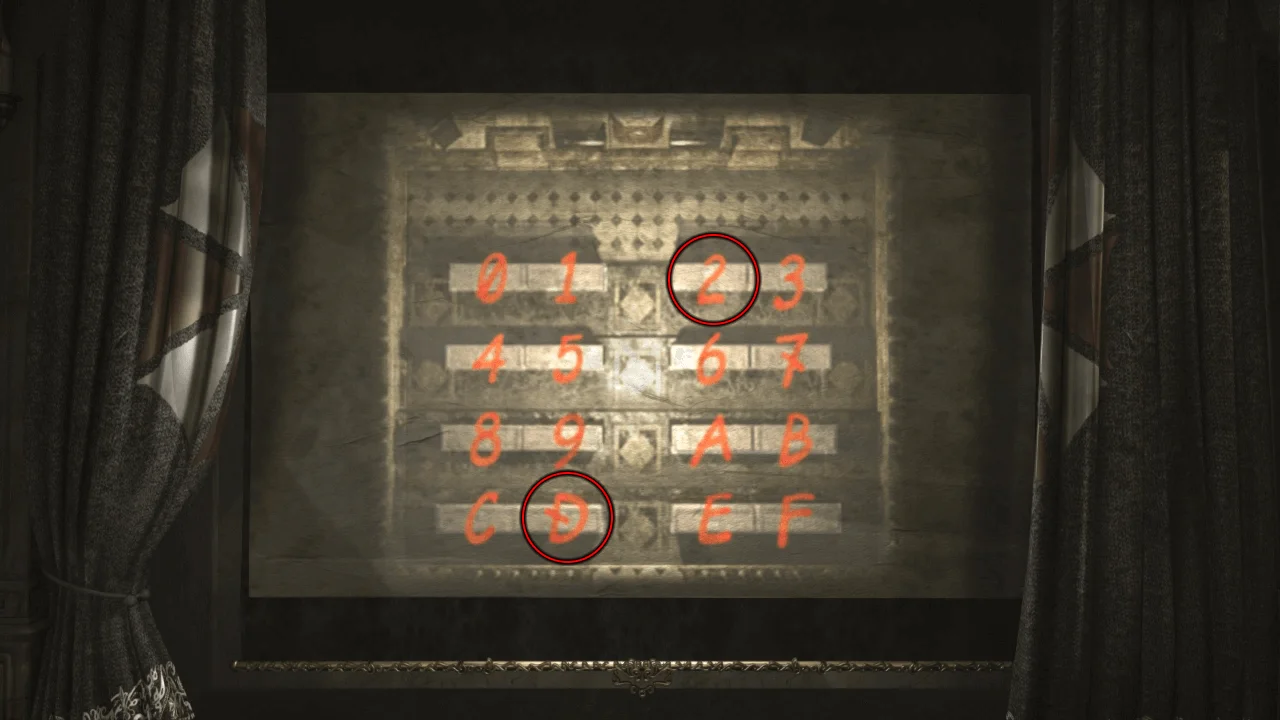
You need to push the button of the 3rd seat of the 1st row and the 2nd seat of the 4th row to get 2D;
Have both characters in position then press the buttons in order
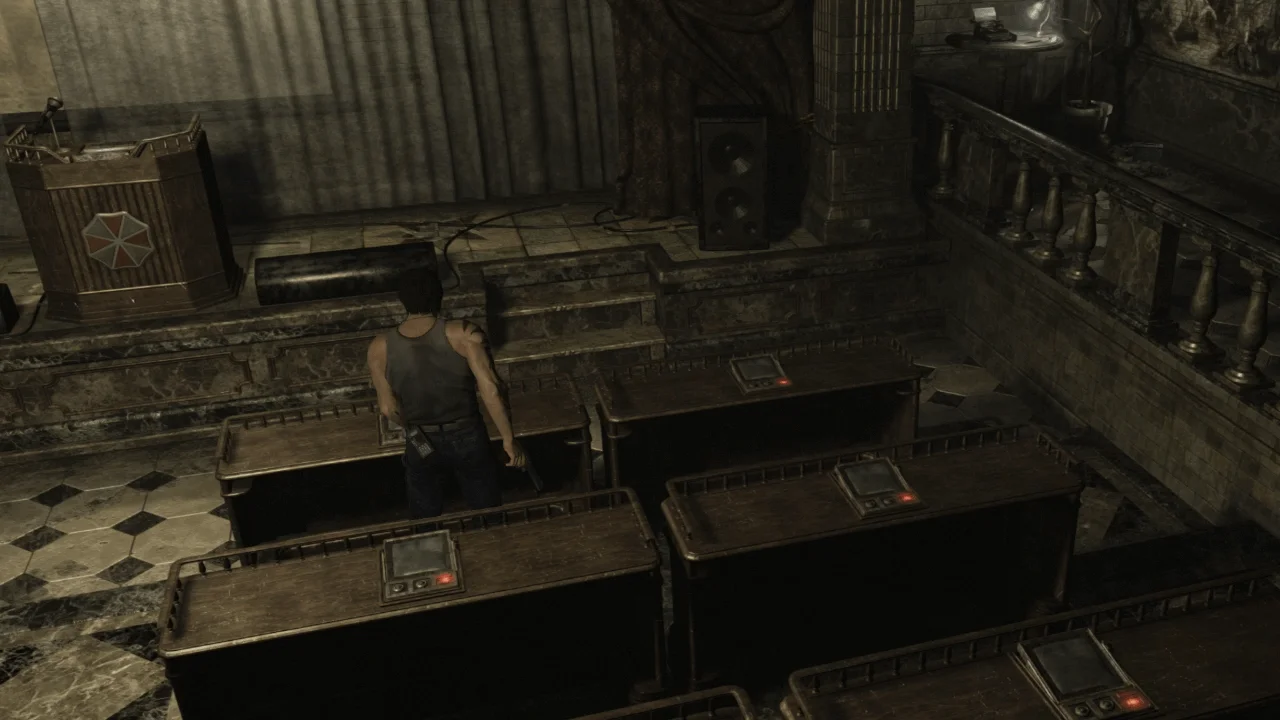
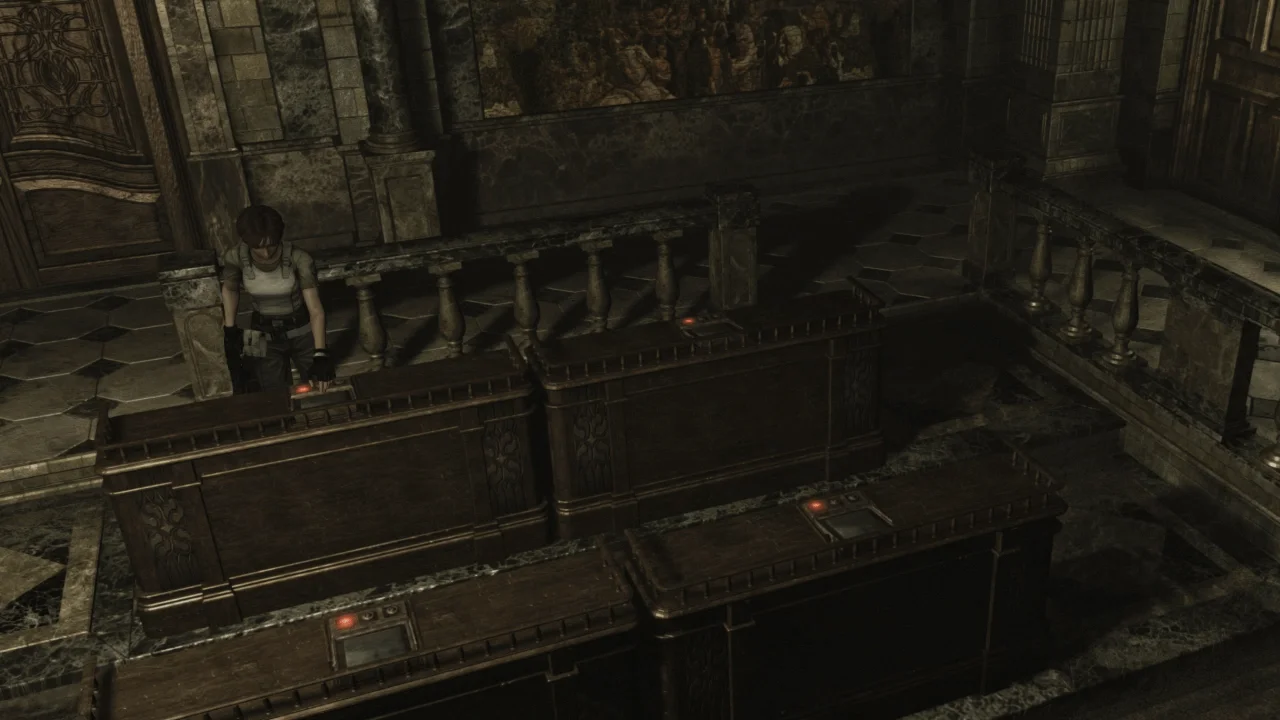
3 doors would unlock; Regroup and go through the first unlocked door
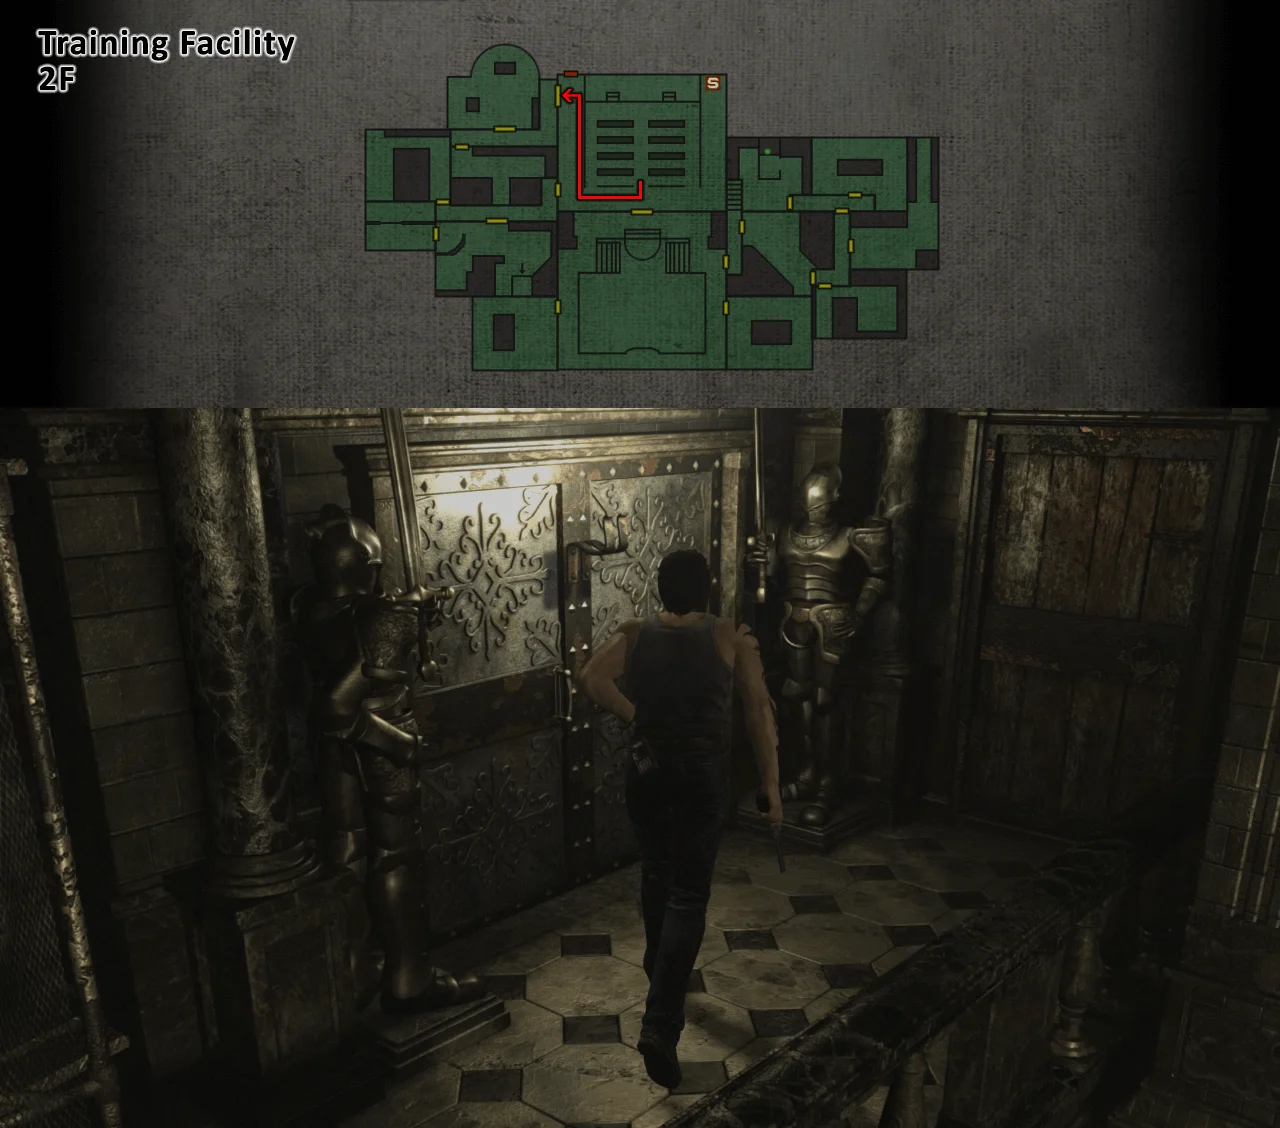
Go to the Office
You will find huge chess pieces;
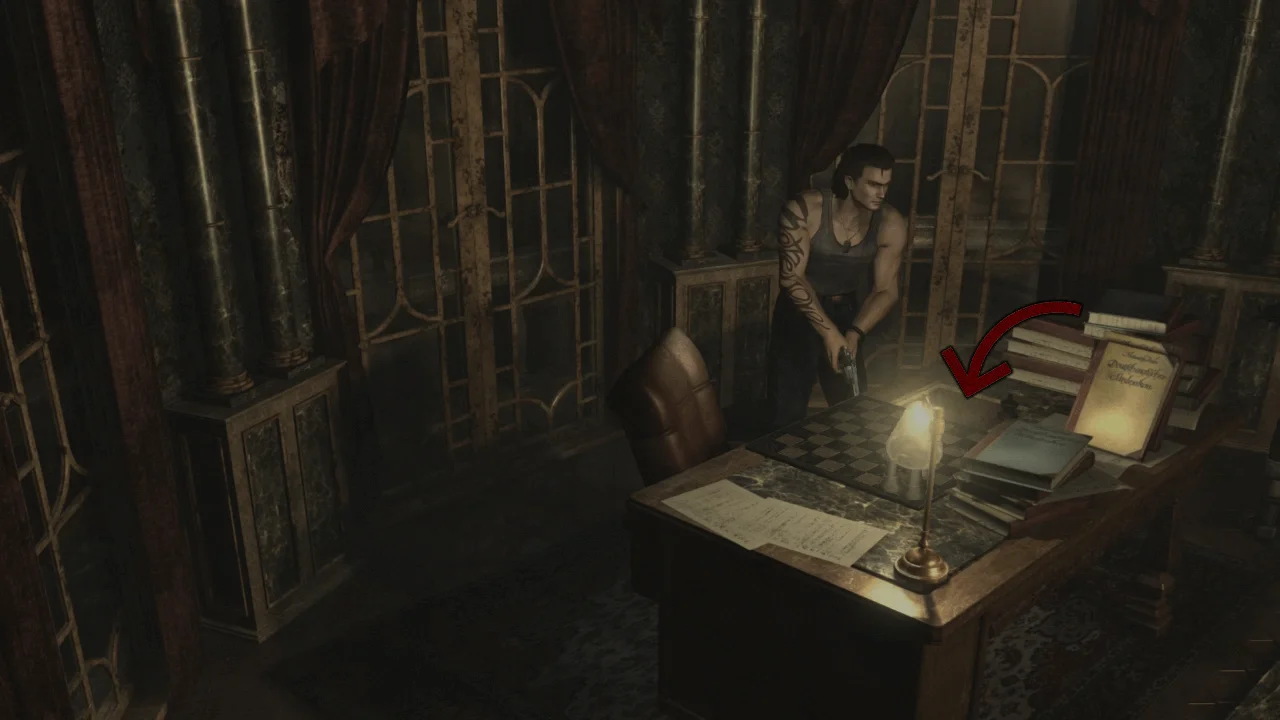
You will need to move the big king chess piece to imitate its location on the chess board on the desk;
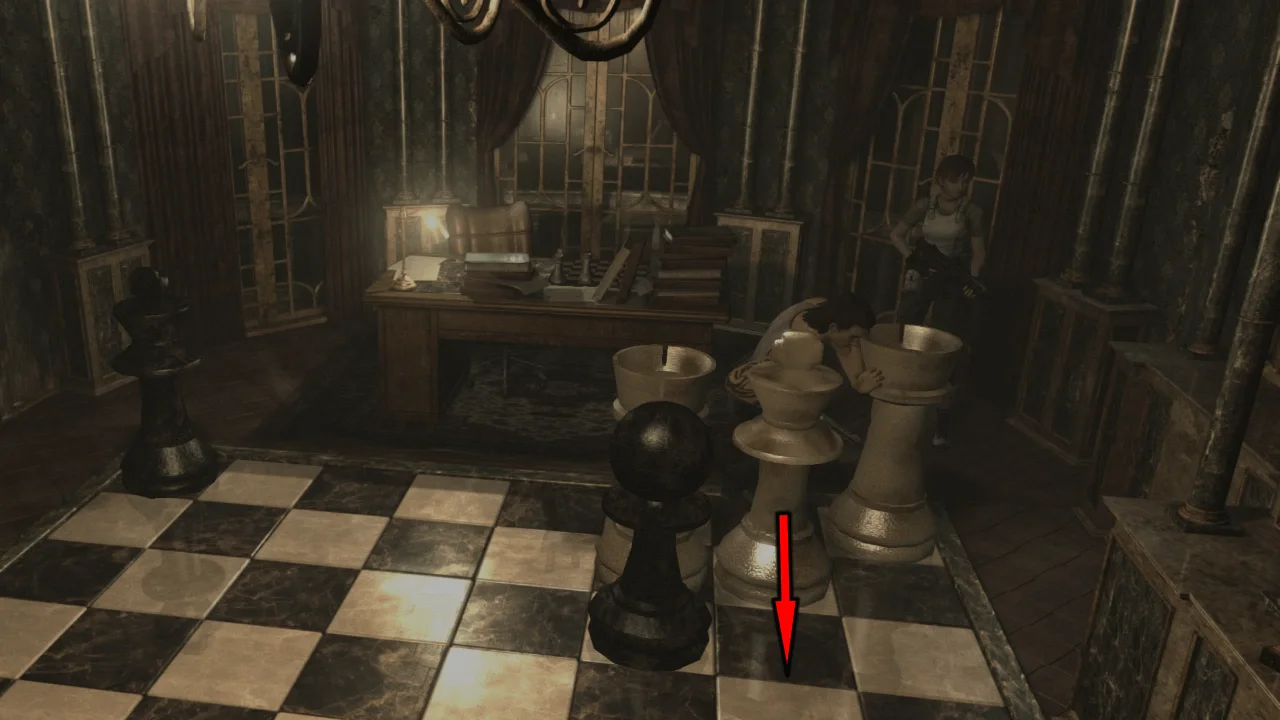
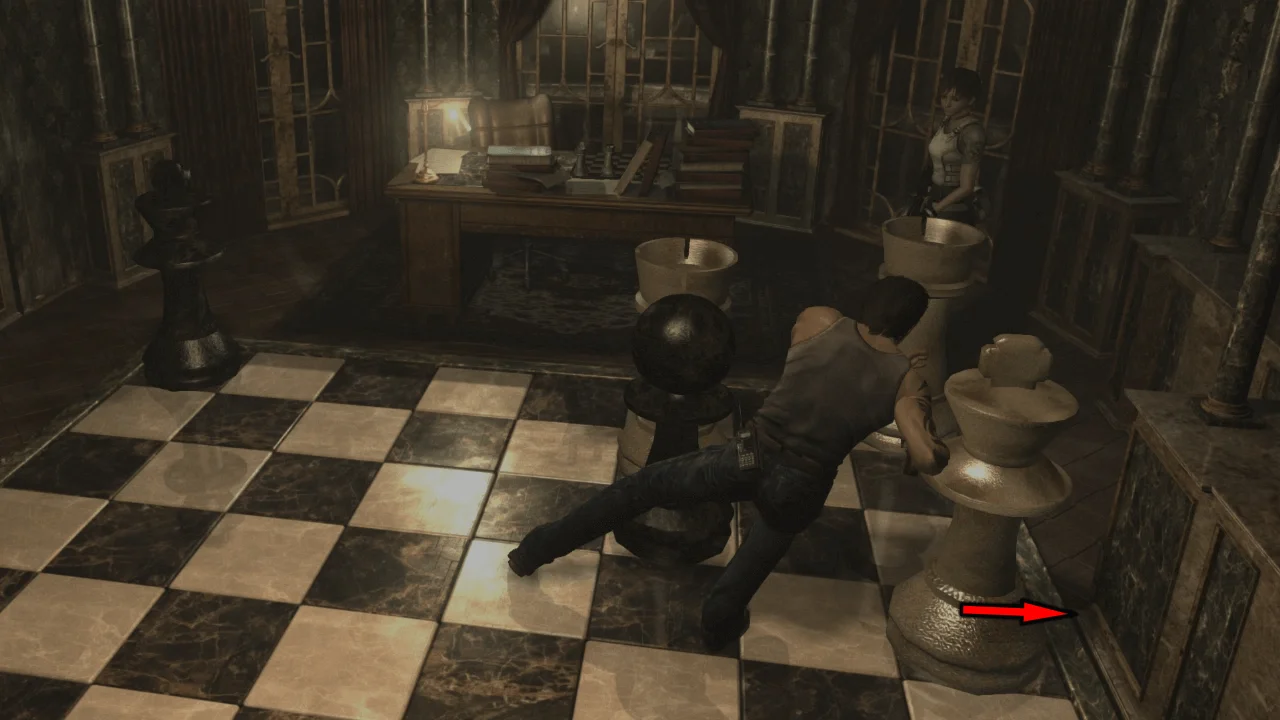
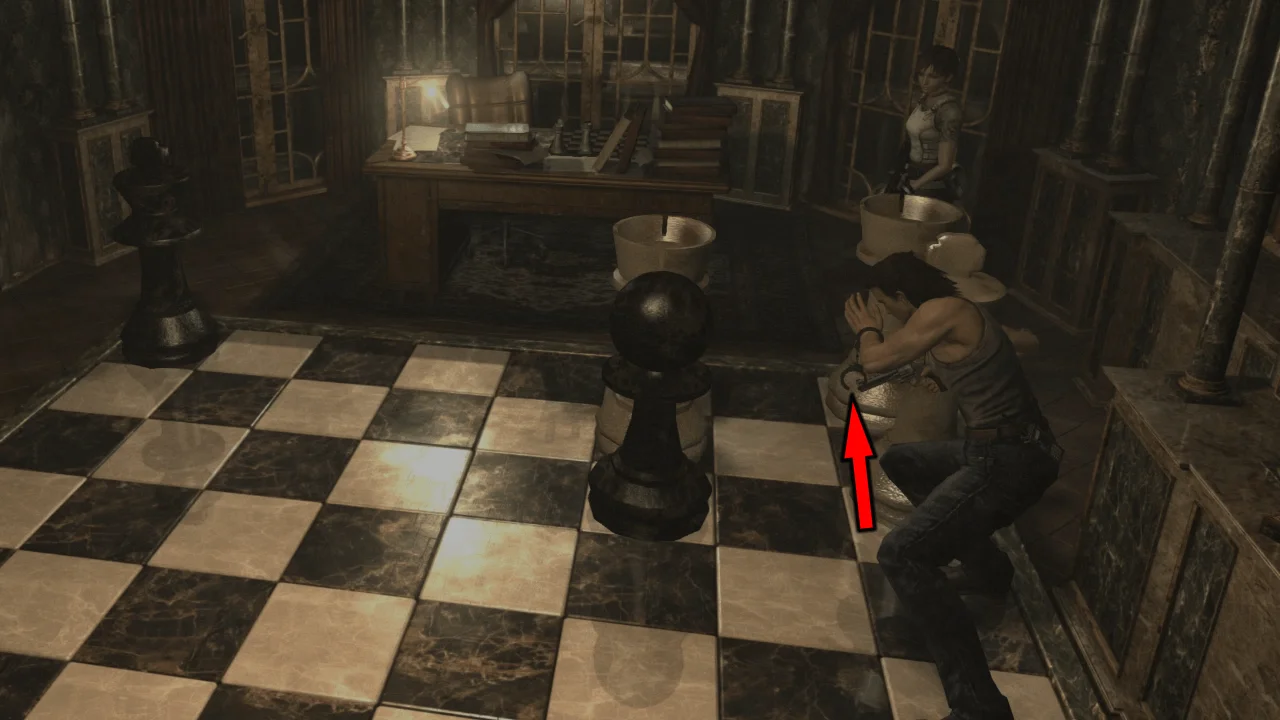
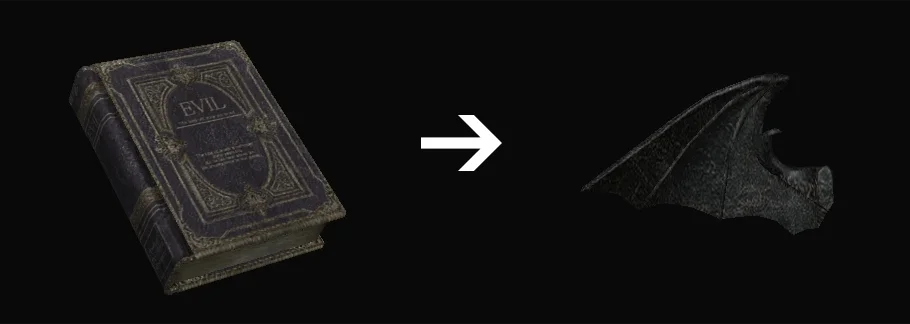
Pick up the Book of Evil
Examine the content of the book to get the Black Wing
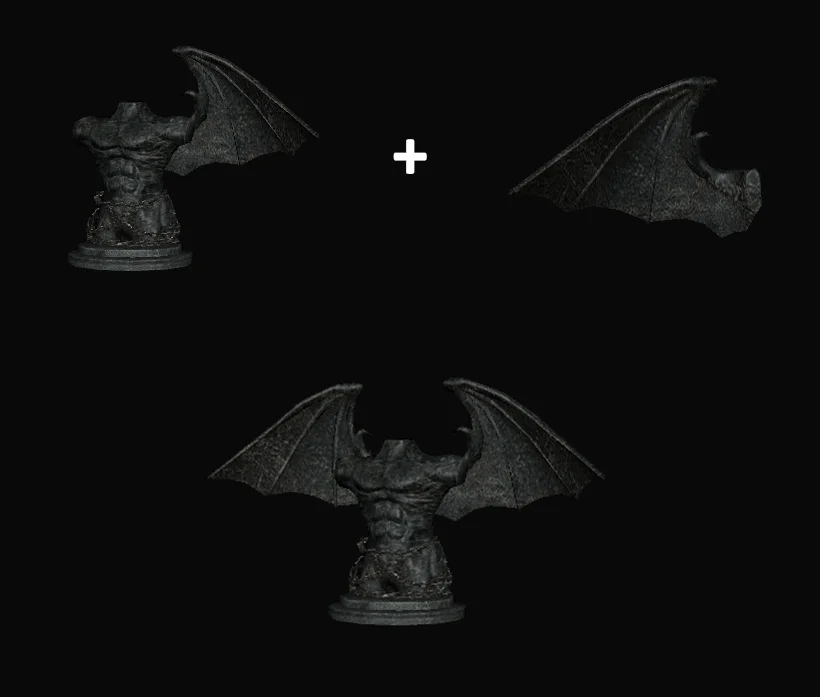
Combine the Black Wing with the Black Statue to get the Statue of Evil
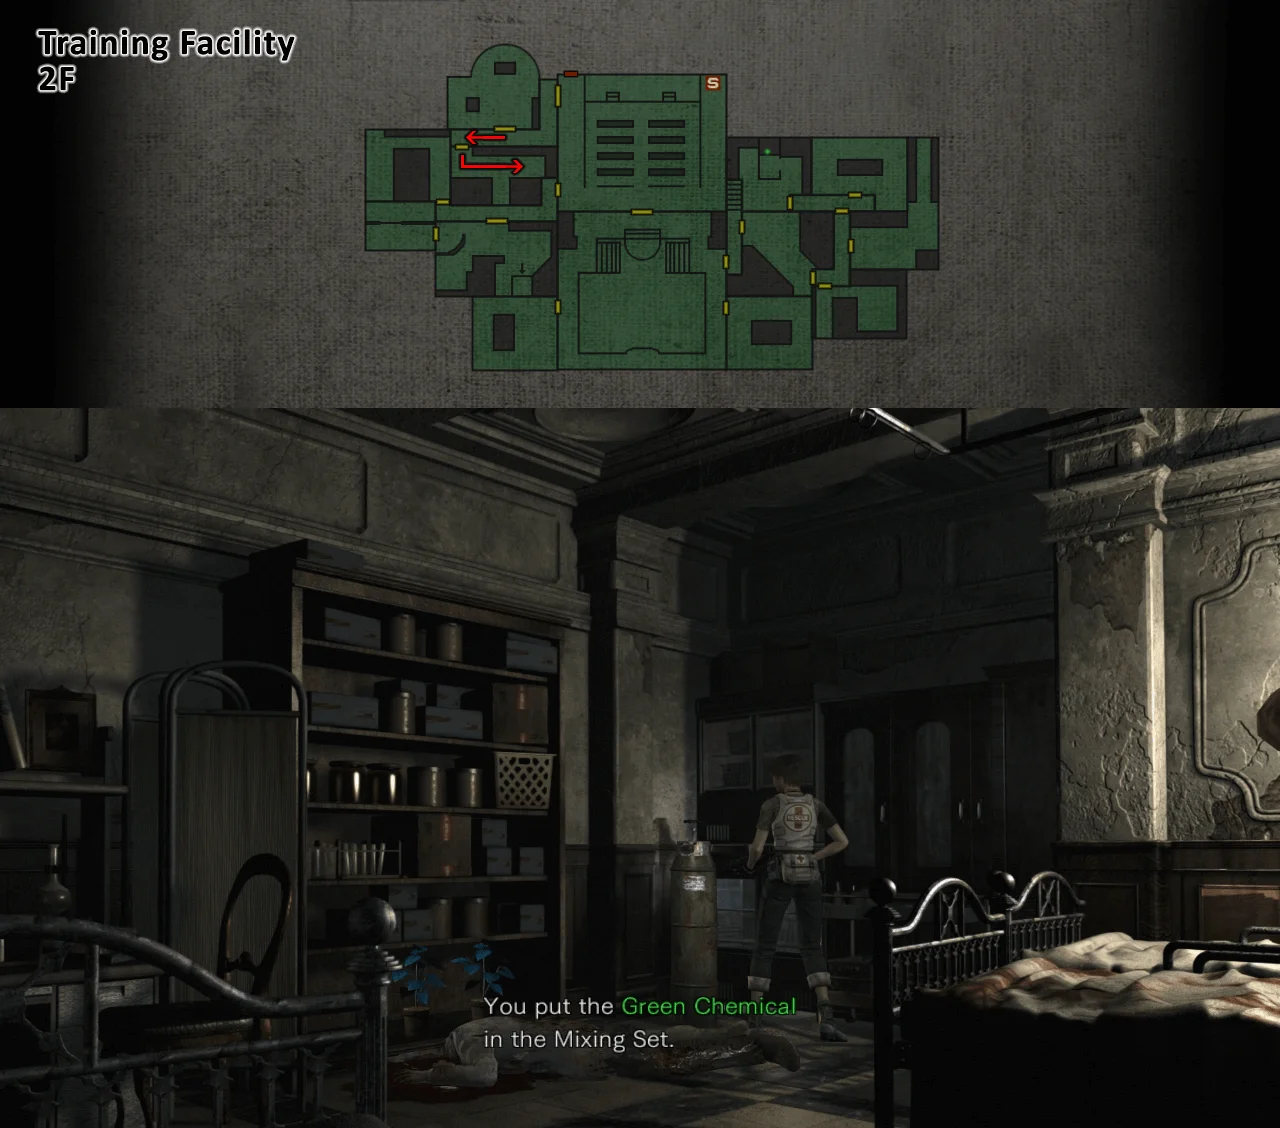
Go to the other room and have Rebecca put the Green Chemical in her Mixing Set (you will need it for later)
Put the Statue of Evil on the scale along with the Statue of Good;
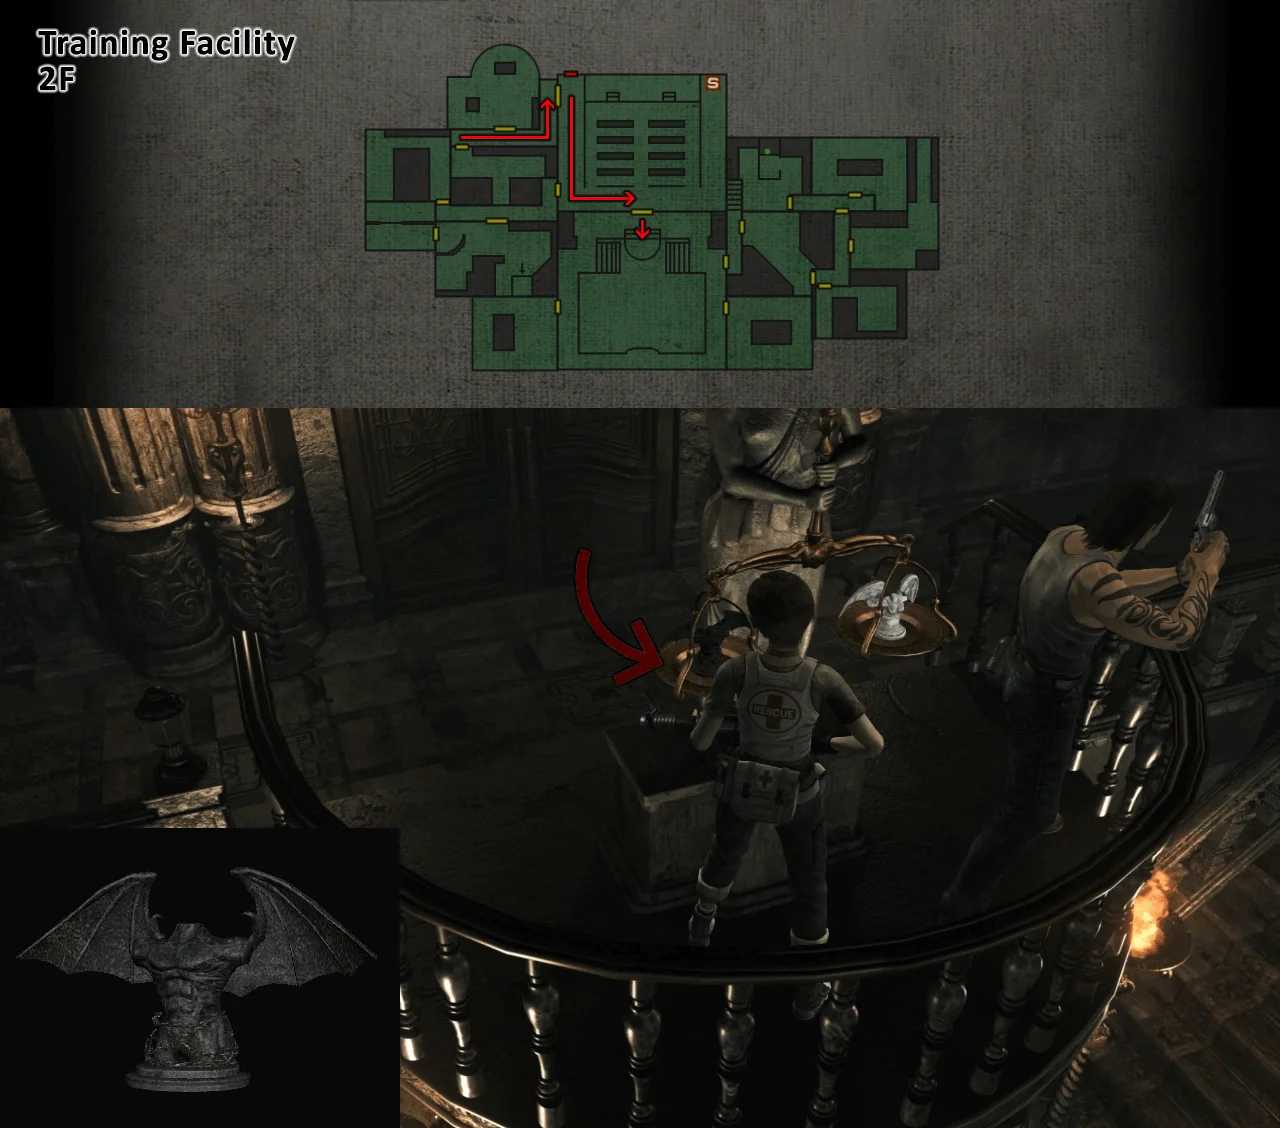
A new route is unlocked; go through
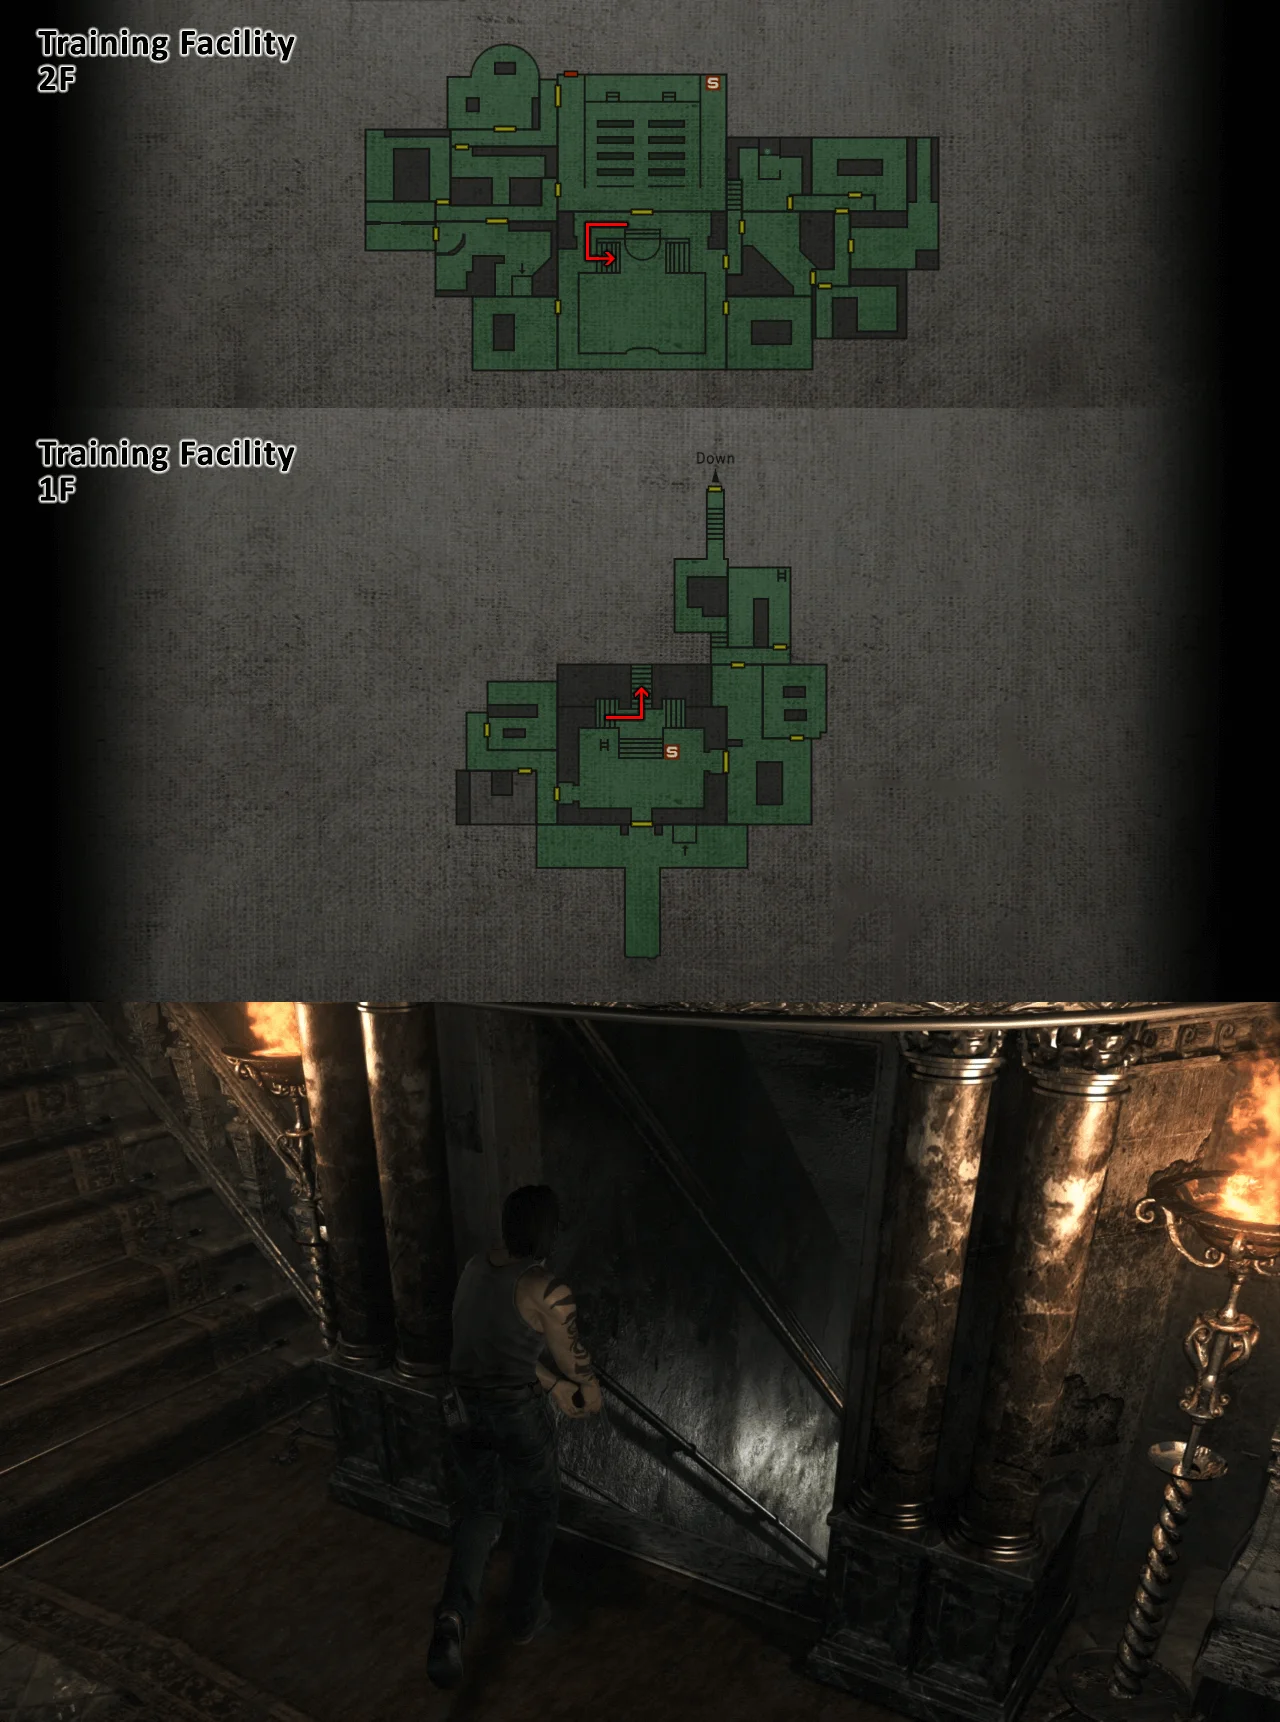
Clean up the Spiders and go through the door at the end
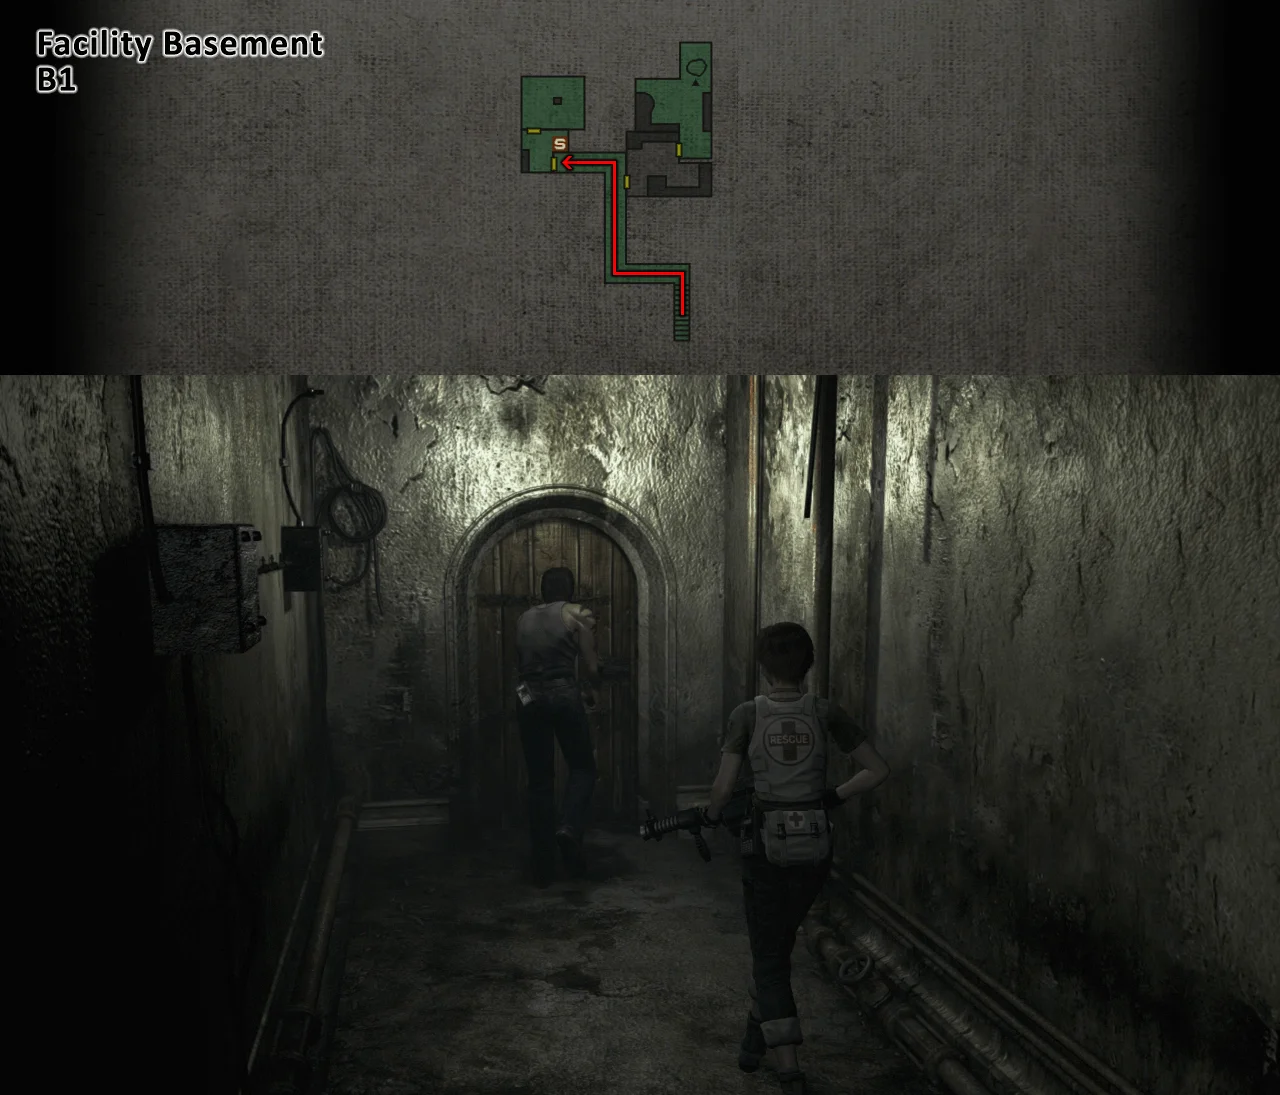
Pick up the Facility Basement Map
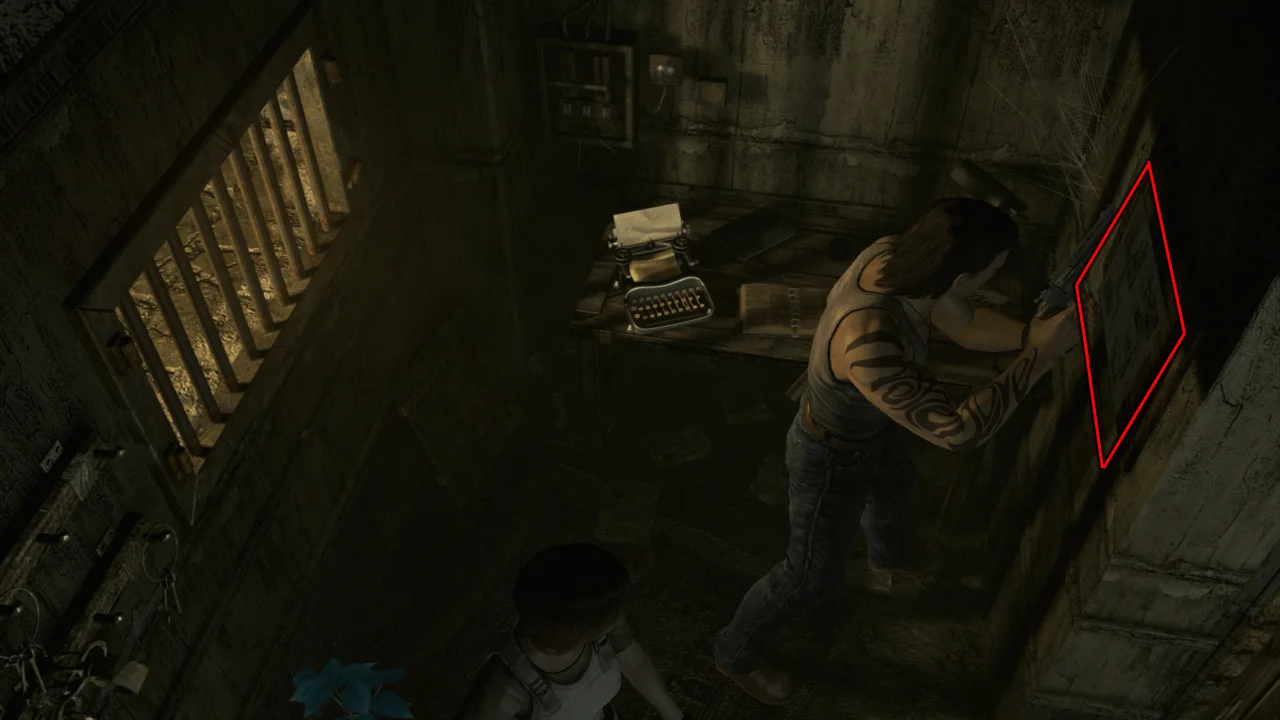
Go to the next room and give Rebecca a boost to go through the vent
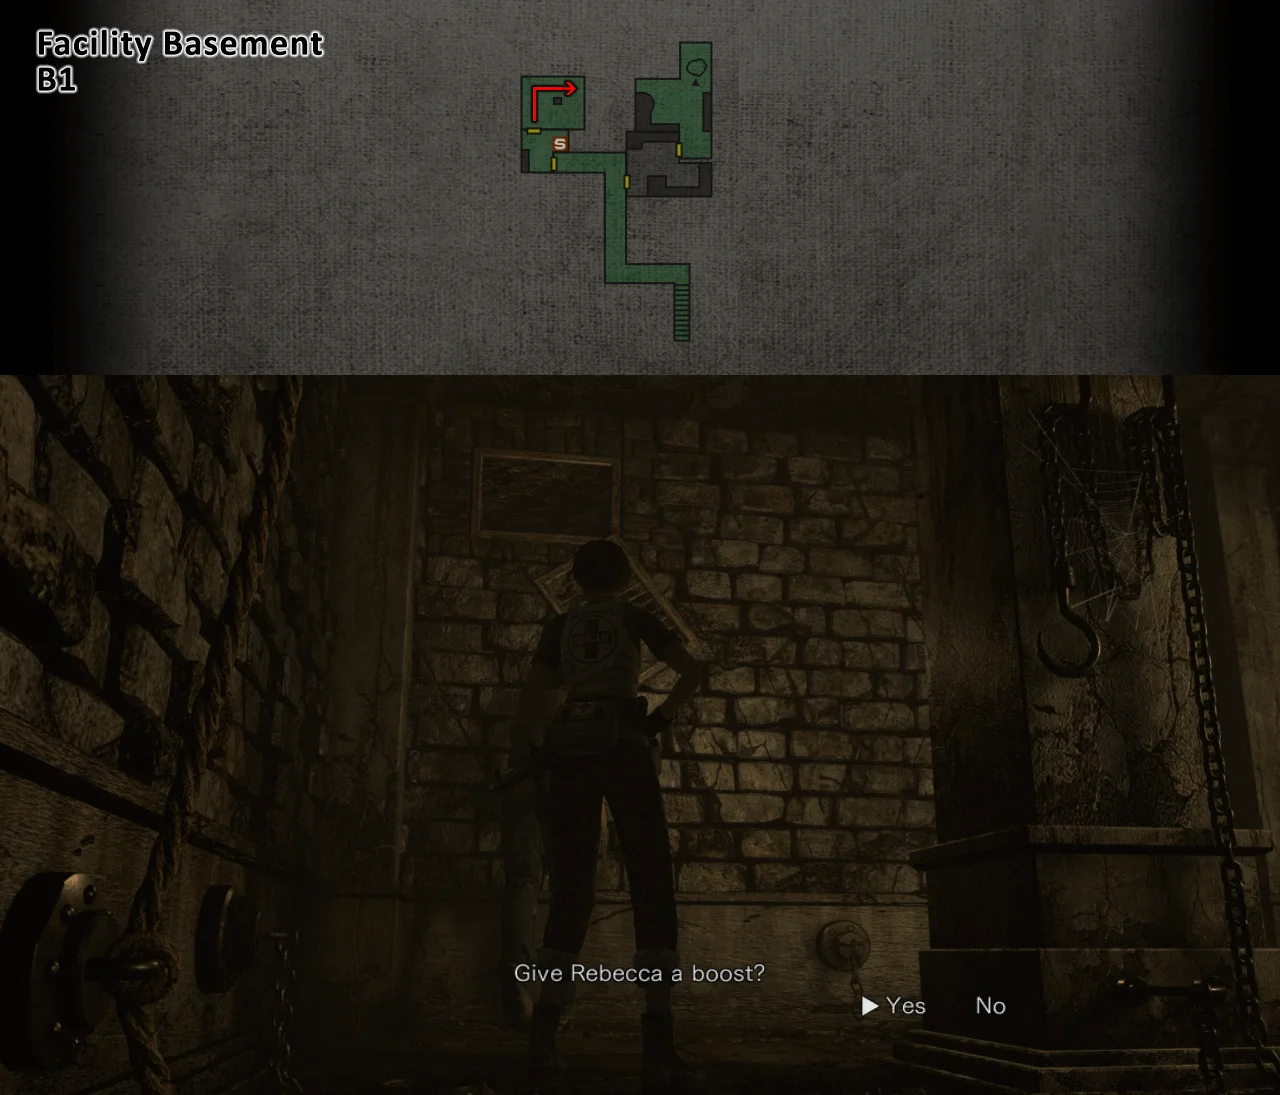
Adjust the panel
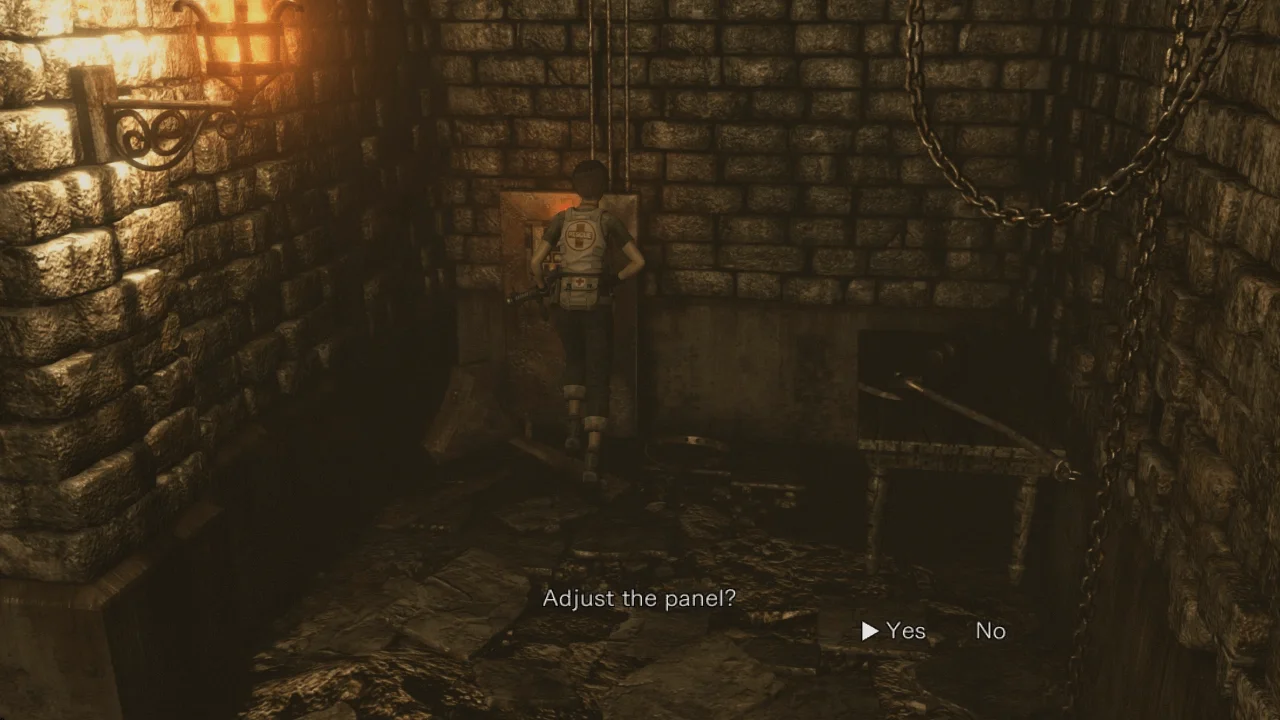
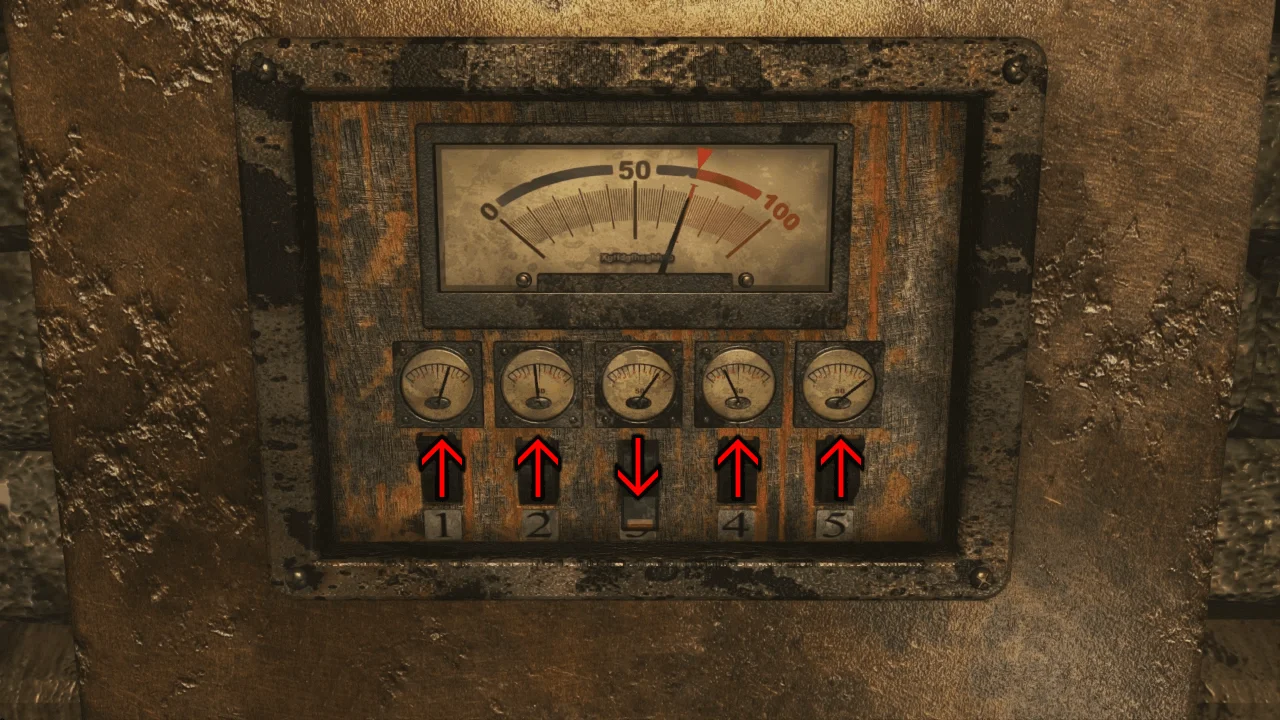
As instructed in the File "About the Power Regulator", you will need to adjust the panel to 70;
Flip the 1st switch UP
Flip the 2nd switch UP
Flip the 3rd switch Down
Flip the 4th switch UP
Flip the 5th switch UP
After the cutscenes, you will need to save Rebecca;
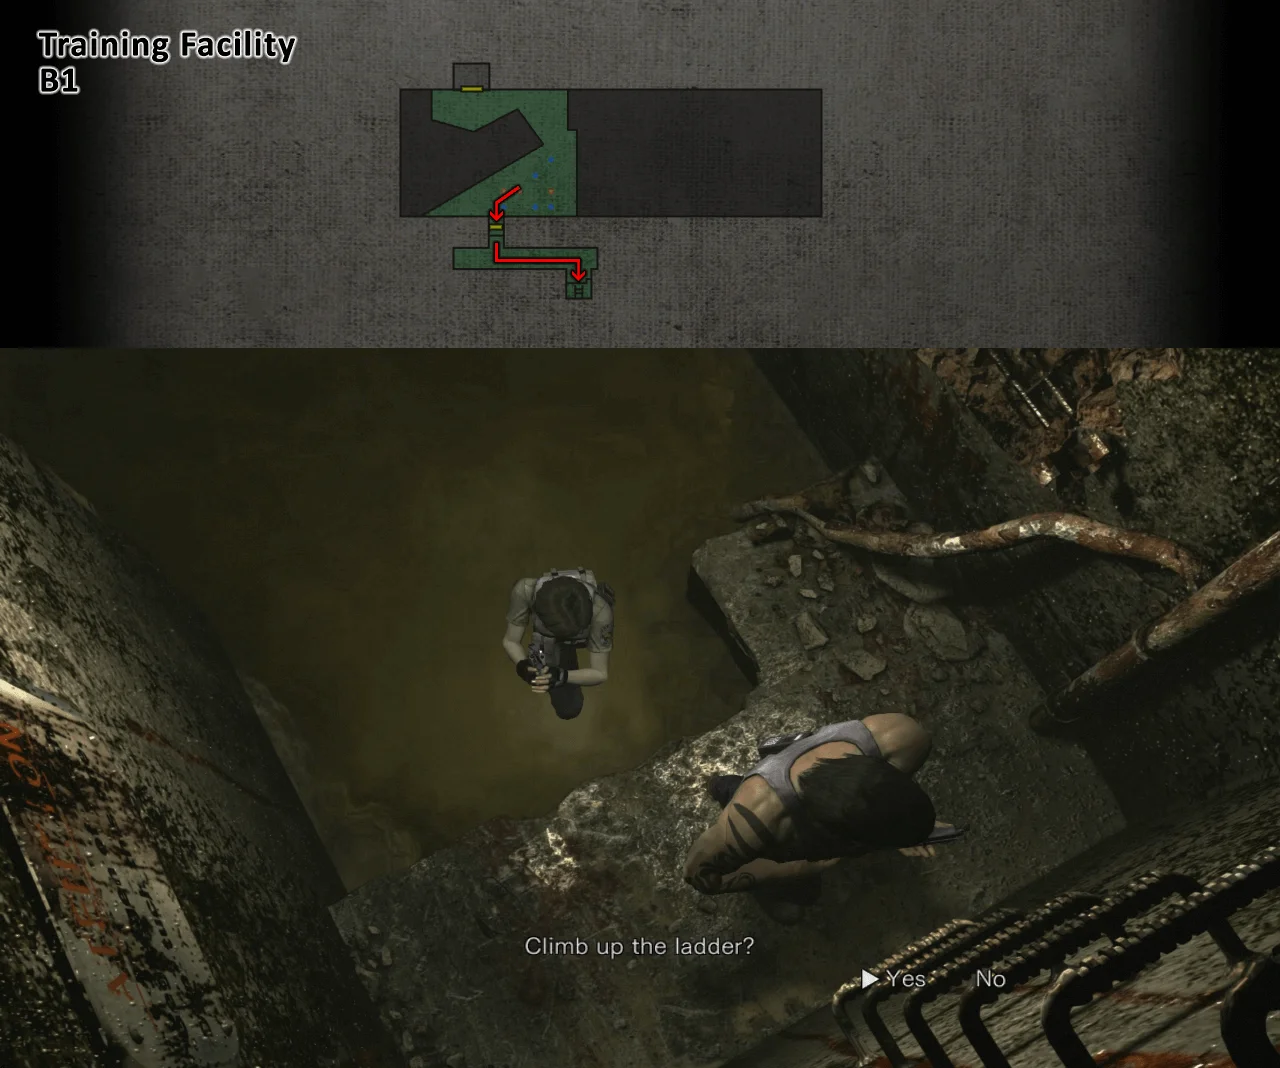
Exit the room, ignore the monkey and follow the directions in the maps below until you reach the basement
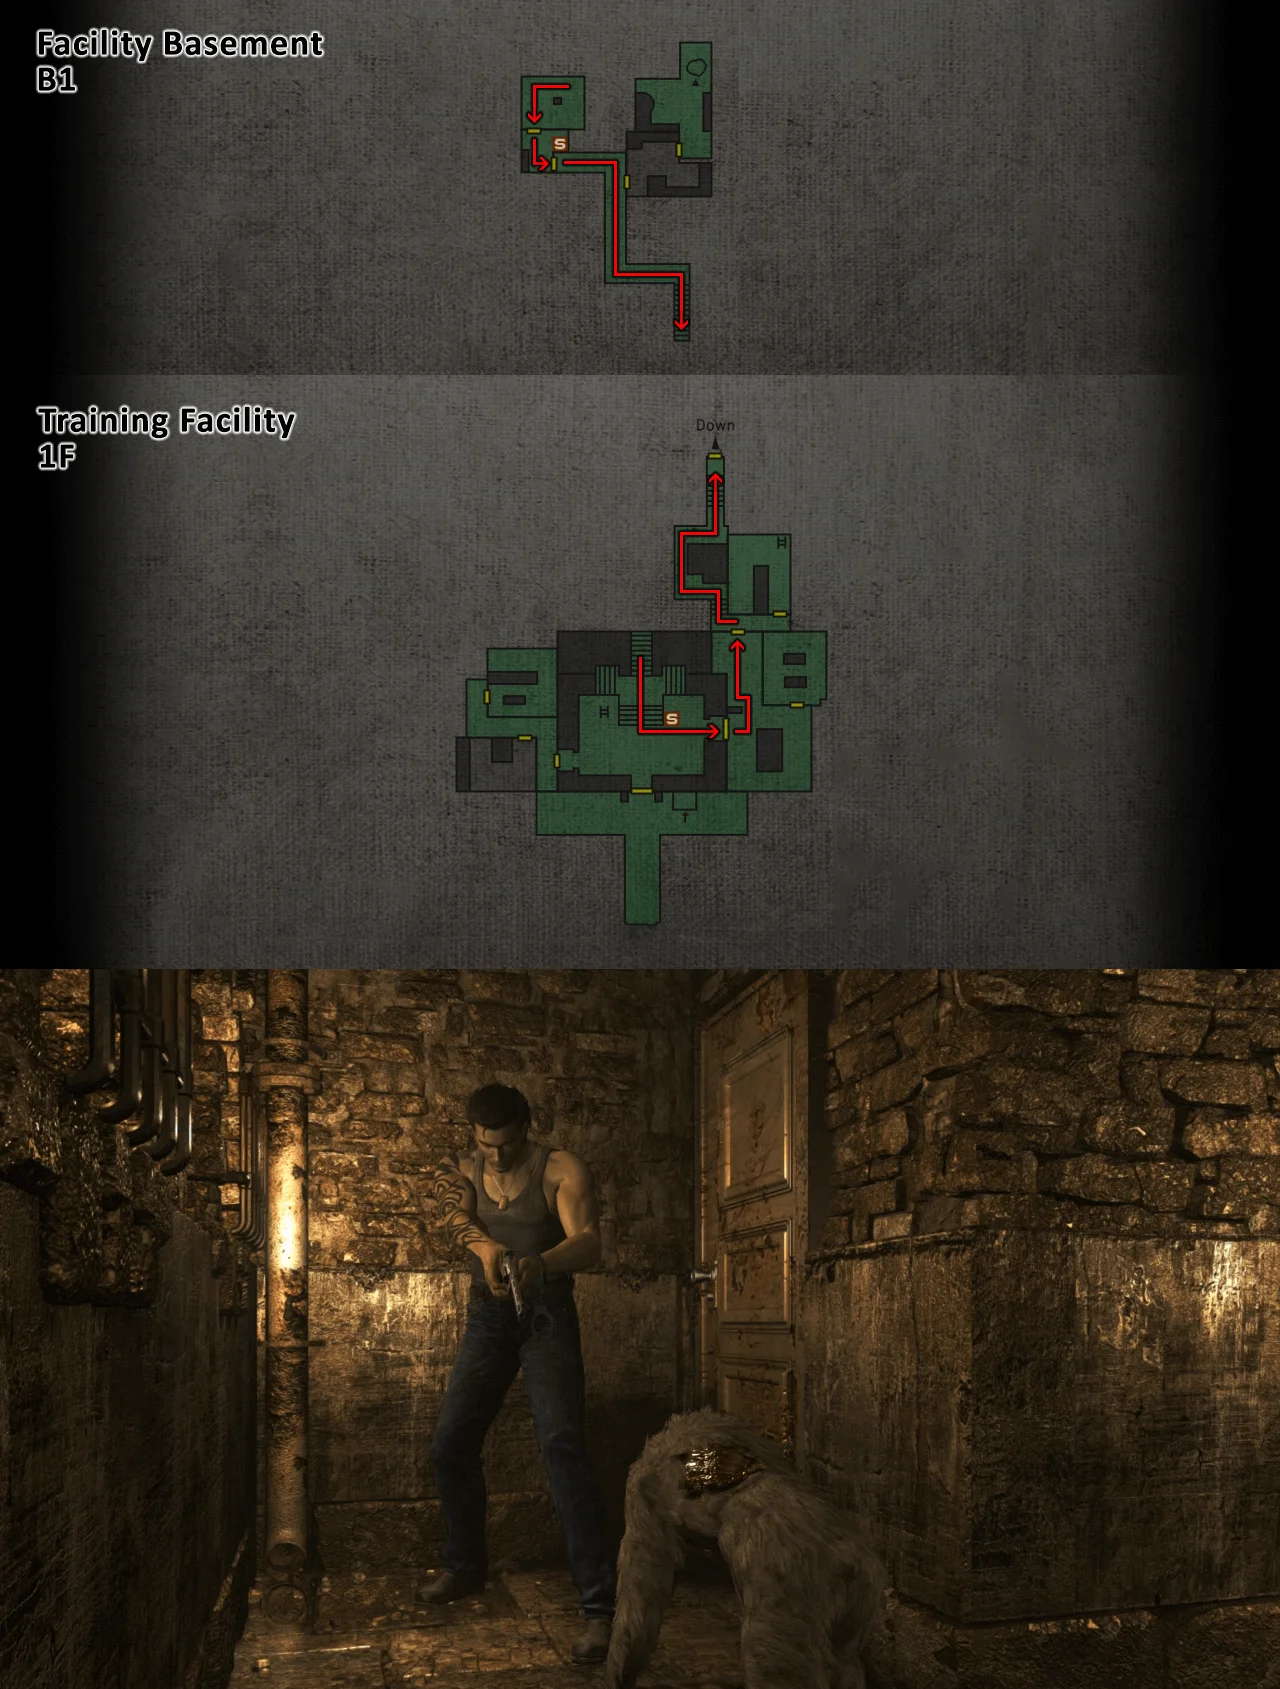
Arriving to this location, you will need to put down all the monkeys, do so and proceed to save Rebecca
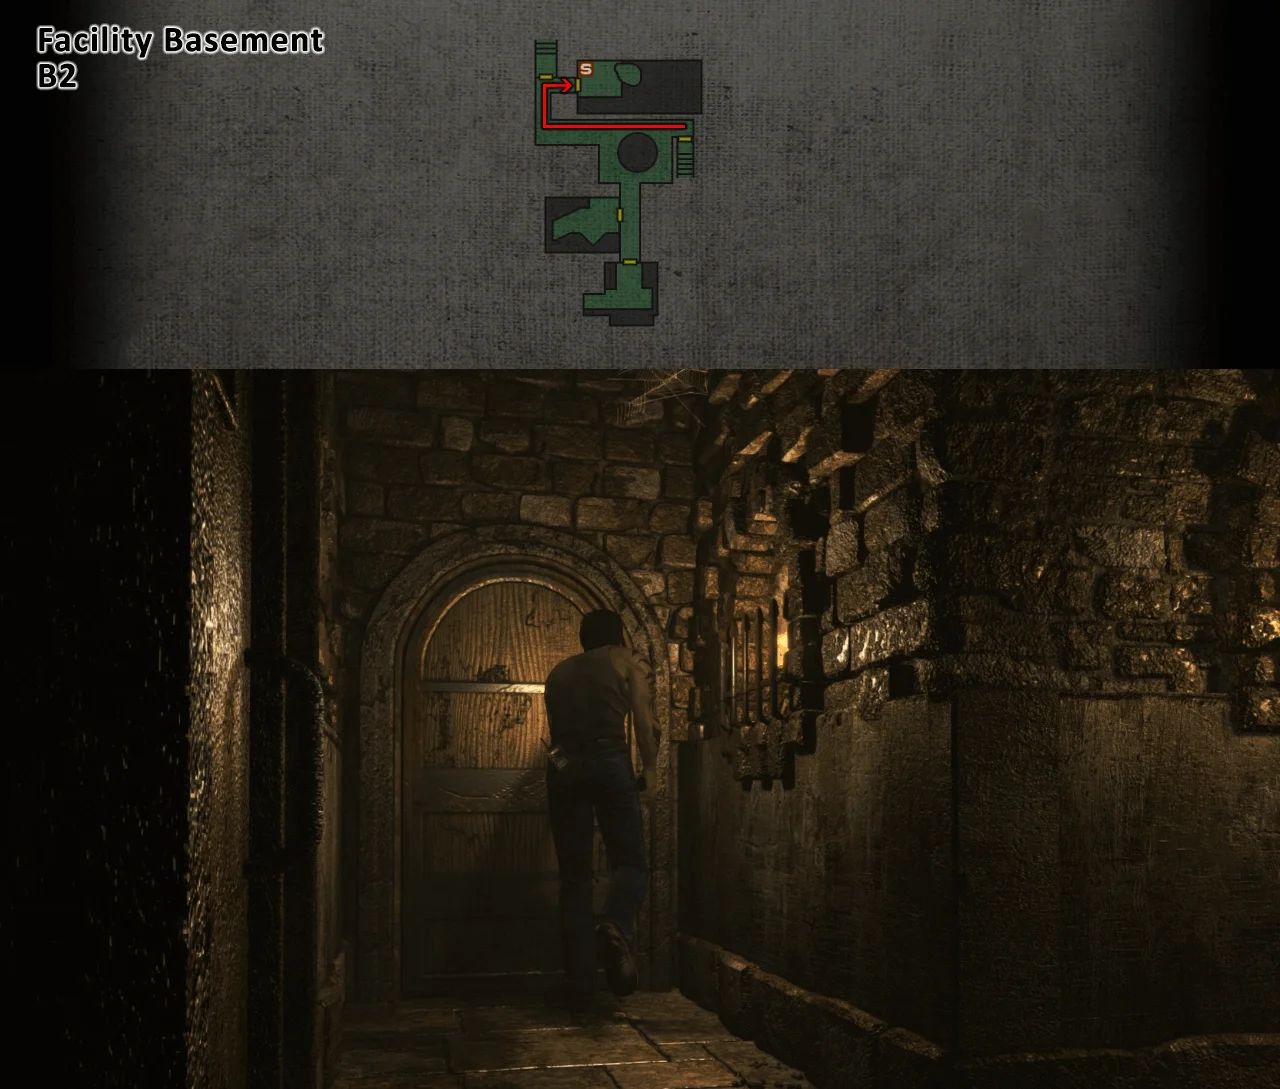
After saving Rebecca, save the game and go to the first room on the floor below
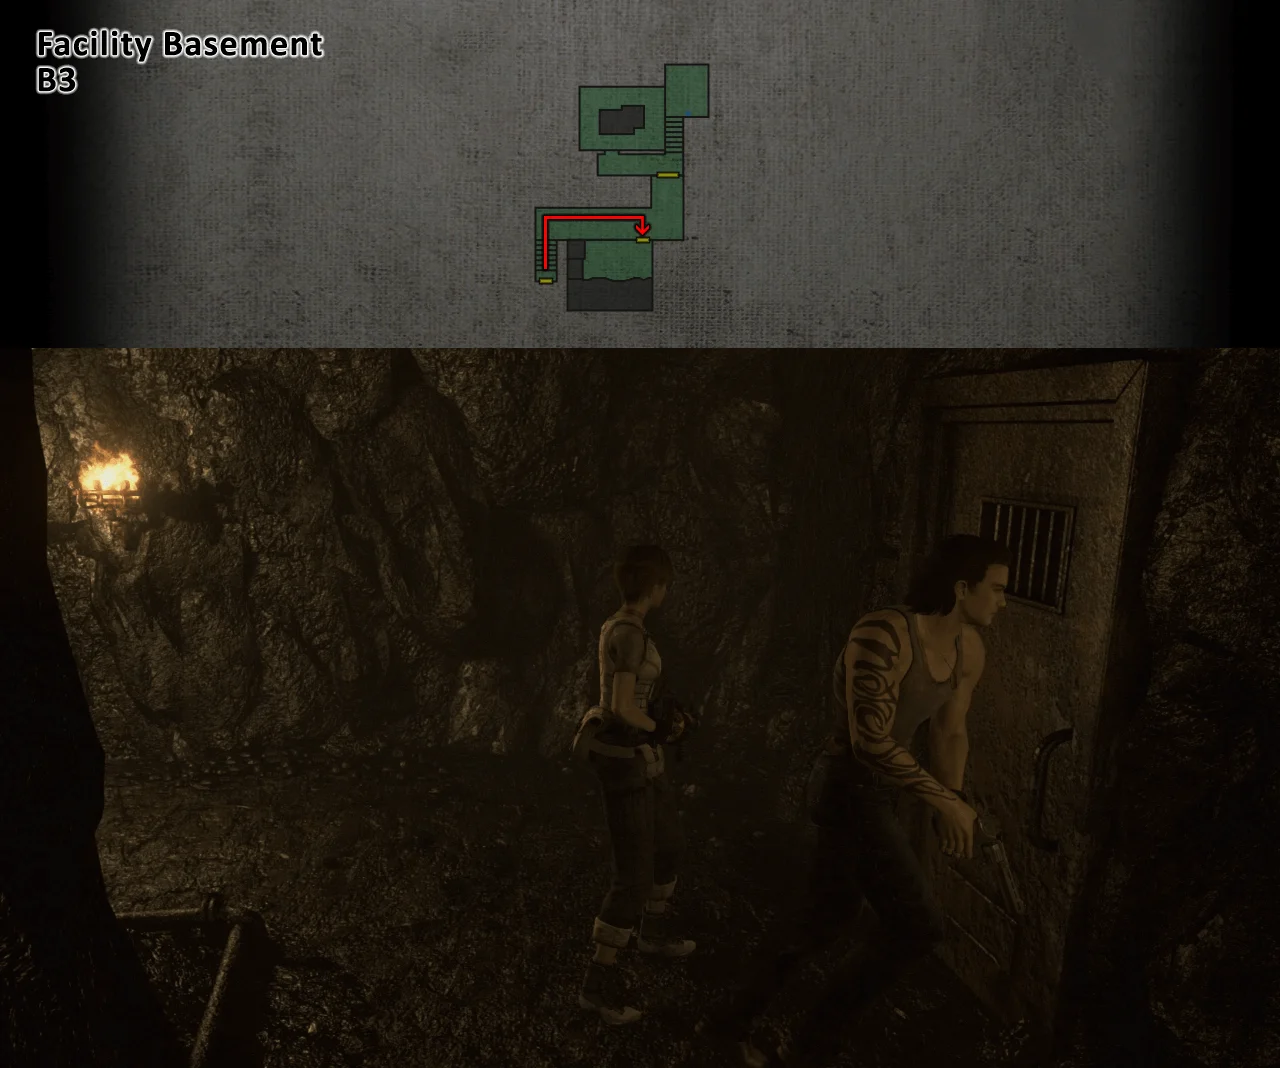
Pick up the Locker Key (the insects will attack you after you pick up the key so, you will have time to escape without wasting ammo on them)

Use the Locker Key to open the Locker and get the Duralumin Case
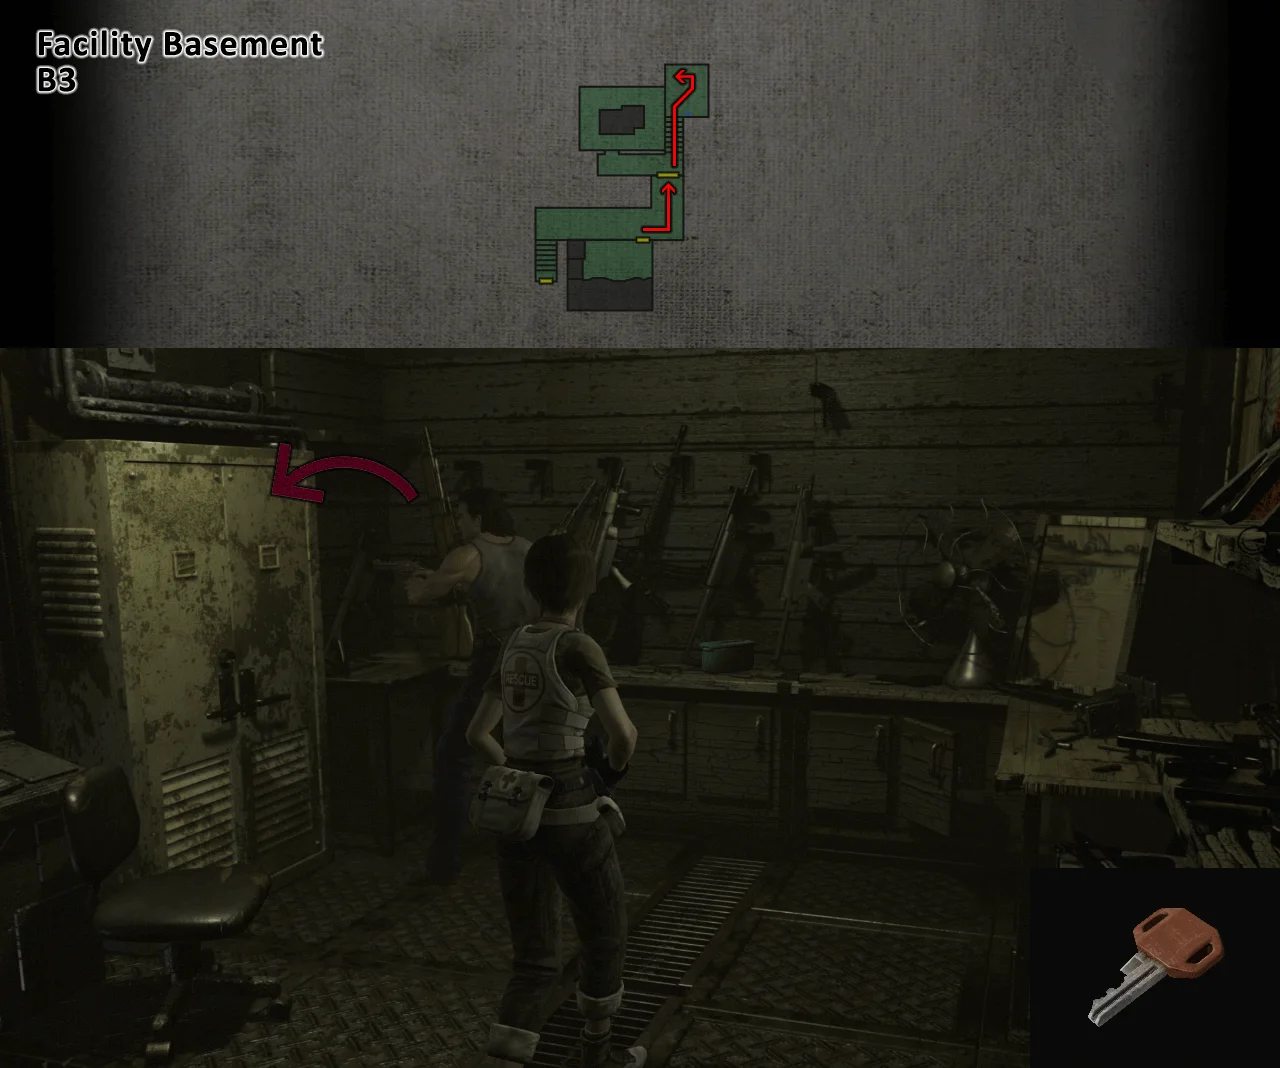
Examine the Duralumin Case to reveal the combination to open it then examine the dial to enter the combination

You will get the Handgun Parts that you can combine with either Billy's Handgun or Rebecca's Handgun to get the Custom Handgun.
For more info on weapons, check this Guide.

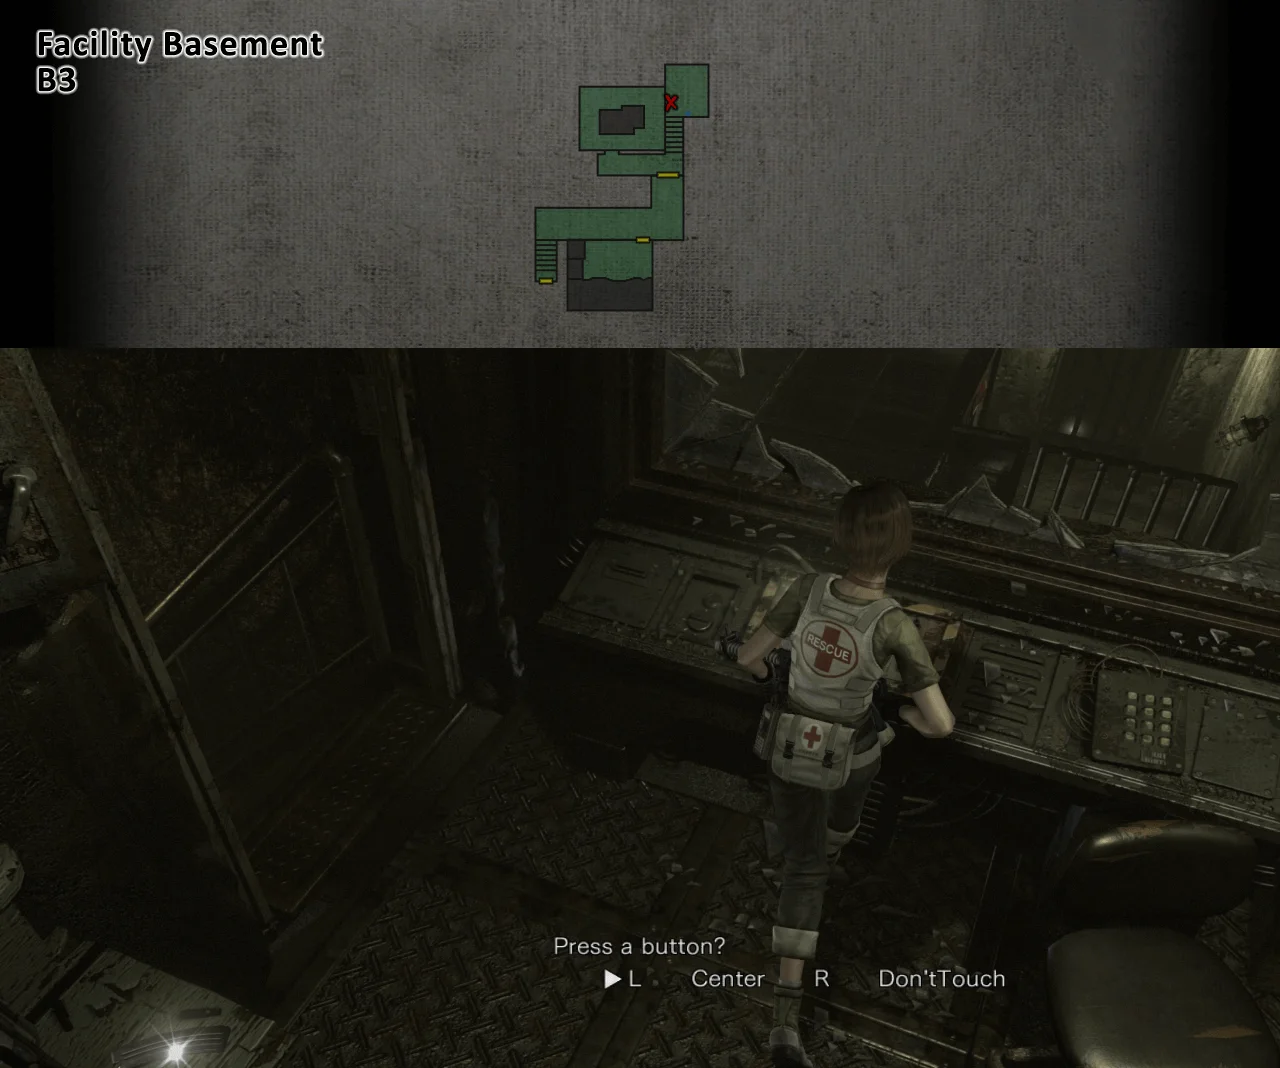
Using Billy get into the position as shown below
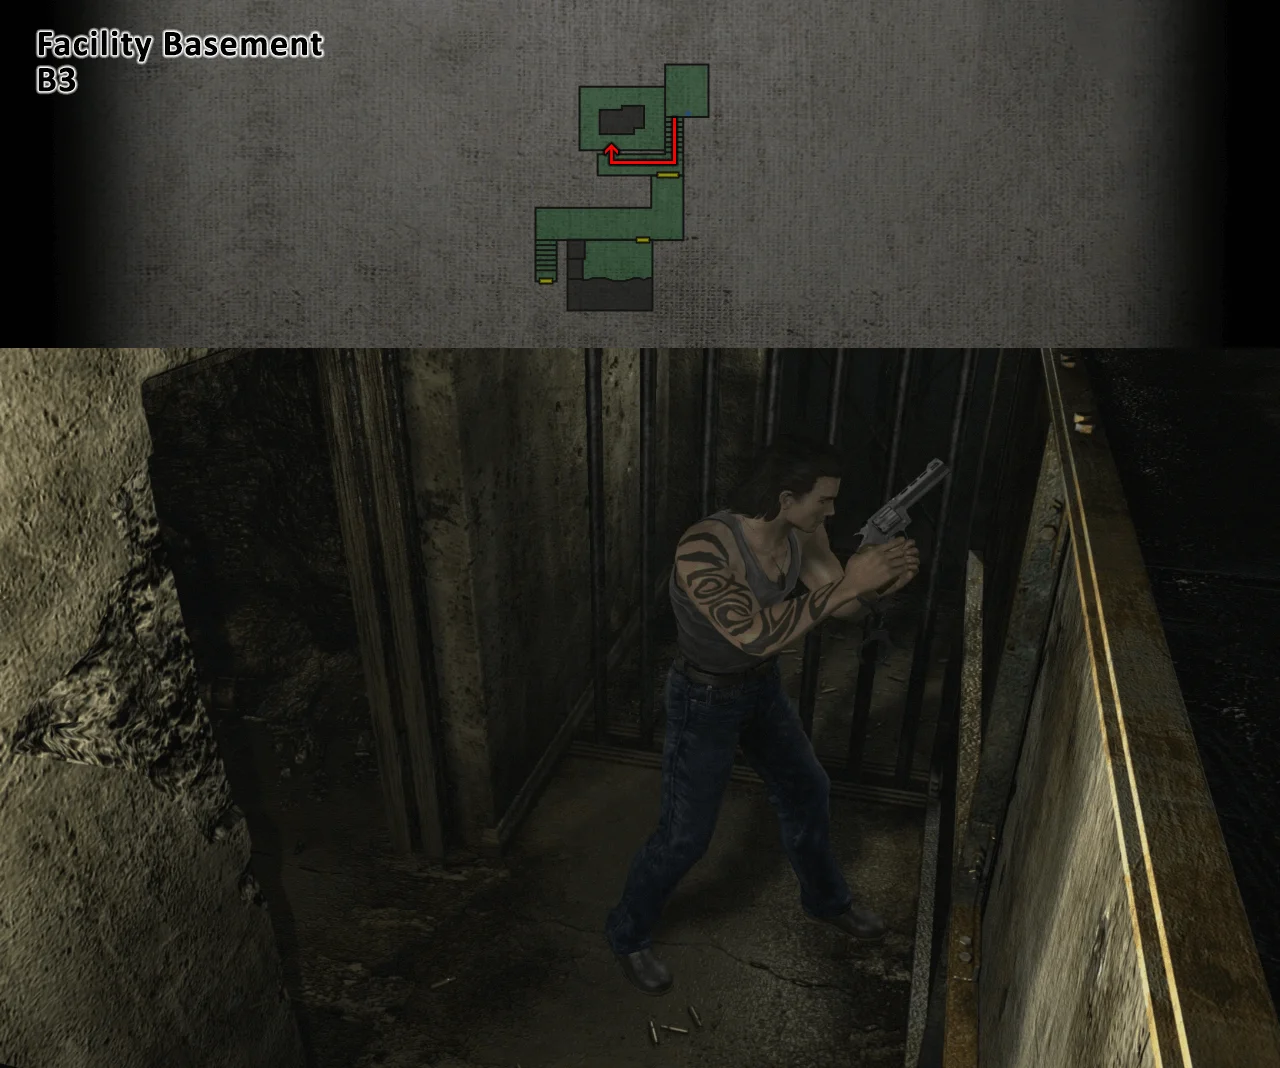
Have Rebecca press the left button in the panel
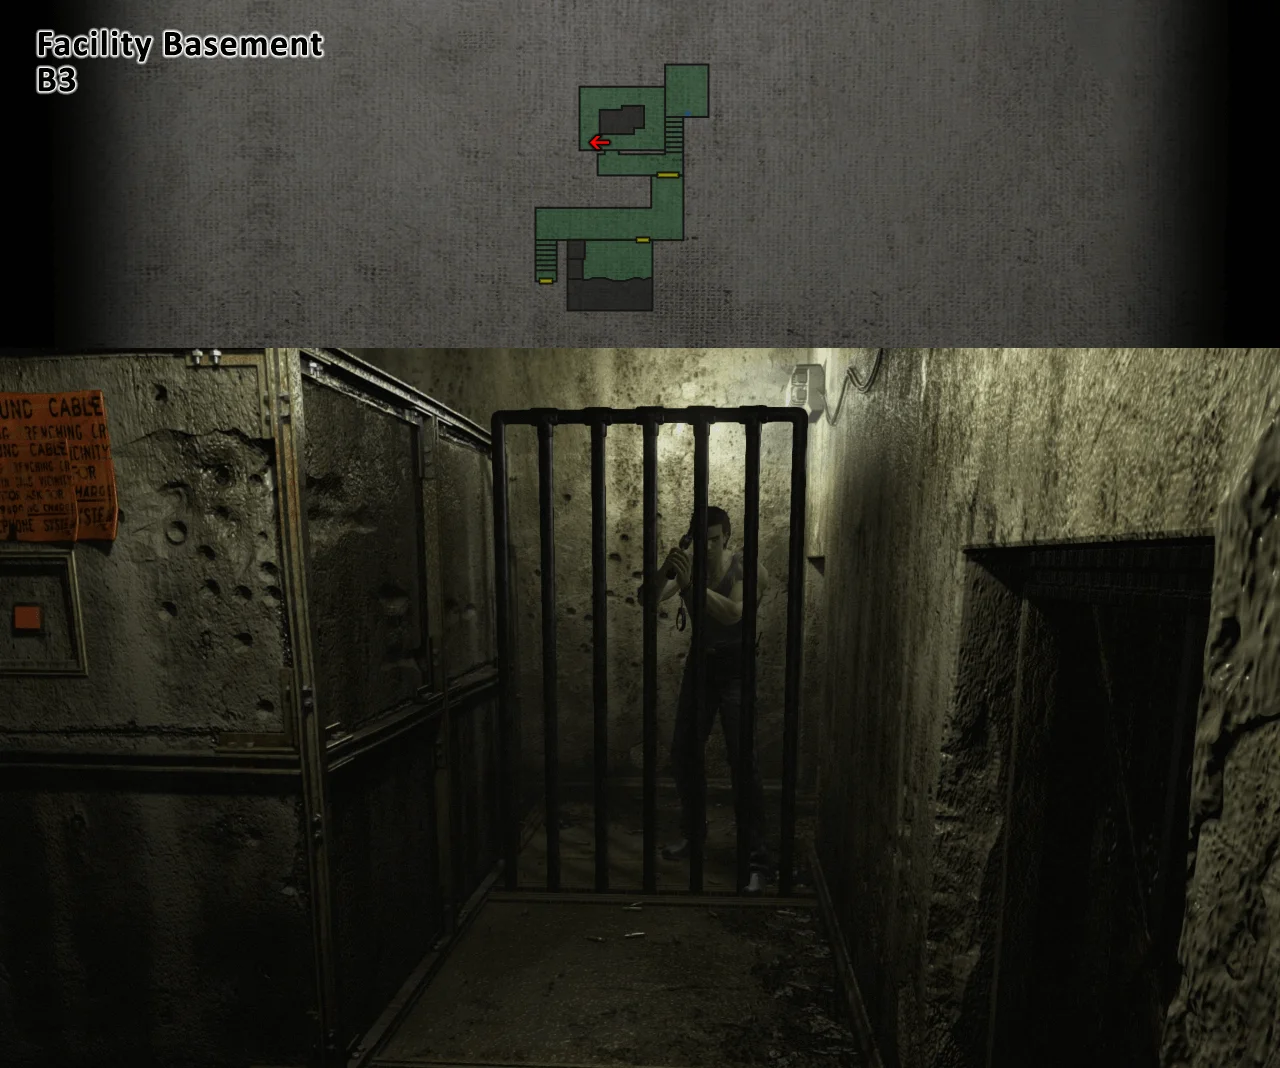
Have Billy move forward then press the left button again using Rebecca
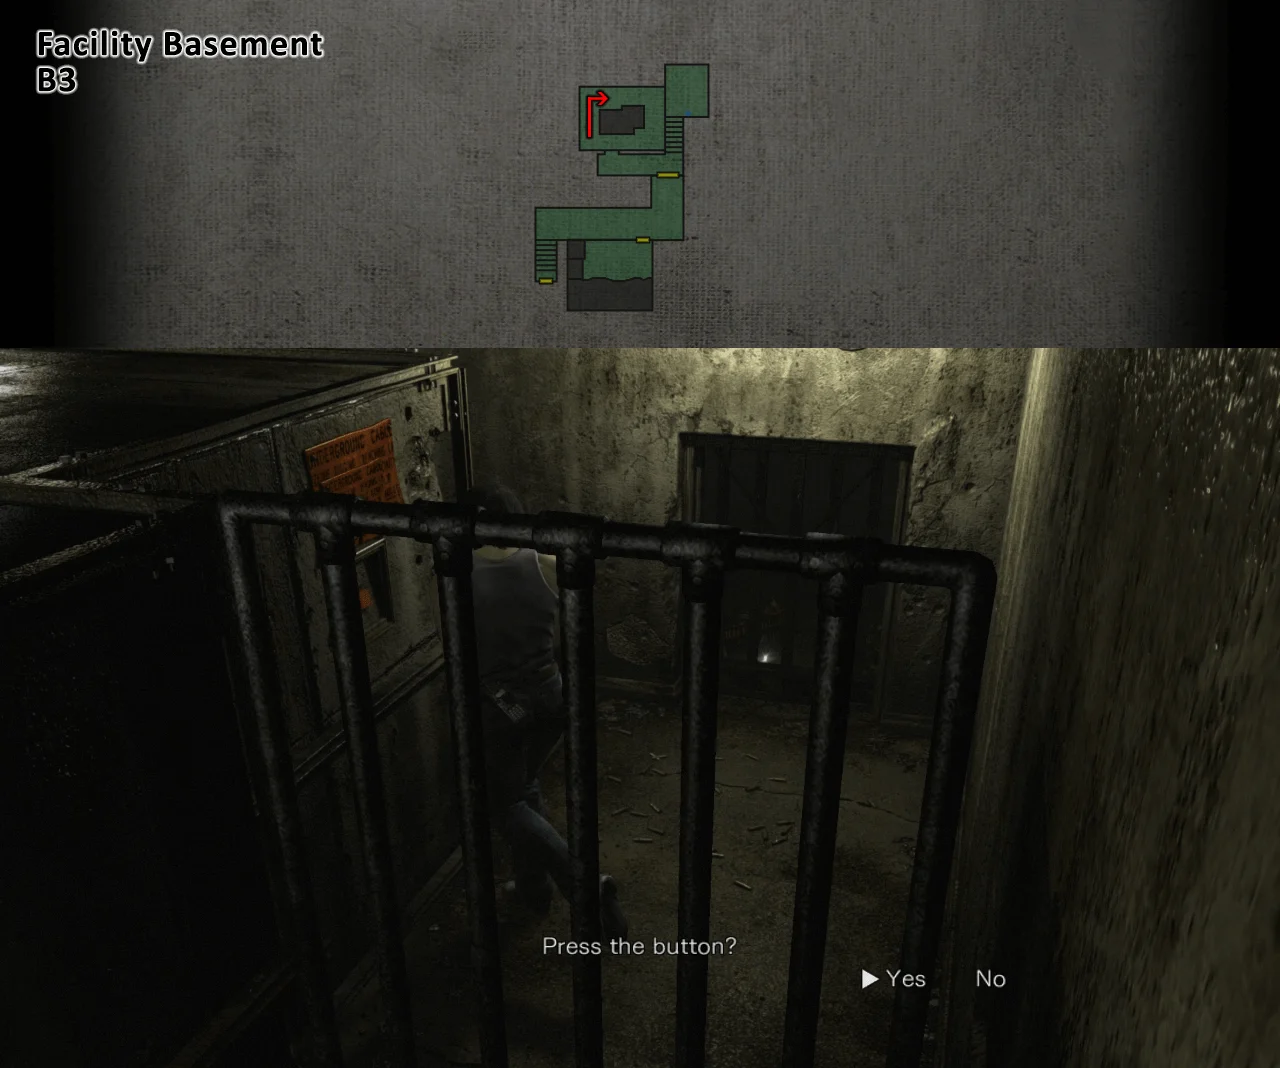
Press the button and prepare to fight (Lizards' weakness is Acid Grenades)
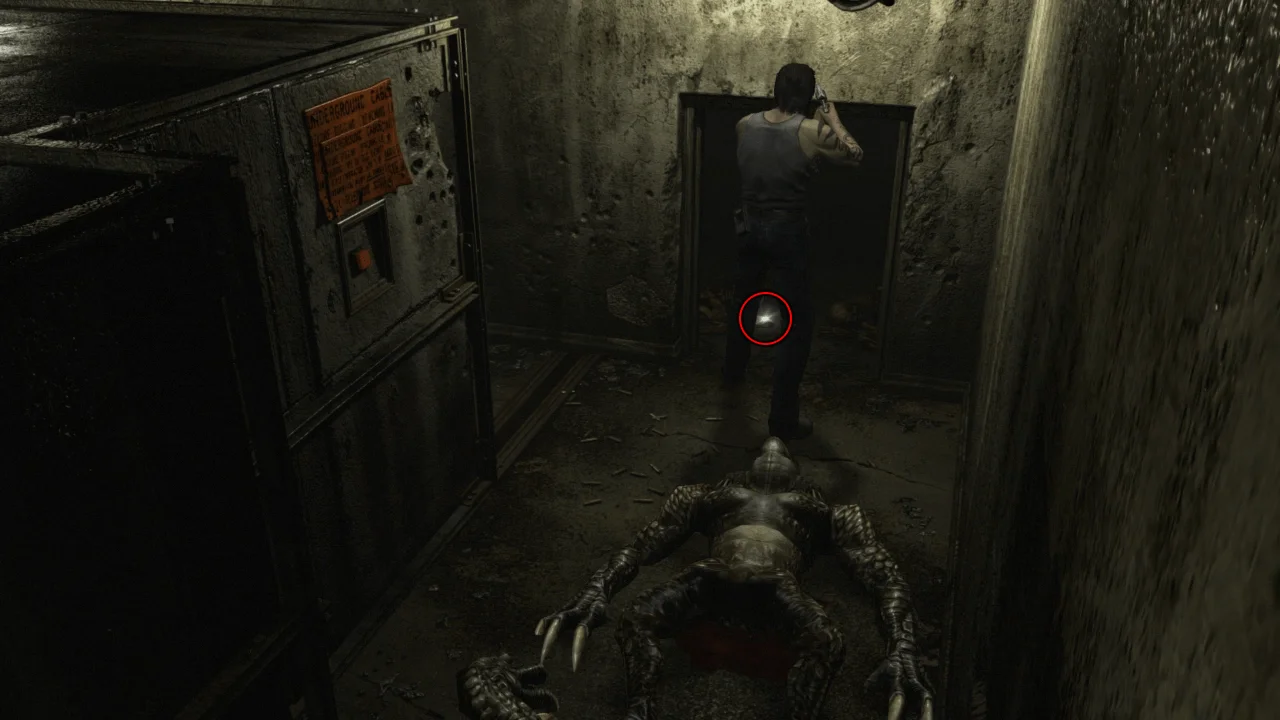
After killing the Lizards, pick up the Water Key and regroup
Leave the area to where you killed the Monkeys
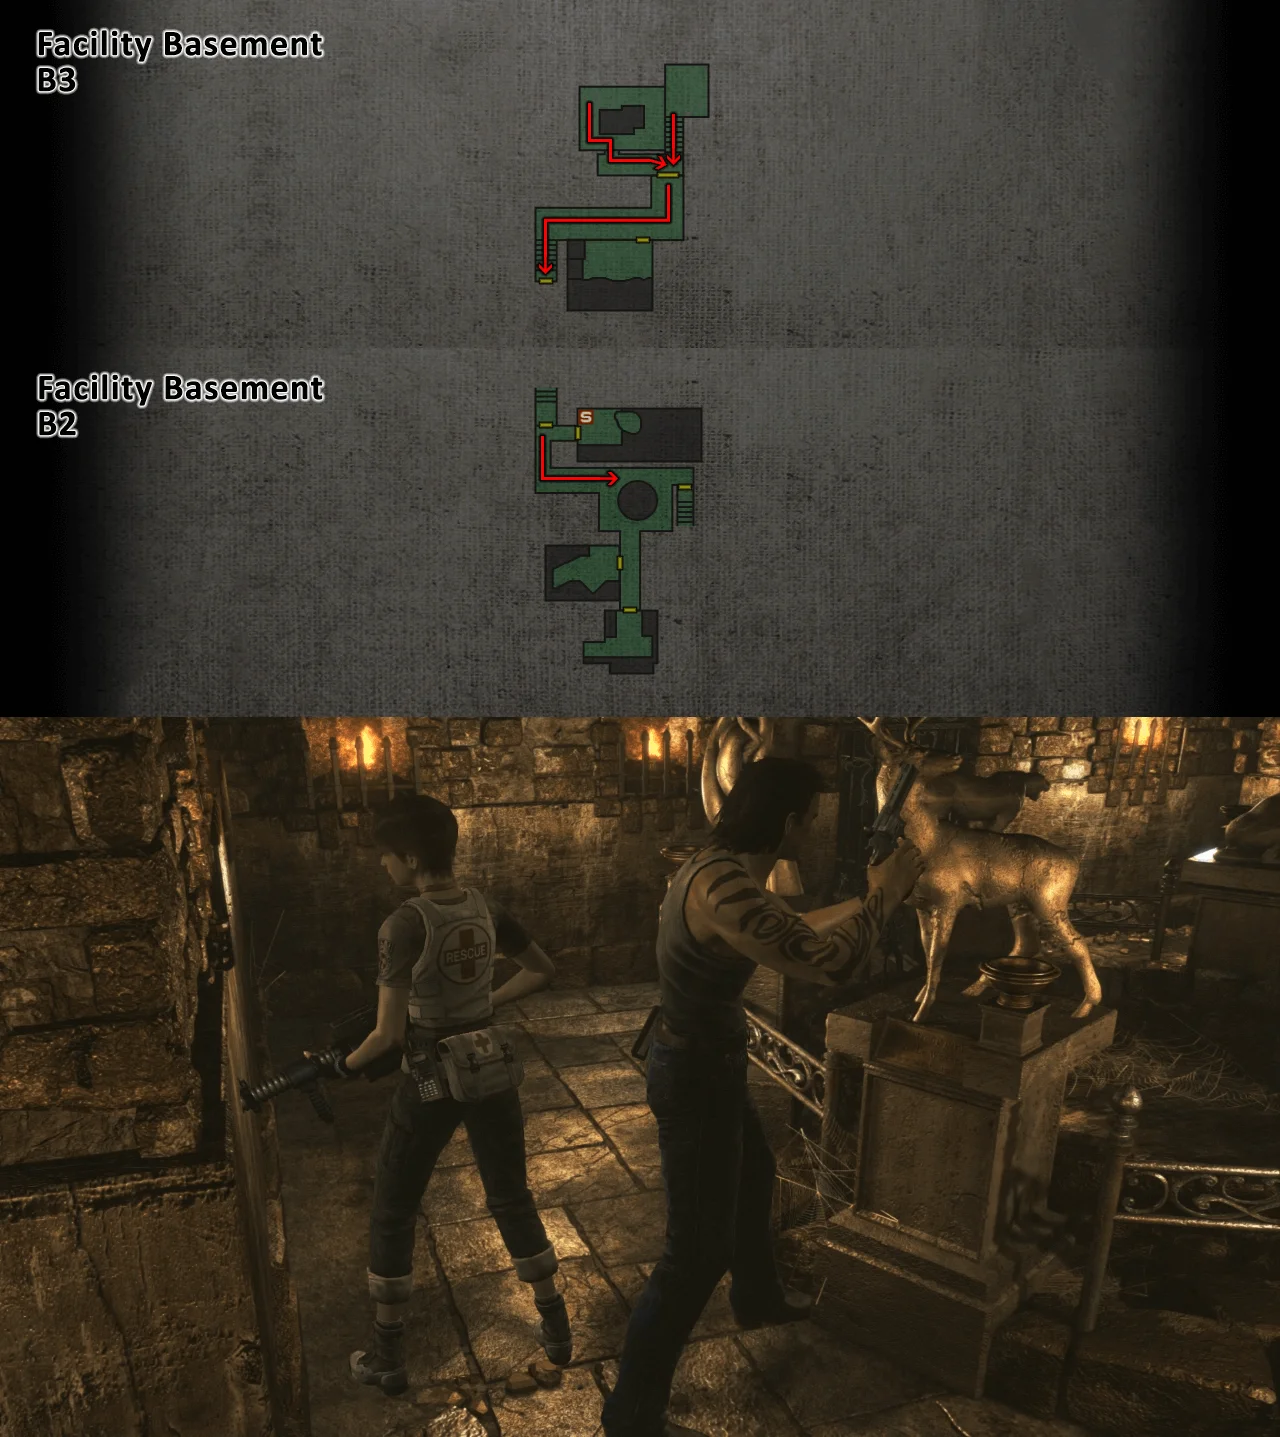
This puzzle consists of lighting the animals' torches using Billy's Lighter in an order of weakest to strongest according to their descriptions.
Here is the order in which you light the torches:
1- Deer
2- Wolf
3- Horse
4- Lion
5- Snake
6- Hawk
After lighting the torches, the small gate would open;
Go through to the first door
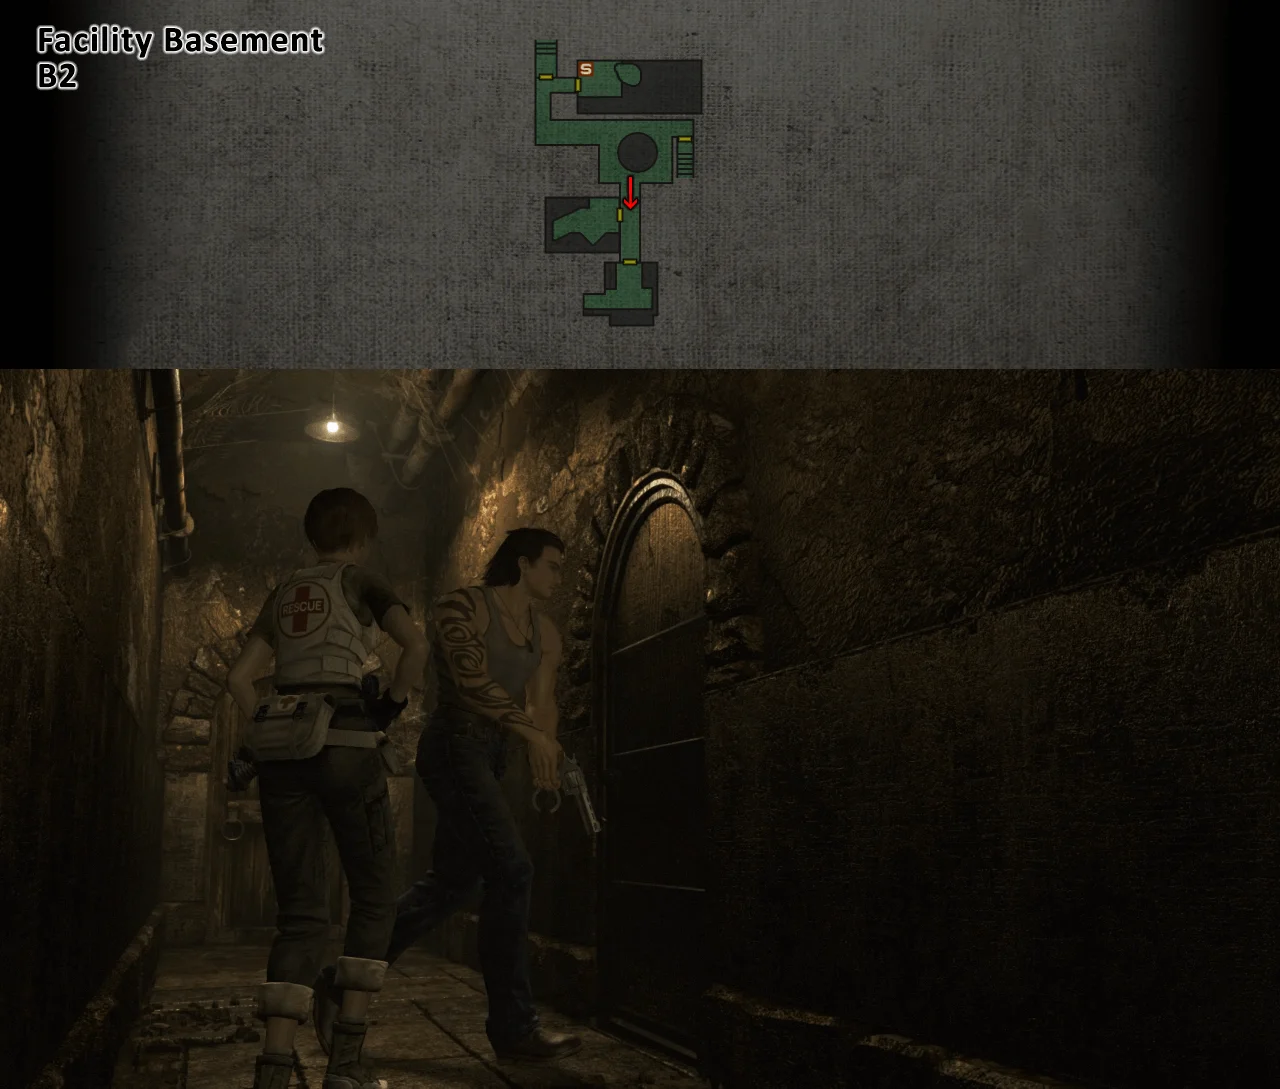
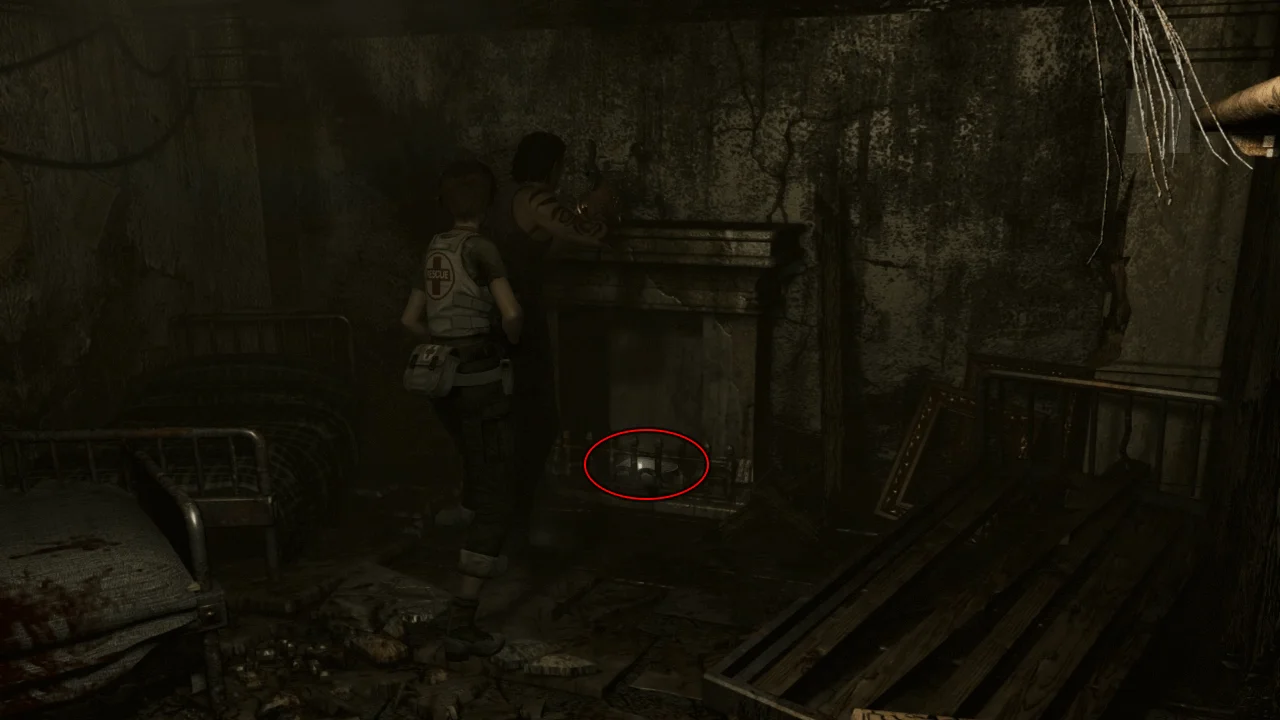
Pick up the Unity Tablet and leave the area
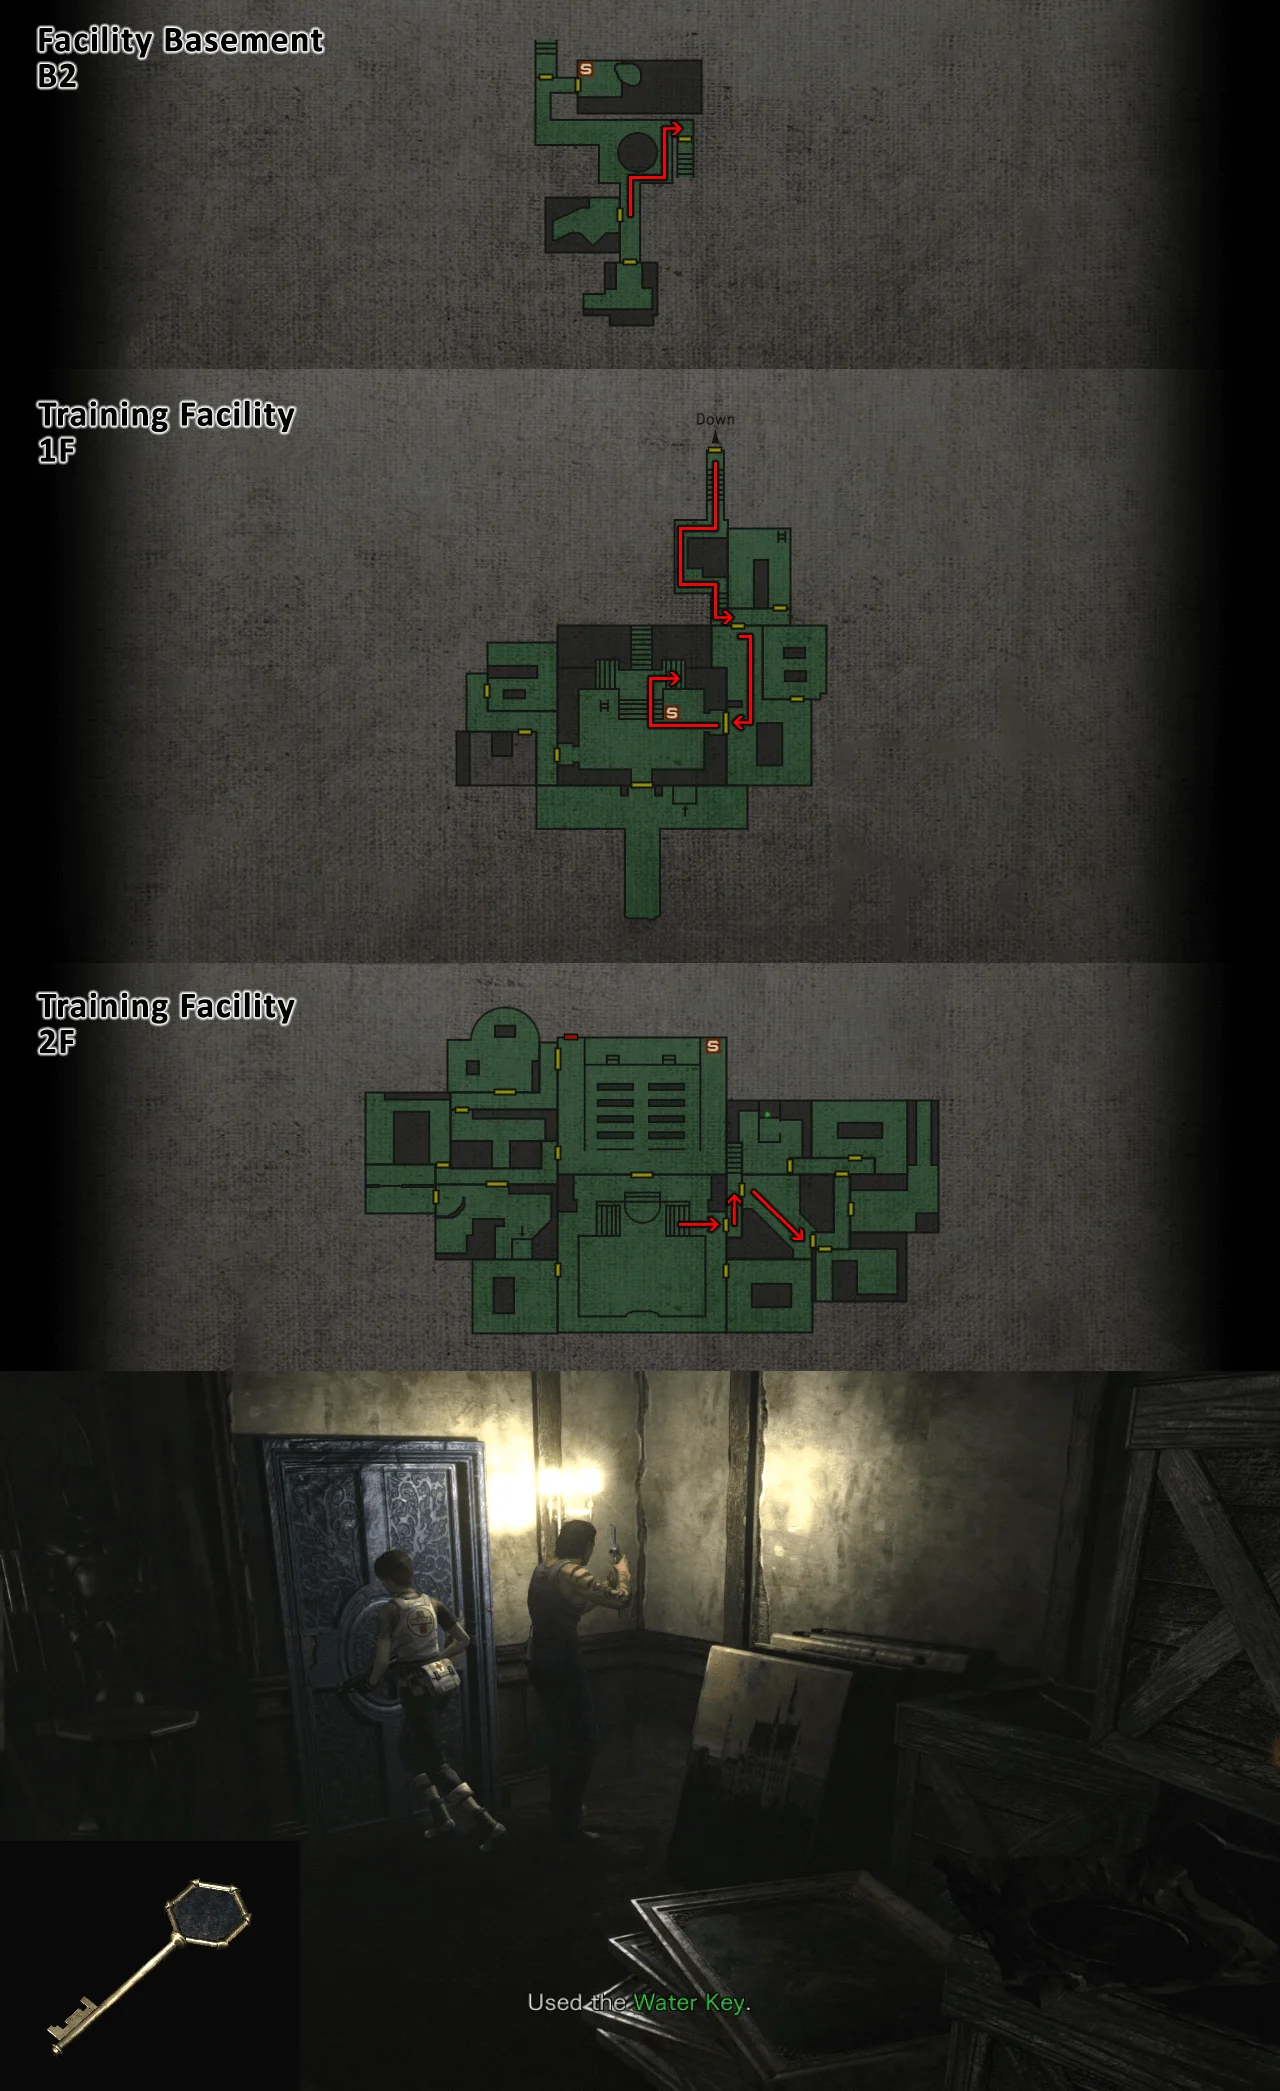
Go to the 3F of the Facility and use the Water Key to open the Blue Door
Kill Mimicry Marcus and leave Rebecca outside before going through the first door
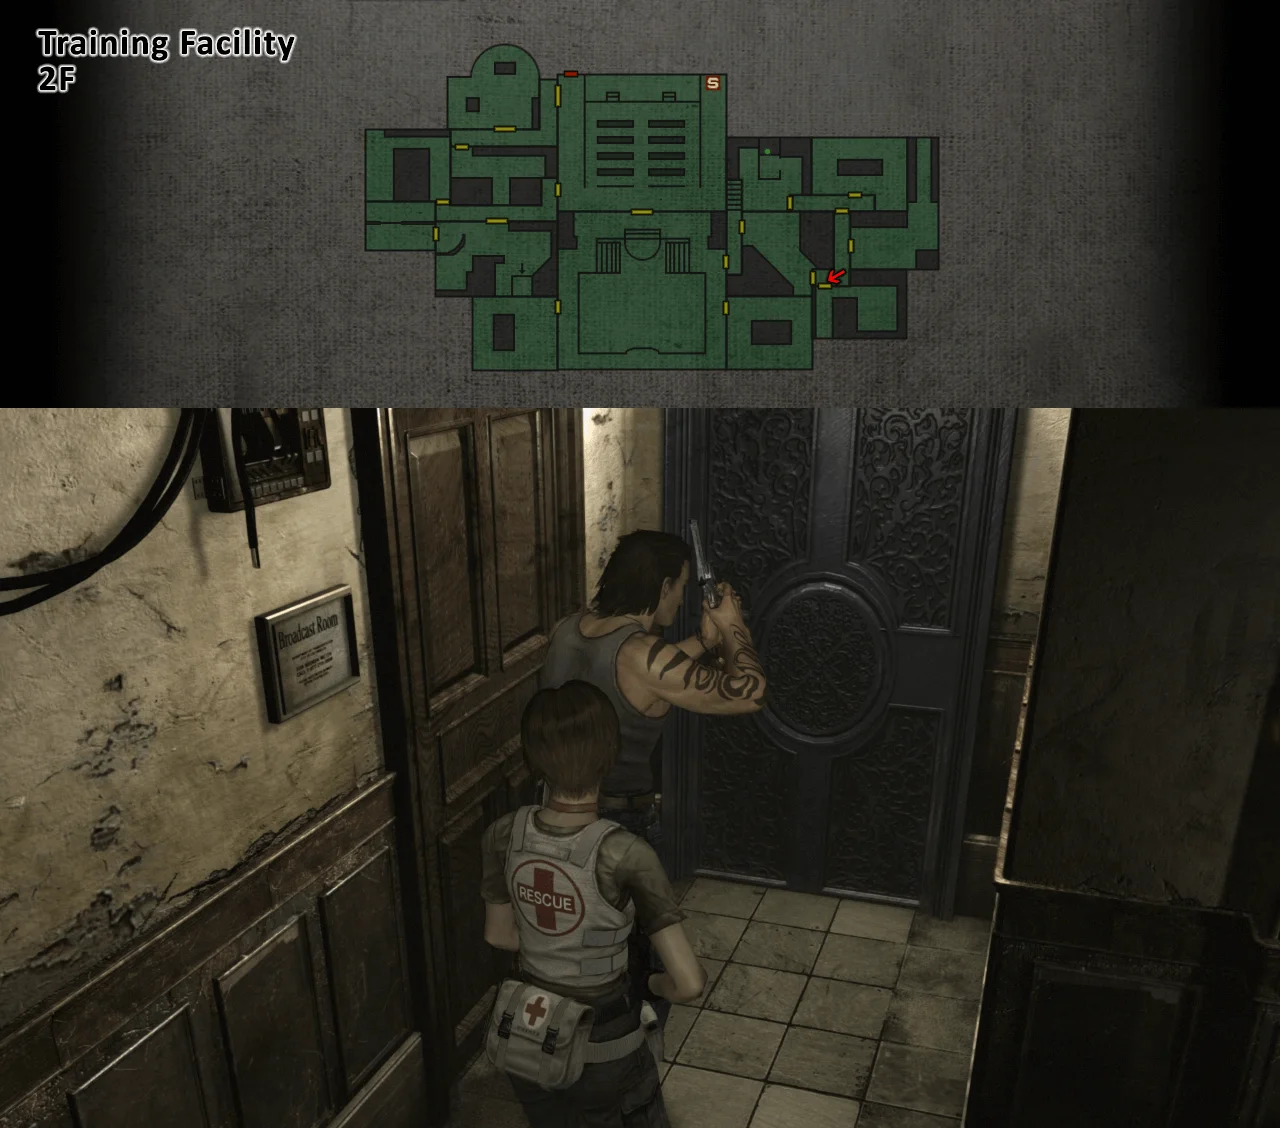
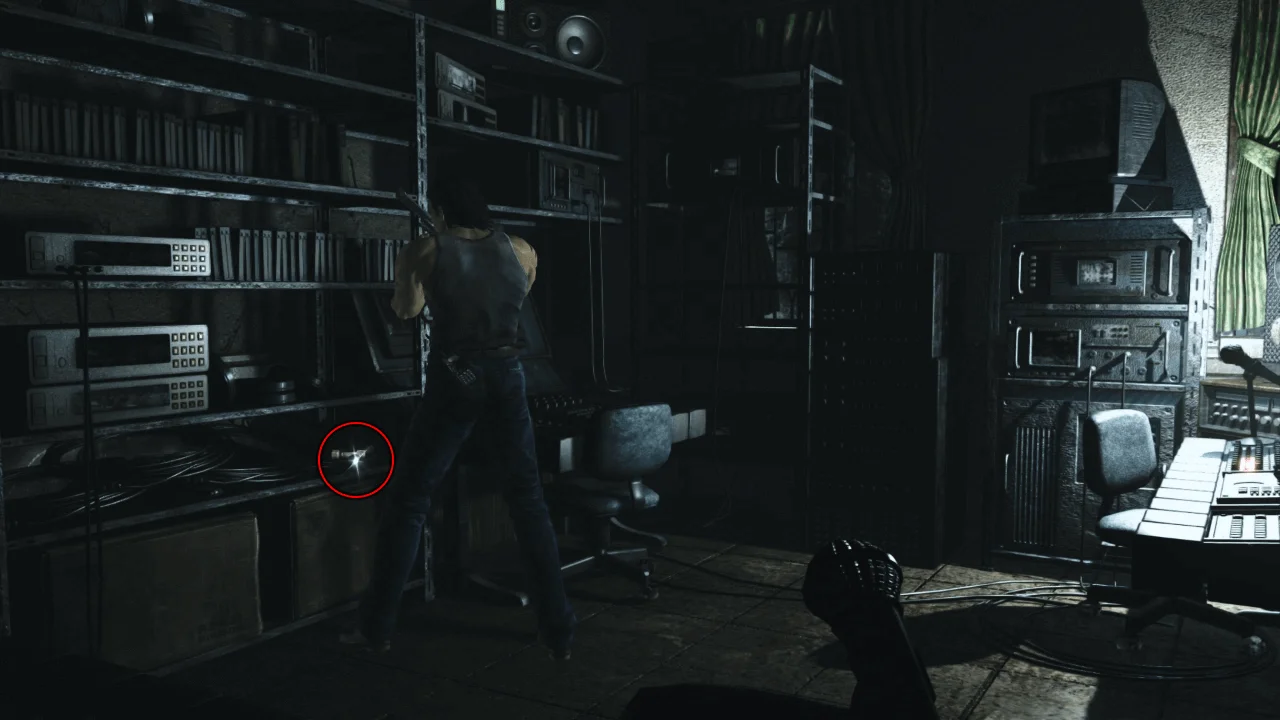
Inside is another Mimicry Marcus; if you're quick, you can pick up the Vice Handle while it's transforming and leave without fighting it
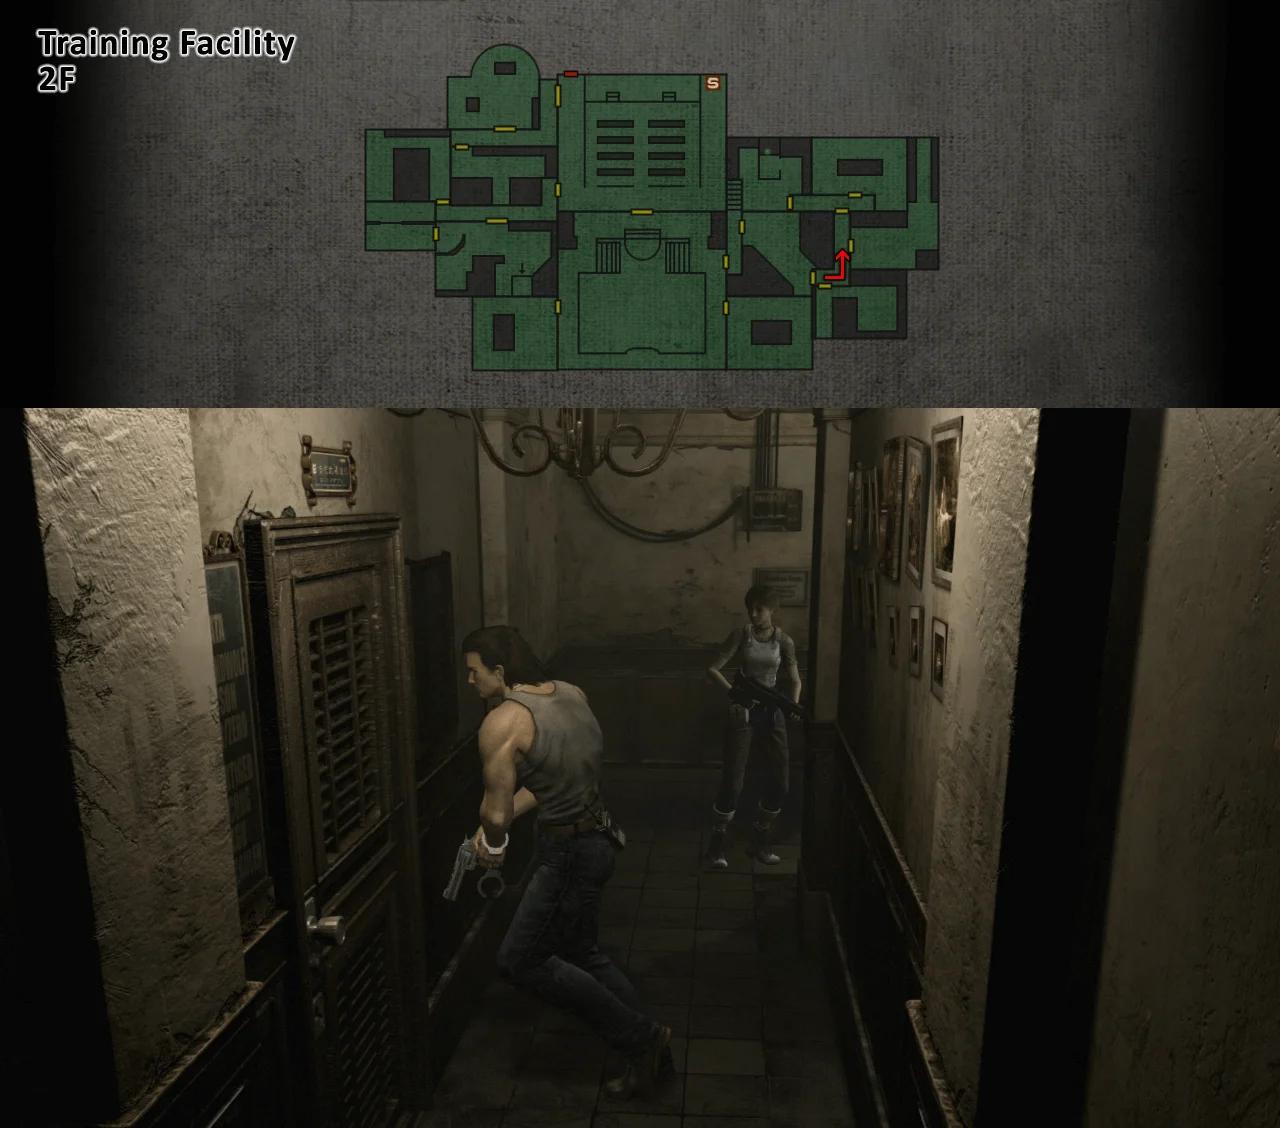
Regroup and go through the second door to the Bar
Have Billy play the Piano to open the secret room
(If you want to get the Achievement "Calm the Zombie Nerves", have Rebecca play the Piano first)
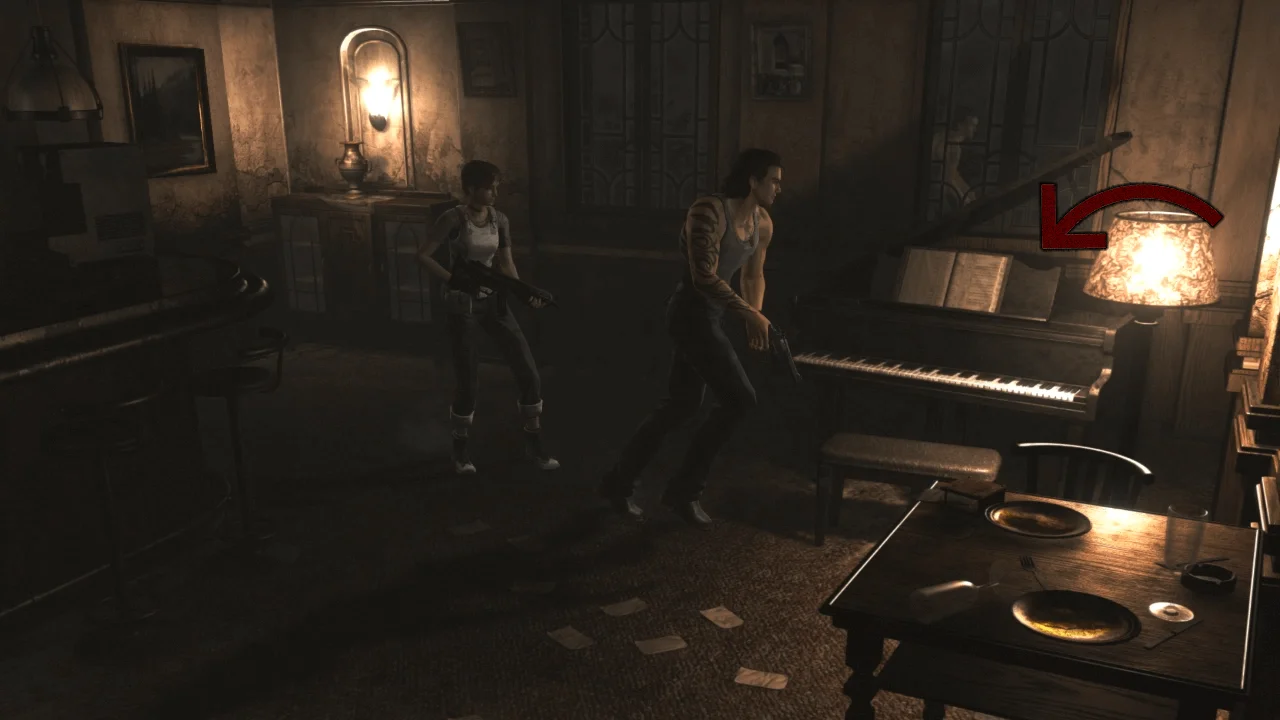
Leave Billy outside and go through the secret room using Rebecca and pick up the Battery
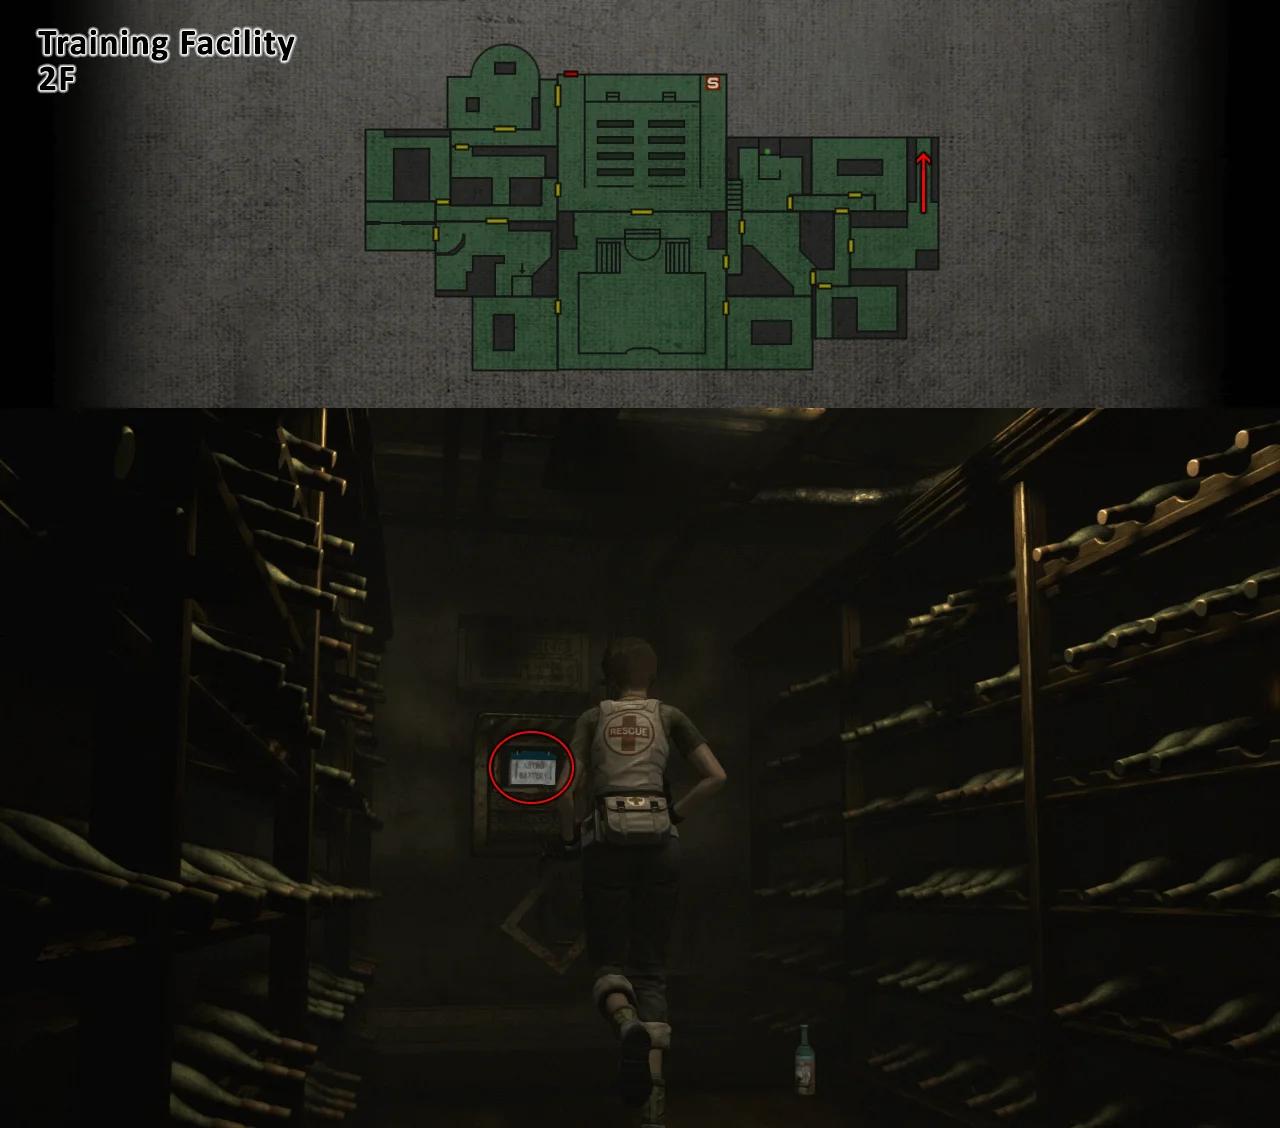
The path would close; play the piano again to open it and exit the Bar;
Proceed to the workshop
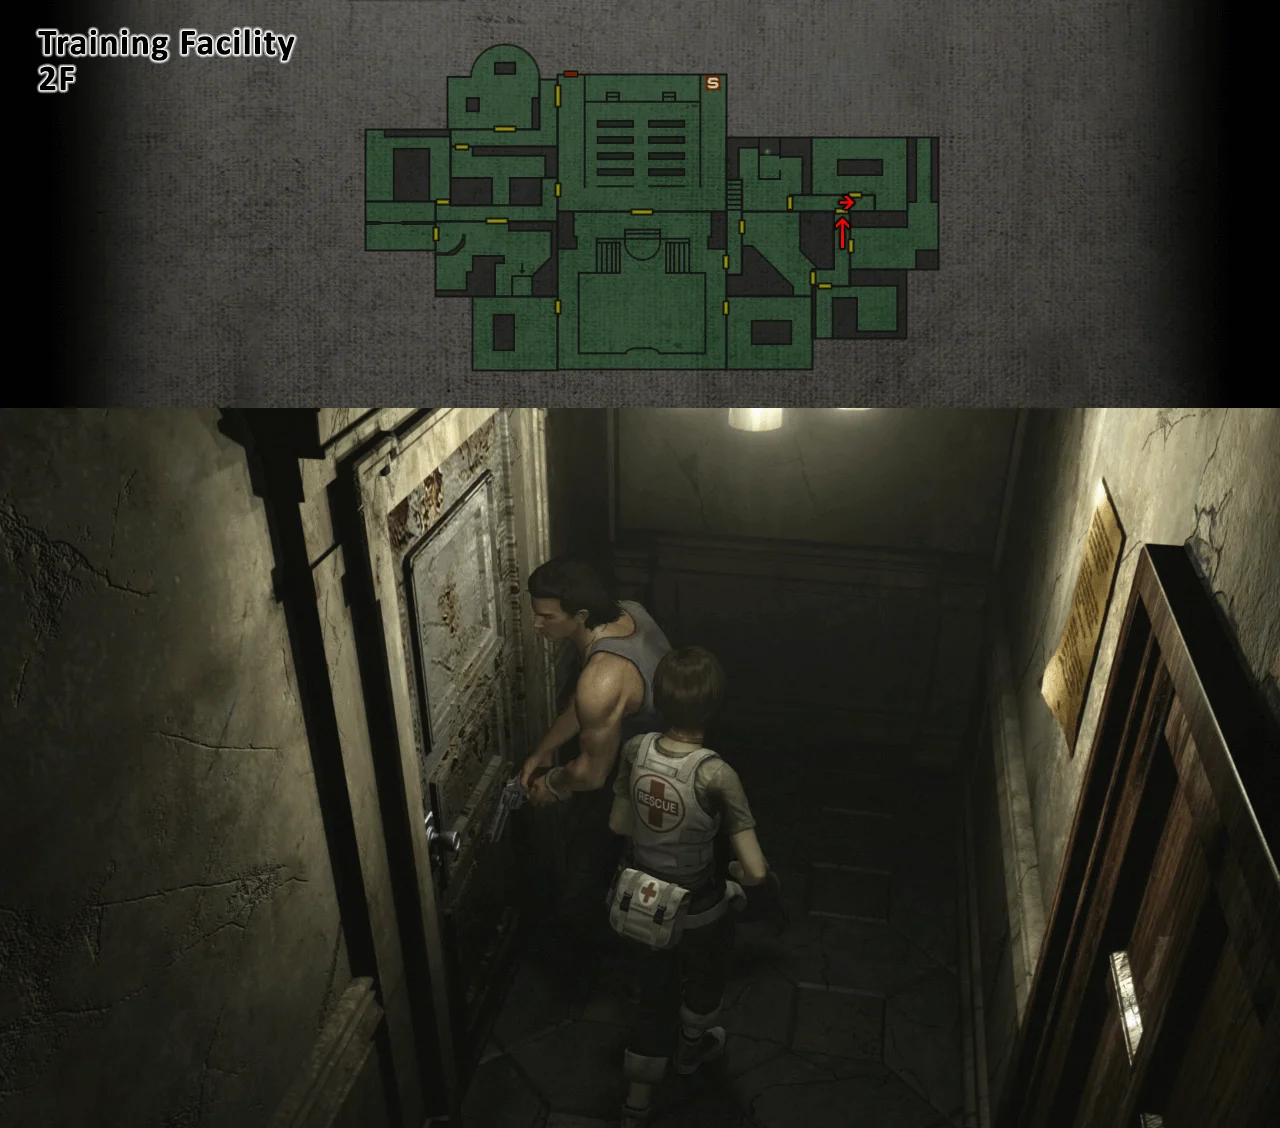
Use the Vice Handle and take the Obedience Tablet
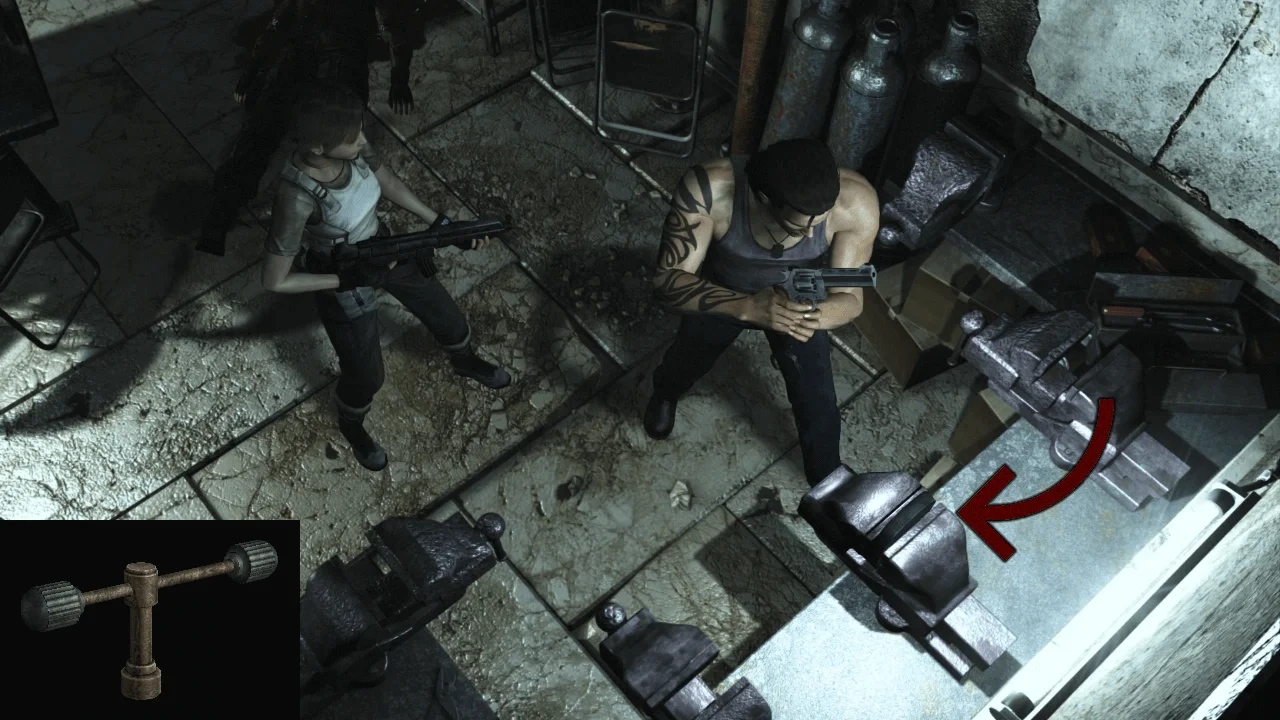
Leave the area to the 1F and exit the Facility
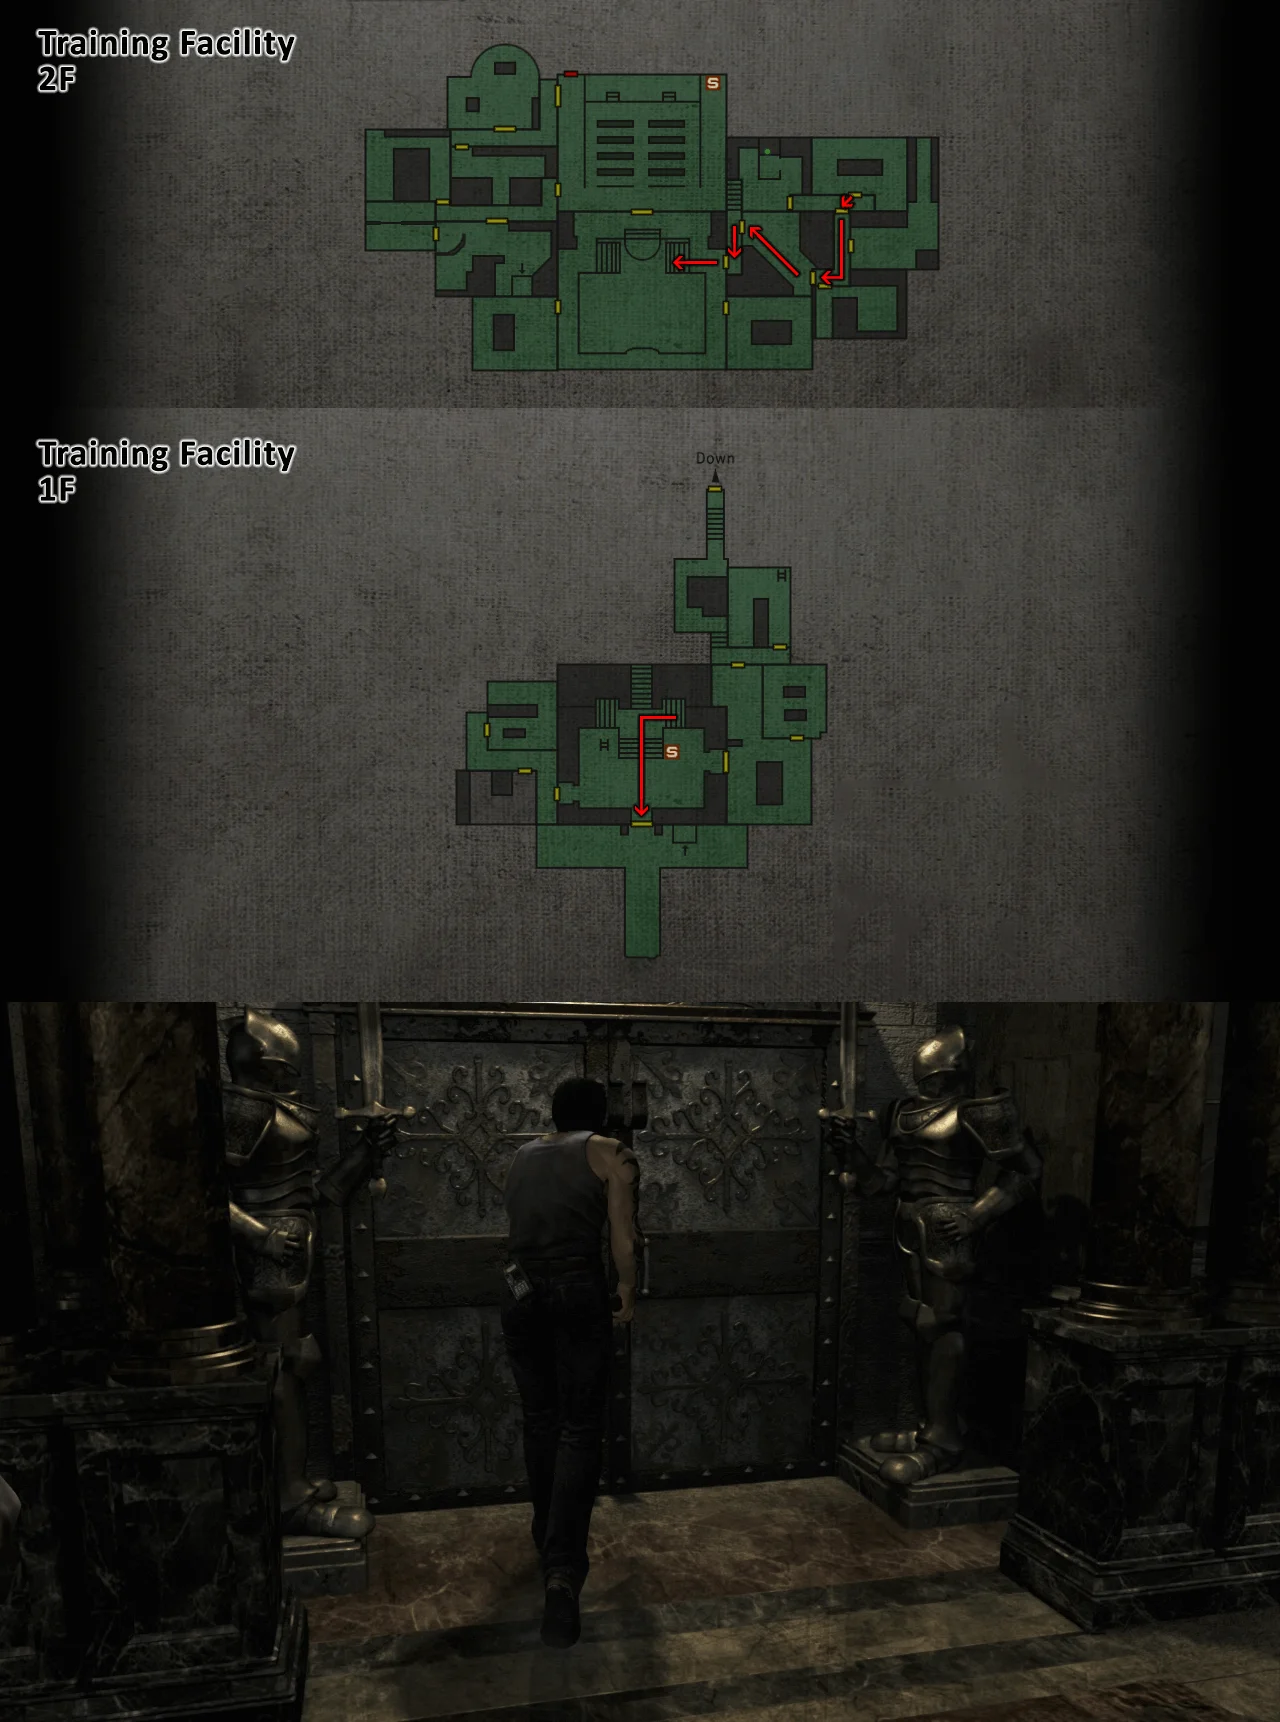
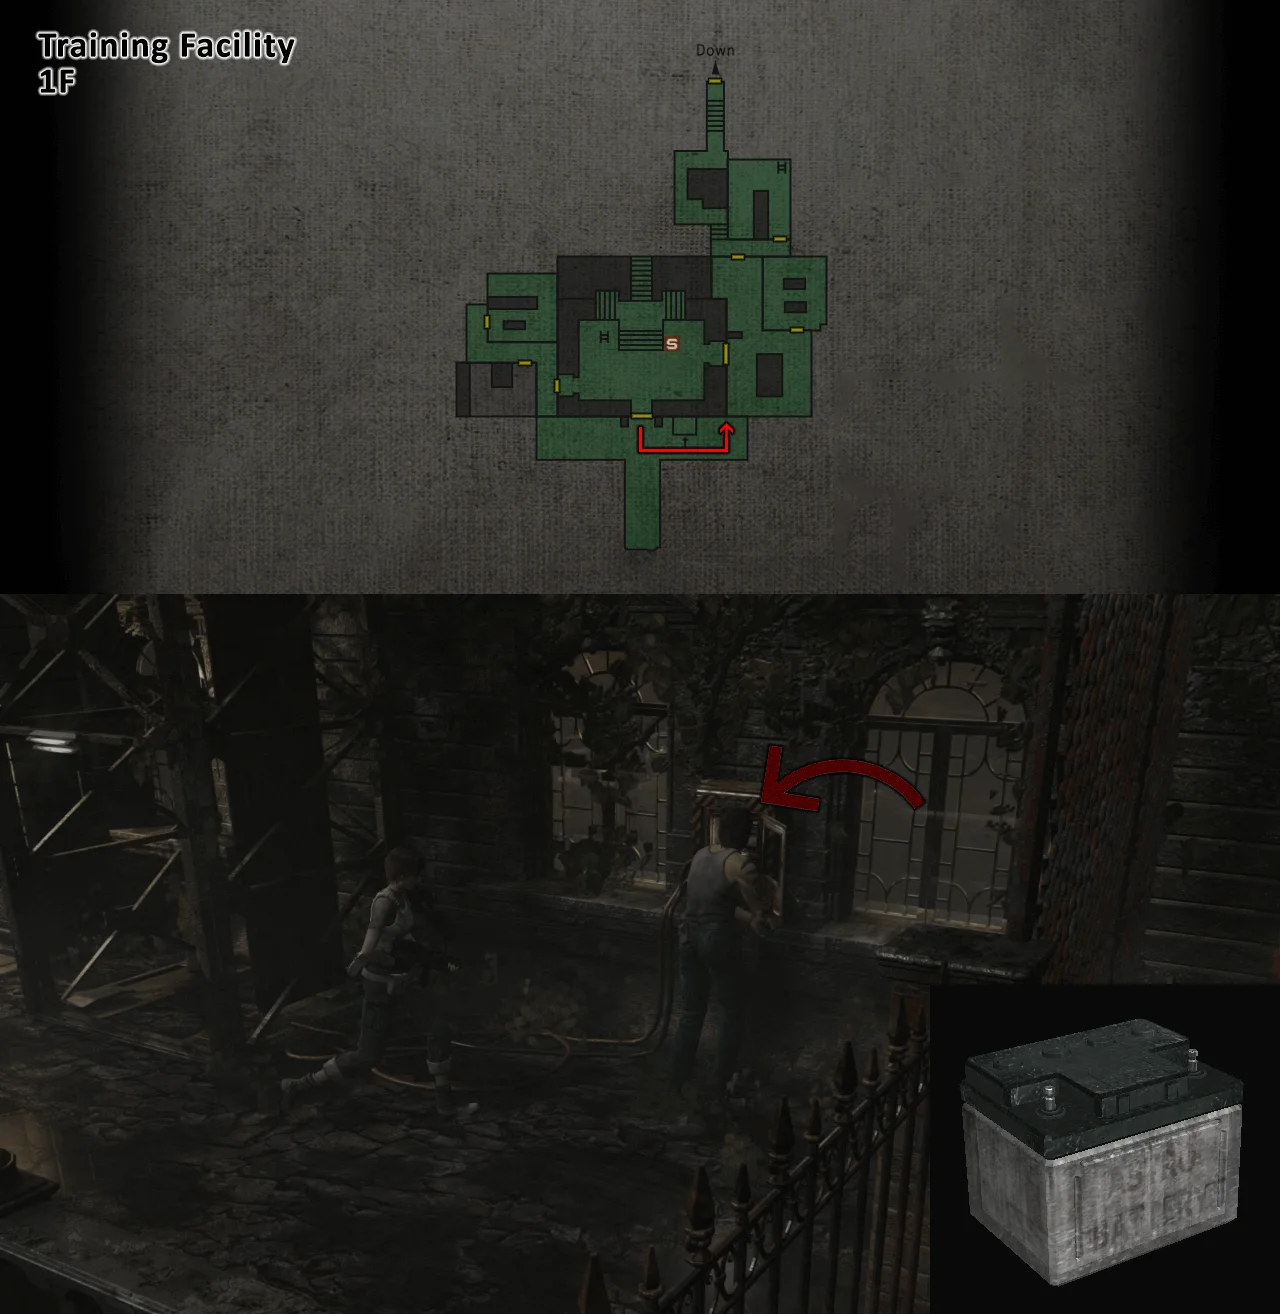
Put the Battery and use the Lift
Get over the crate and push it out
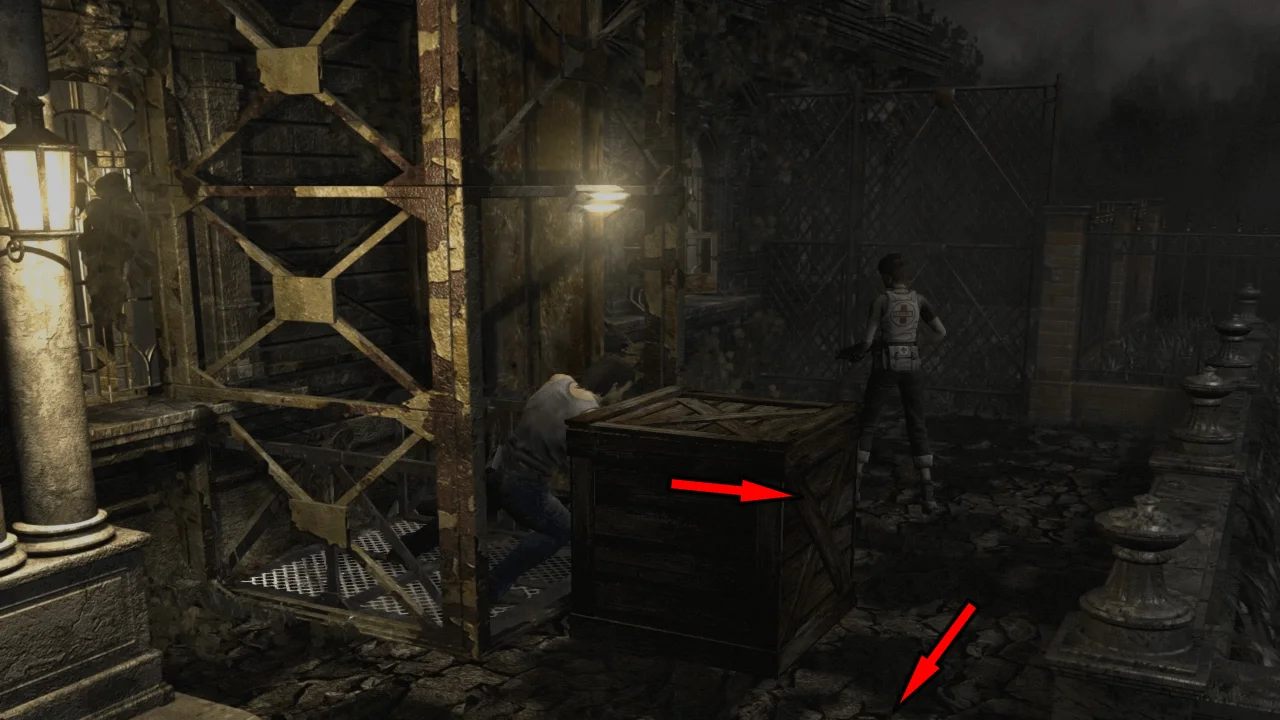
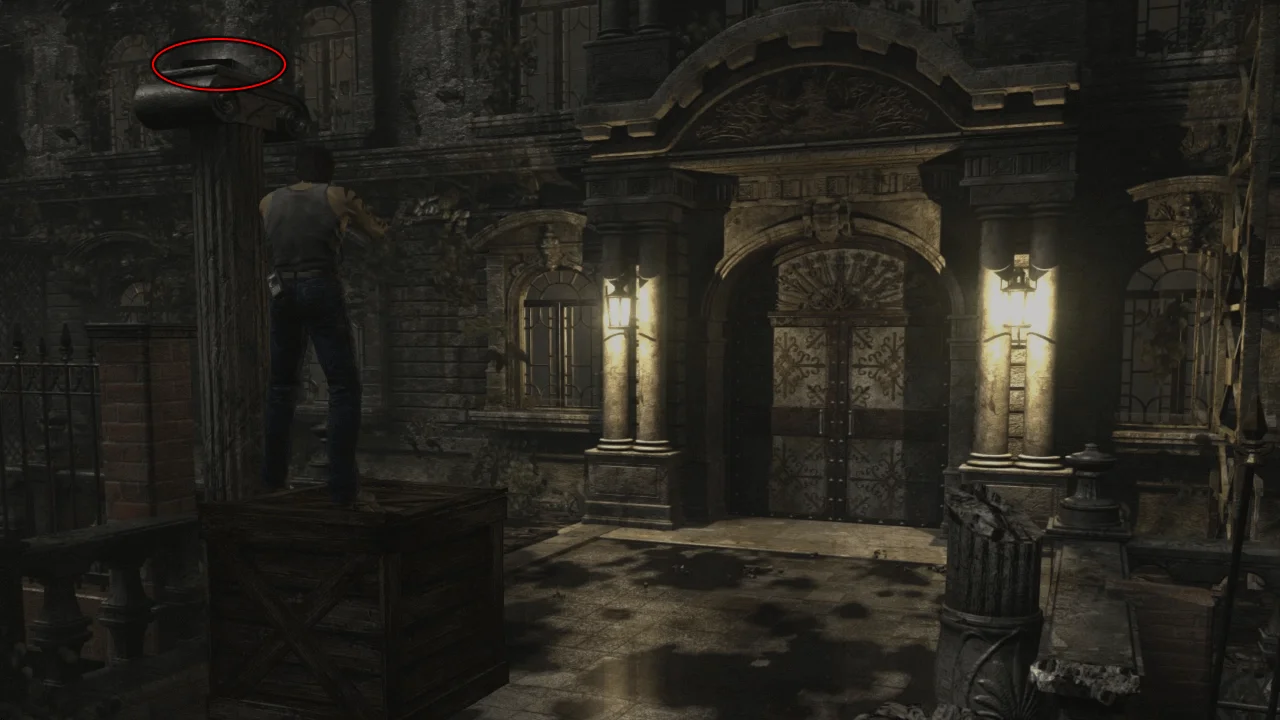
Push the crate until it's under the first Pillar as shown below, then climb it and get the Discipline Tablet
Get in the Facility and pick up the Hookshot that you dropped in the beginning
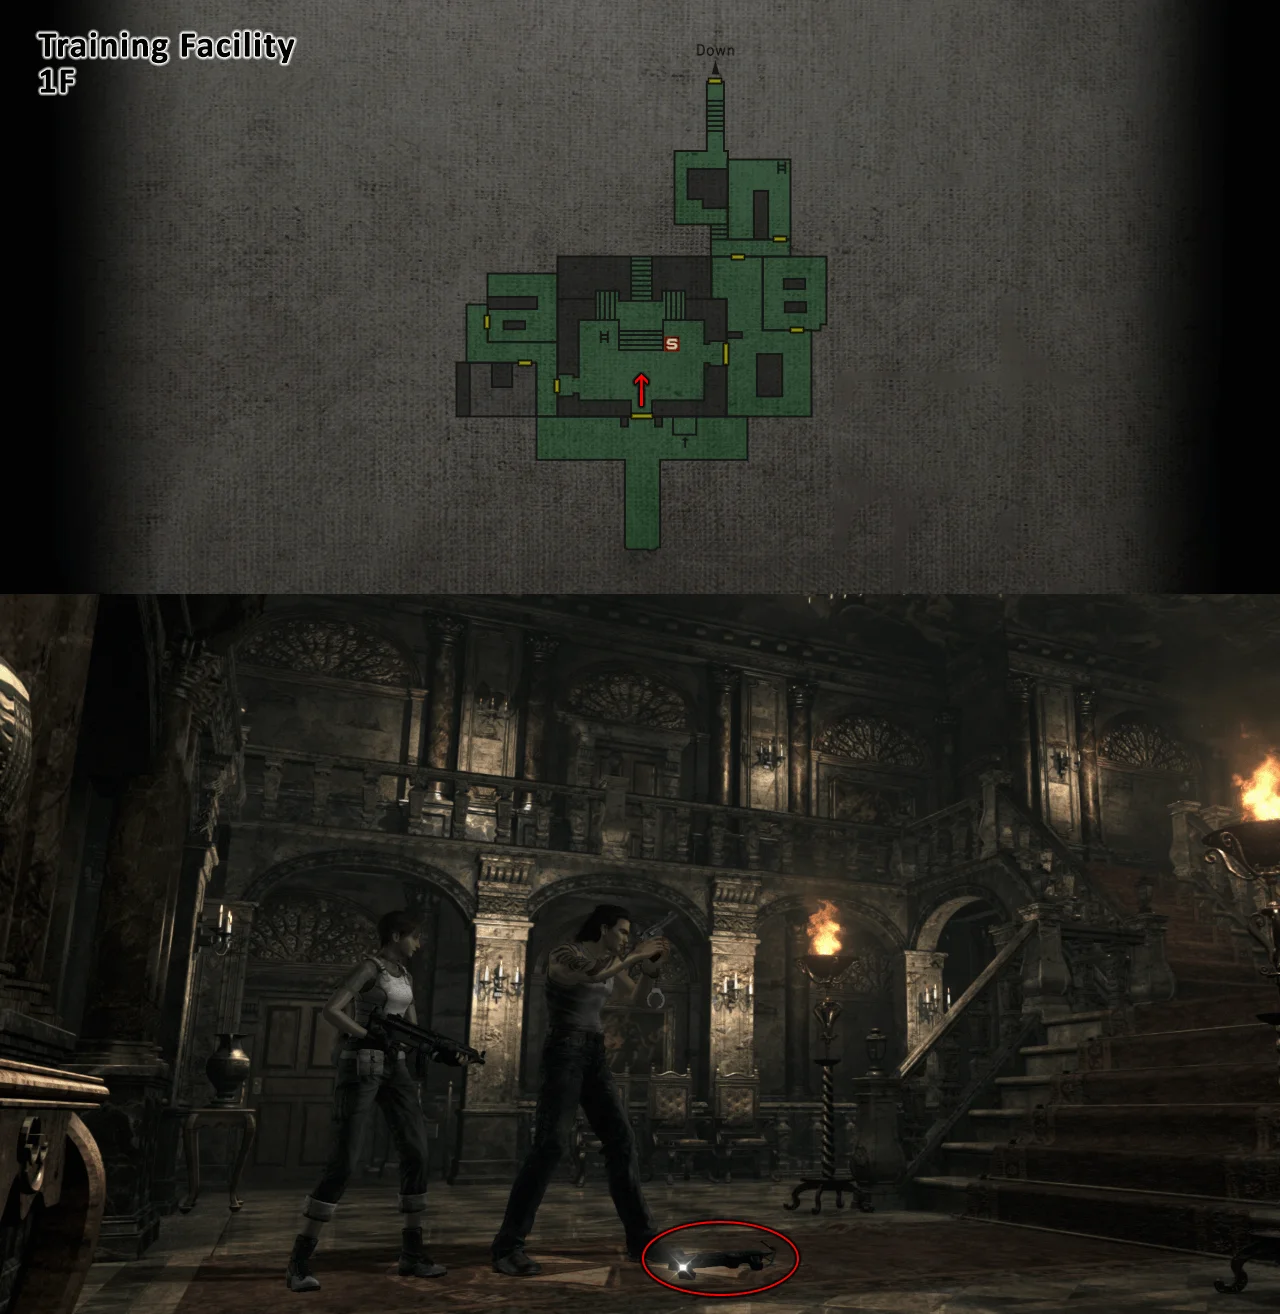
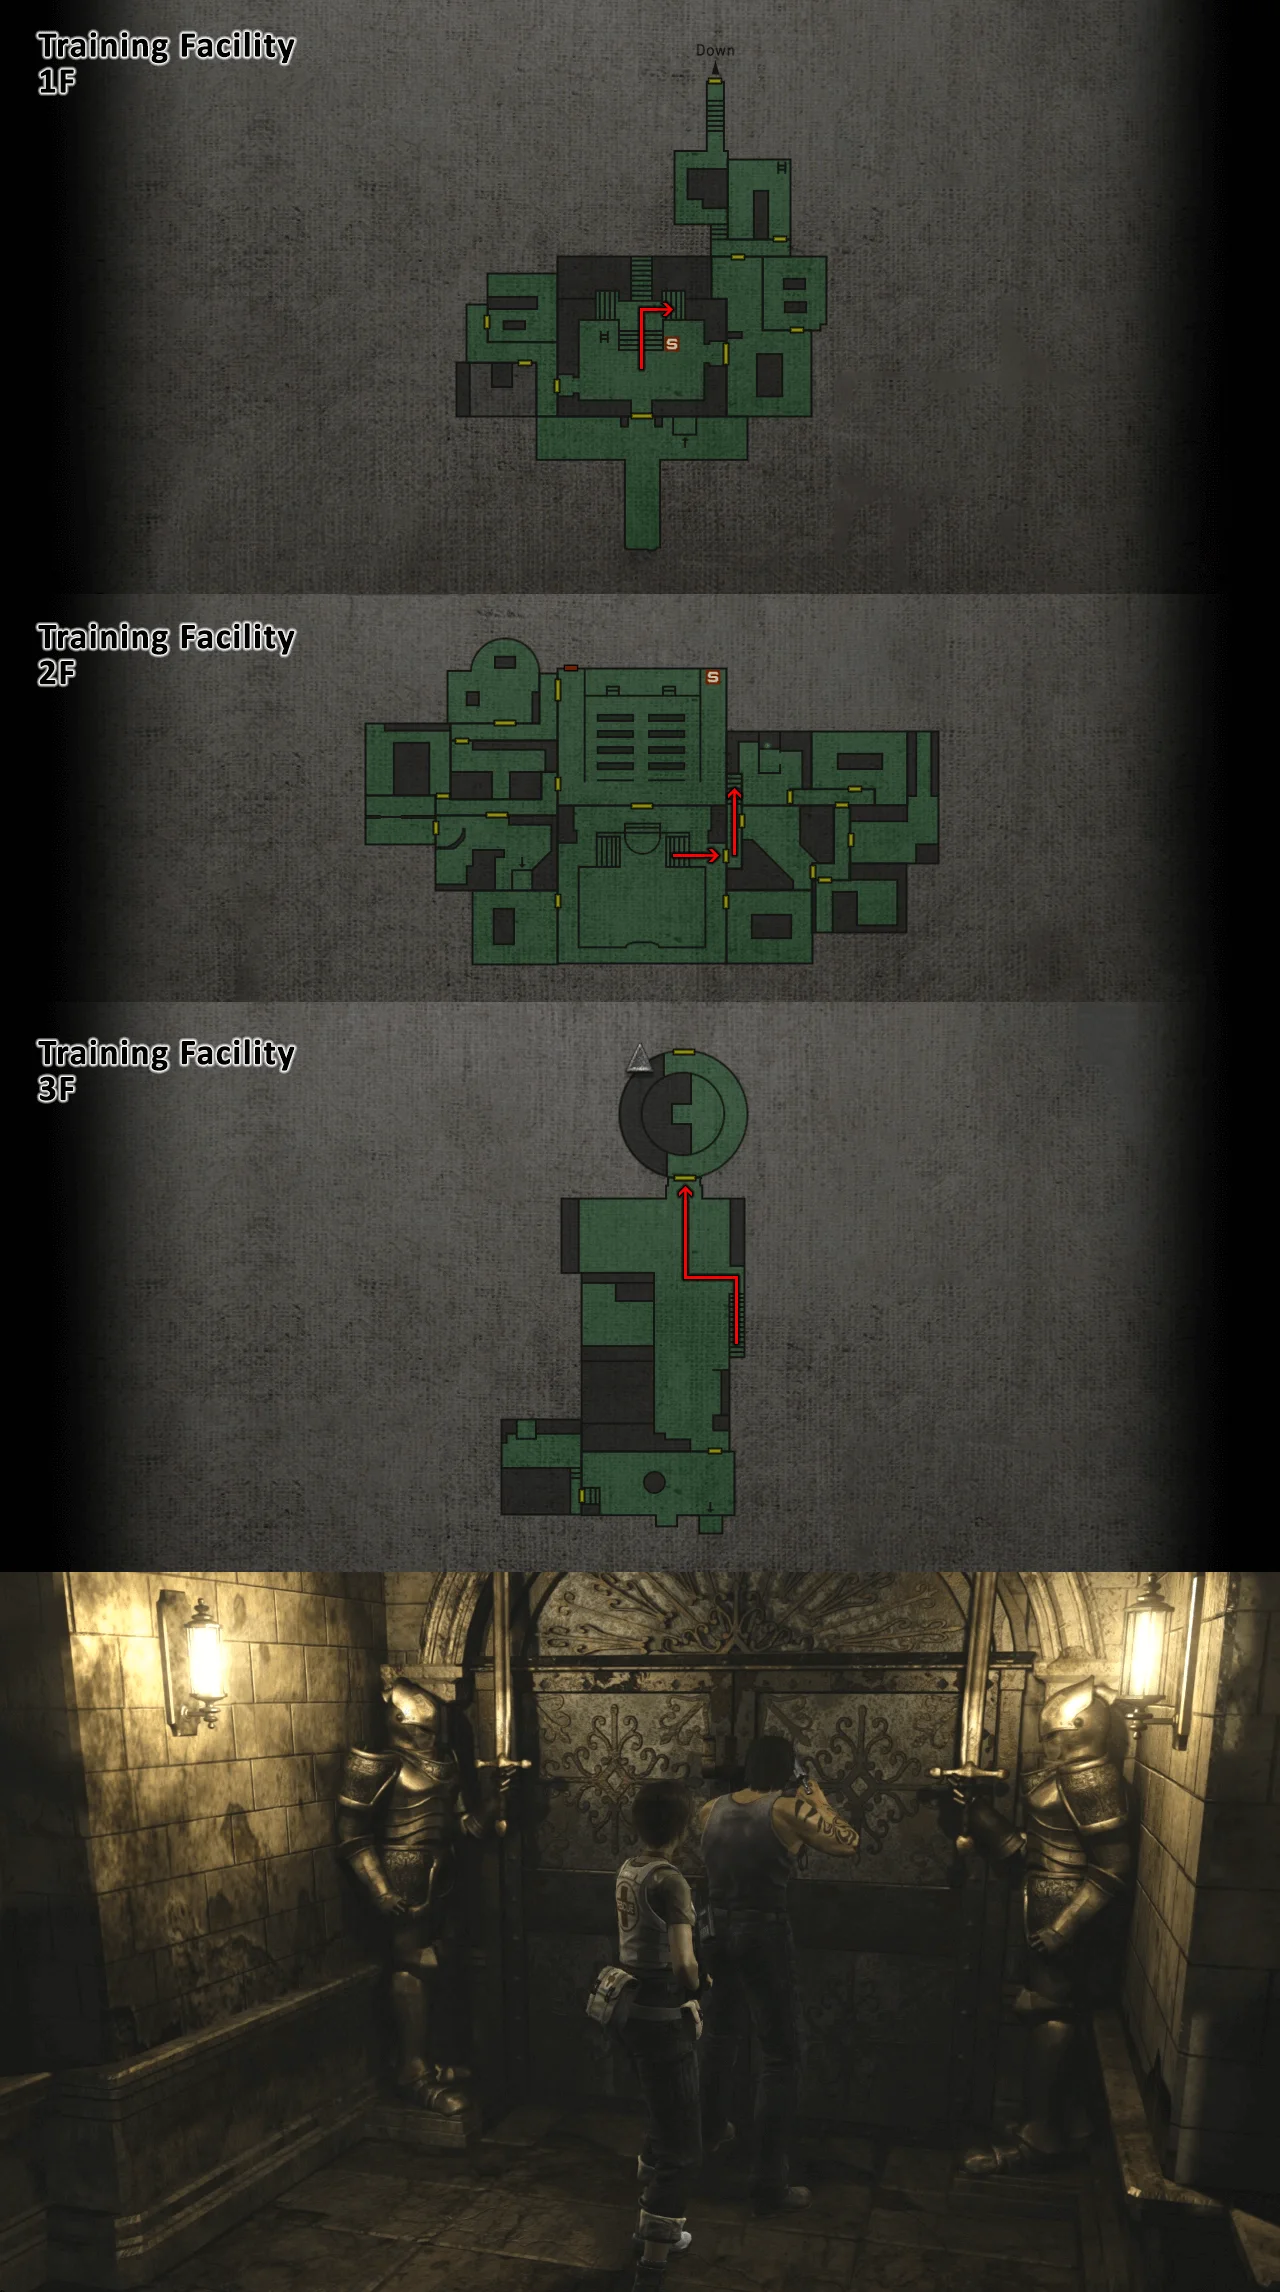
Go through the door in the 3rd floor (you can dodge the insects to avoid wasting ammo)
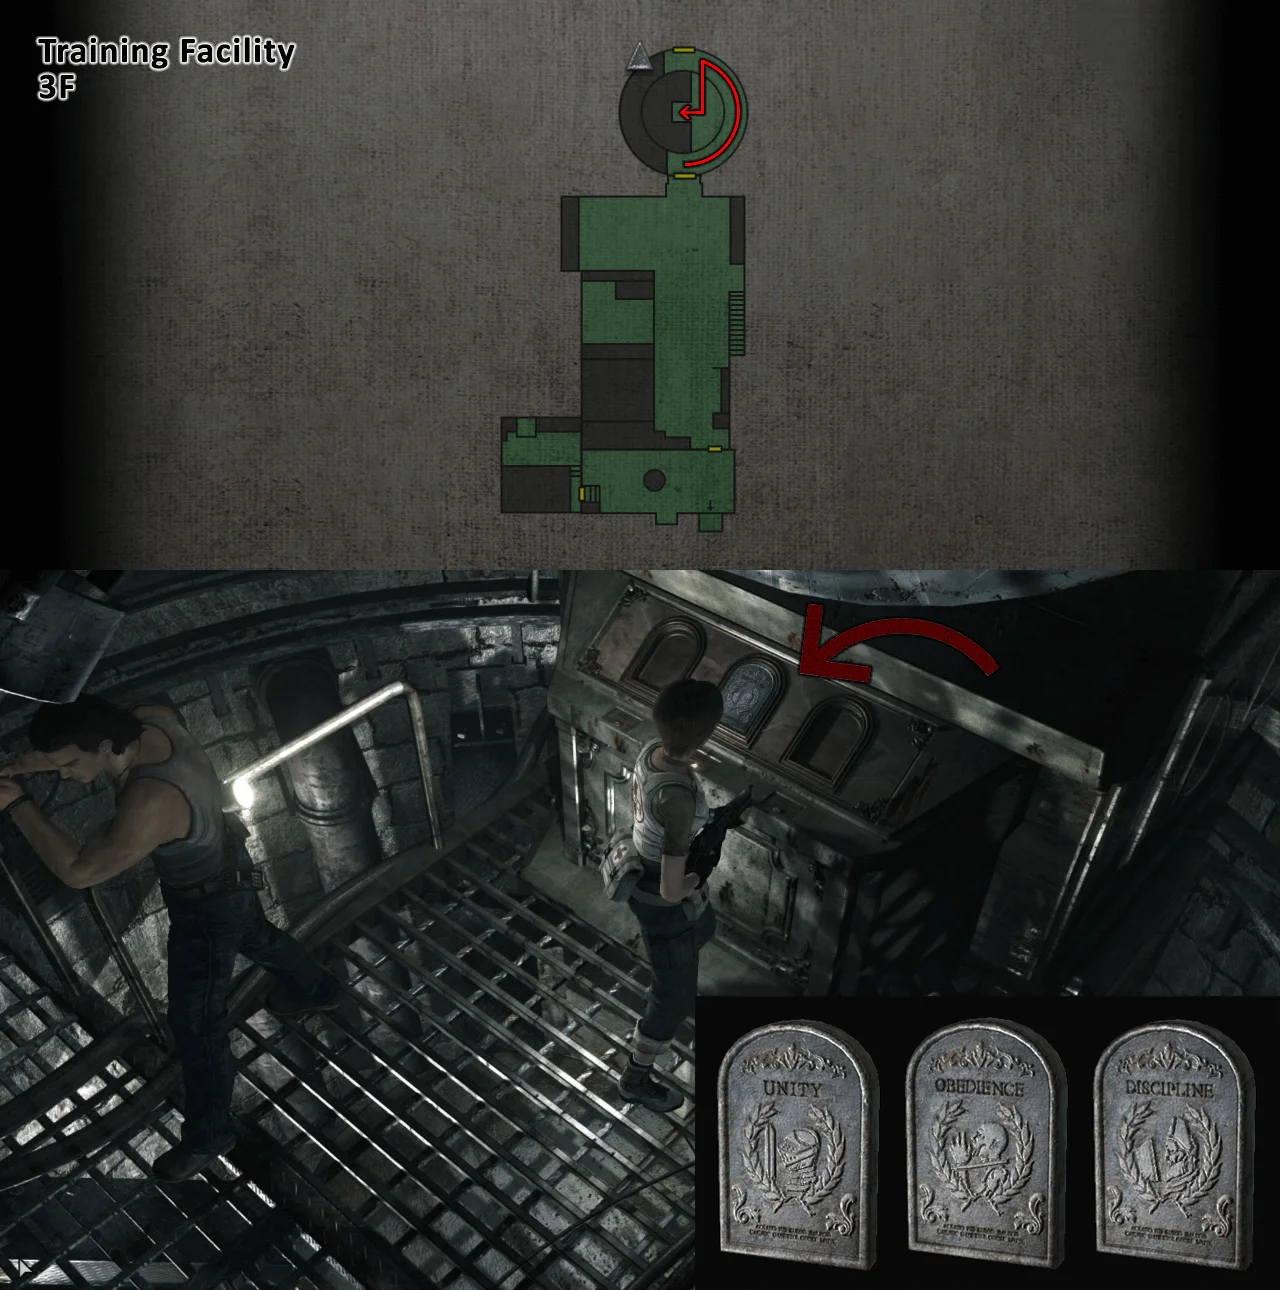
Put the 3 Tablets in their places to activate the machine
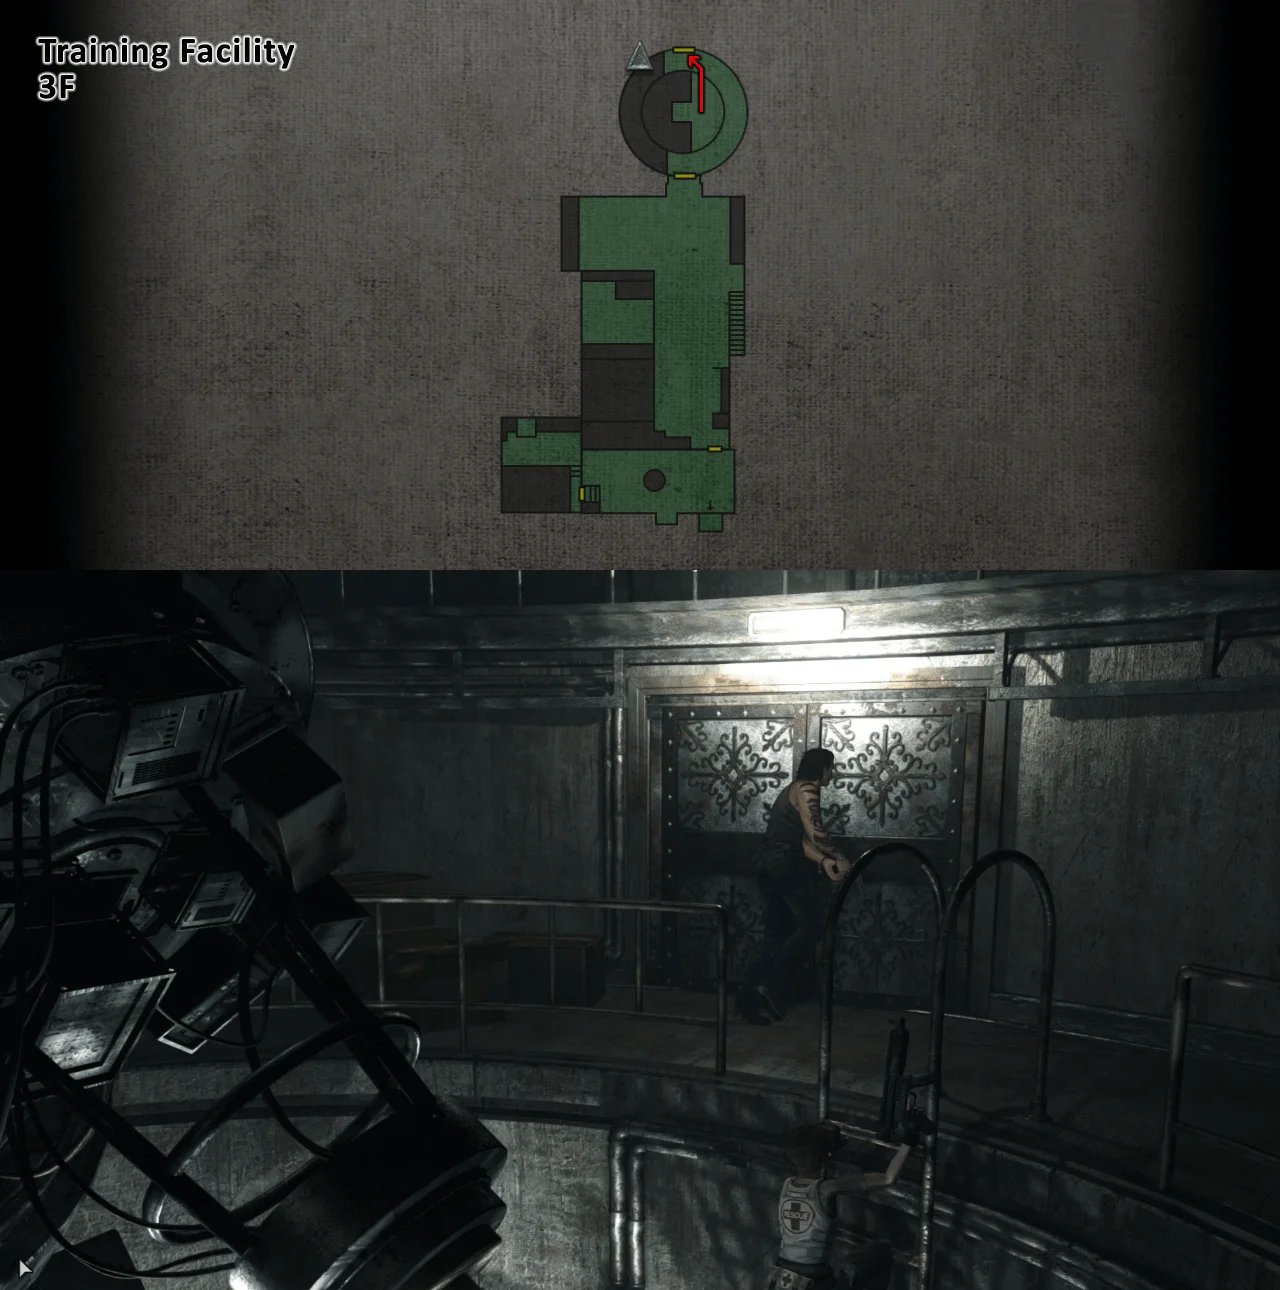
Go through the unlocked door and congratulations, you completed the Training Facility stage
Next up, The Laboratory.


