Outlast Documents Locations
(Whistleblower DLC Included)
Posted Aug 11, 2023

Table of contents
1- Introduction 2- Achievements 3- Documents Locations 4- Whistleblower DLC Documents Locations
Documents are 31 Collectibles in Outlast (main game) and another 13 Collectibles in the Whistleblower DLC; their purpose is to help you understand the story.
To read Documents you have picked up, press "J".
Collecting the Documents is not necessary to finish the game but you get Achievements if you choose to do so.
Achievements
• Collecting all Documents (DLC included) will get you the "Archivist" Achievement;
• Collecting 15 Documents and completing 15 Recordings will get you the "Educated" Achievement;
• Collecting all Documents and completing all Recordings (main game only) will get you the "Pulitzer" Achievement;
Documents Locations
Chapter 1: Administration Block
1- The Whistleblower
Picked up automatically from your car.


2- Project Walrider Patient Status Report For William Hope
After getting into the building, in Office A 214, on the desk.


3- Warrant For Seizure
After seeing the priest for the first time, on the reception desk.


4- Project Walrider Profitability Report
In Office A 126, beside the Security Room (that you need a Keycard for).


5- Project Walrider Patient Status Report For Chris Walker
Starting where you met the priest, go through this dark computer room to the left and you will find it on the shelves.


6- MKULTRA CIA Hypnotic Homicide
After going through the gap in the basement to restore the power, look to your right on a desk.


Chapter 2: Prison Block
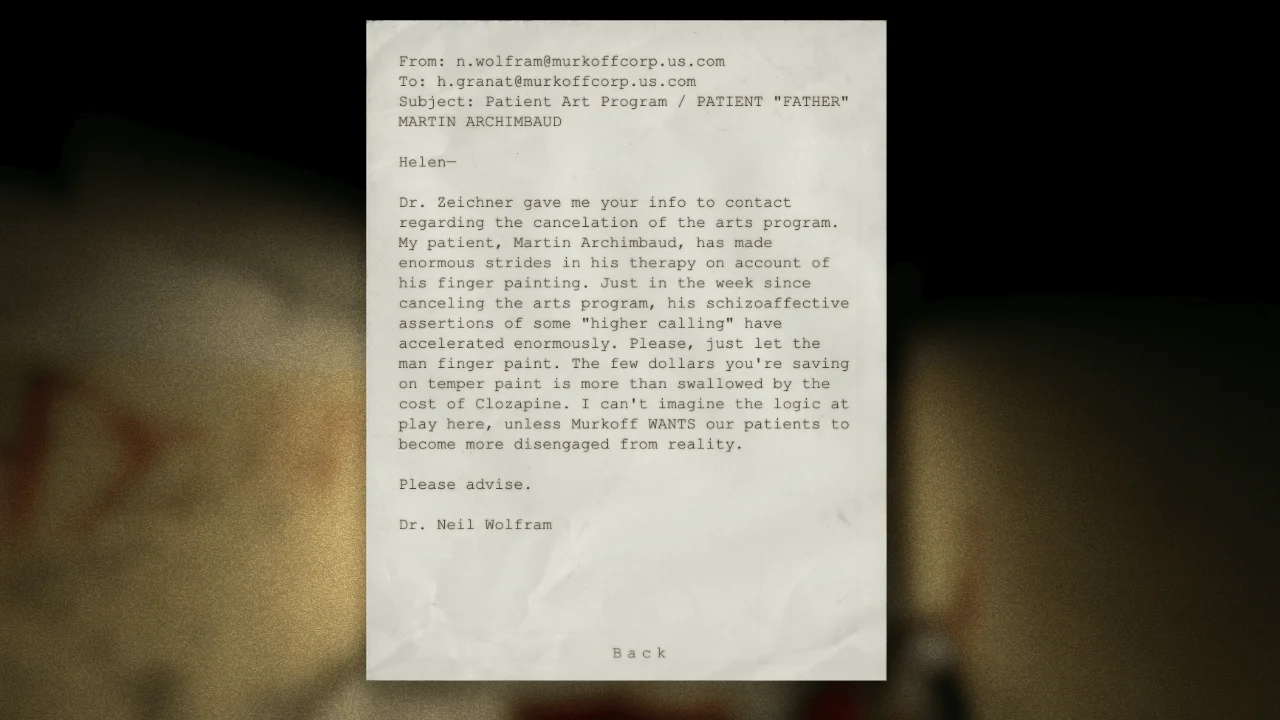
7- Father Martin, Finger Painter
Before going "down the drain", go left and you will find it on a desk.


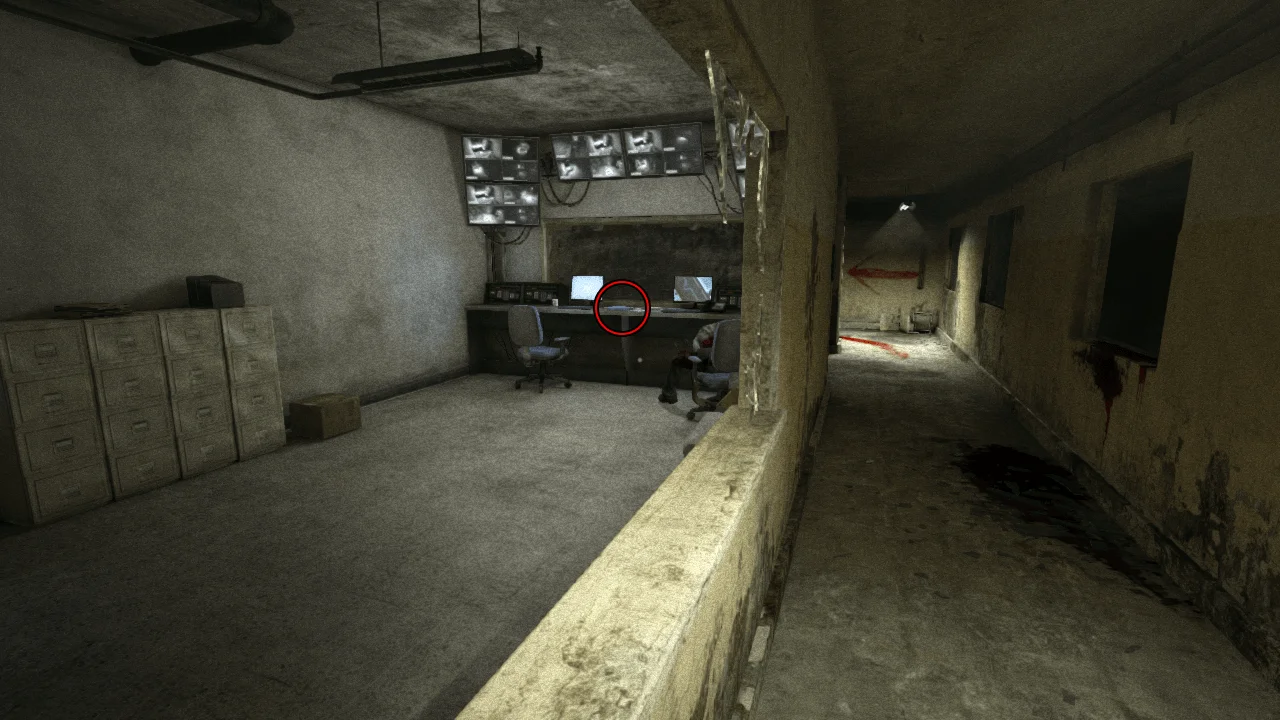
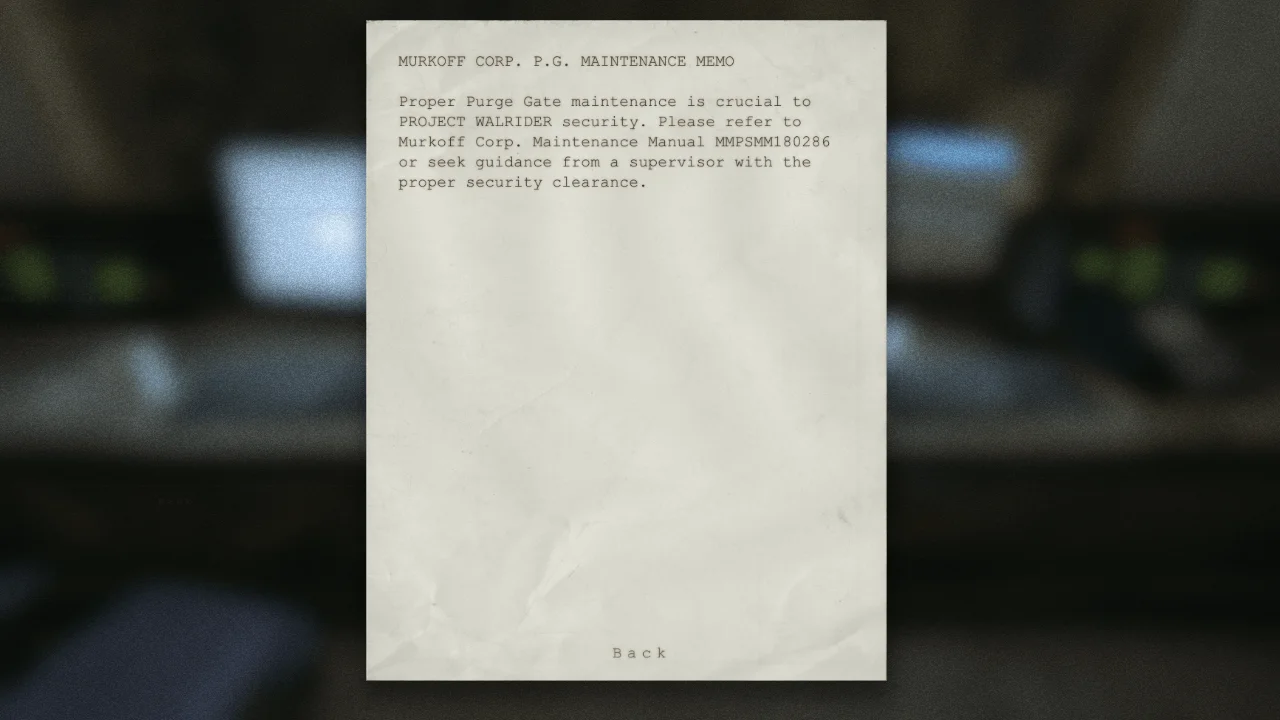
8- Purge Gate Maintenance Memo
After meeting the twins the second time, go through the window and jump to the security room and you will find it on the desk.

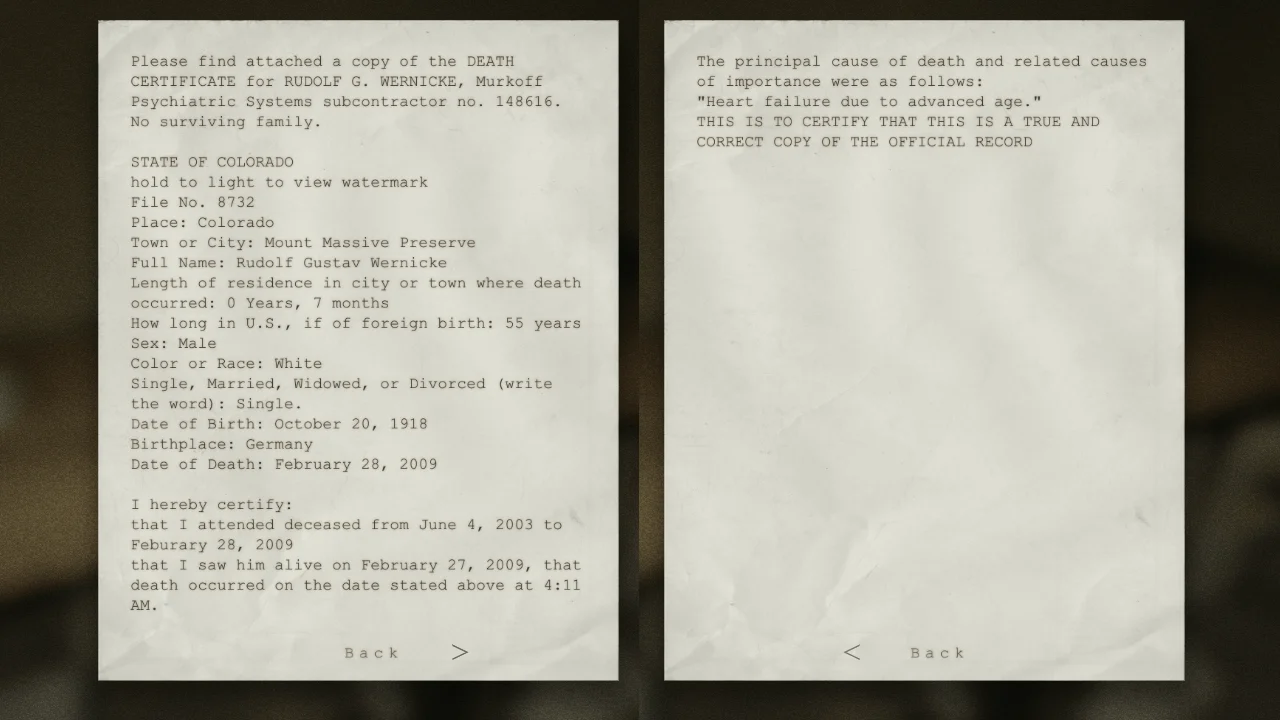
9- Dr. Wernicke Death Certificate
After getting out of the showers (where the twins try to ambush you), go right to this room, you will find the document on the desk.

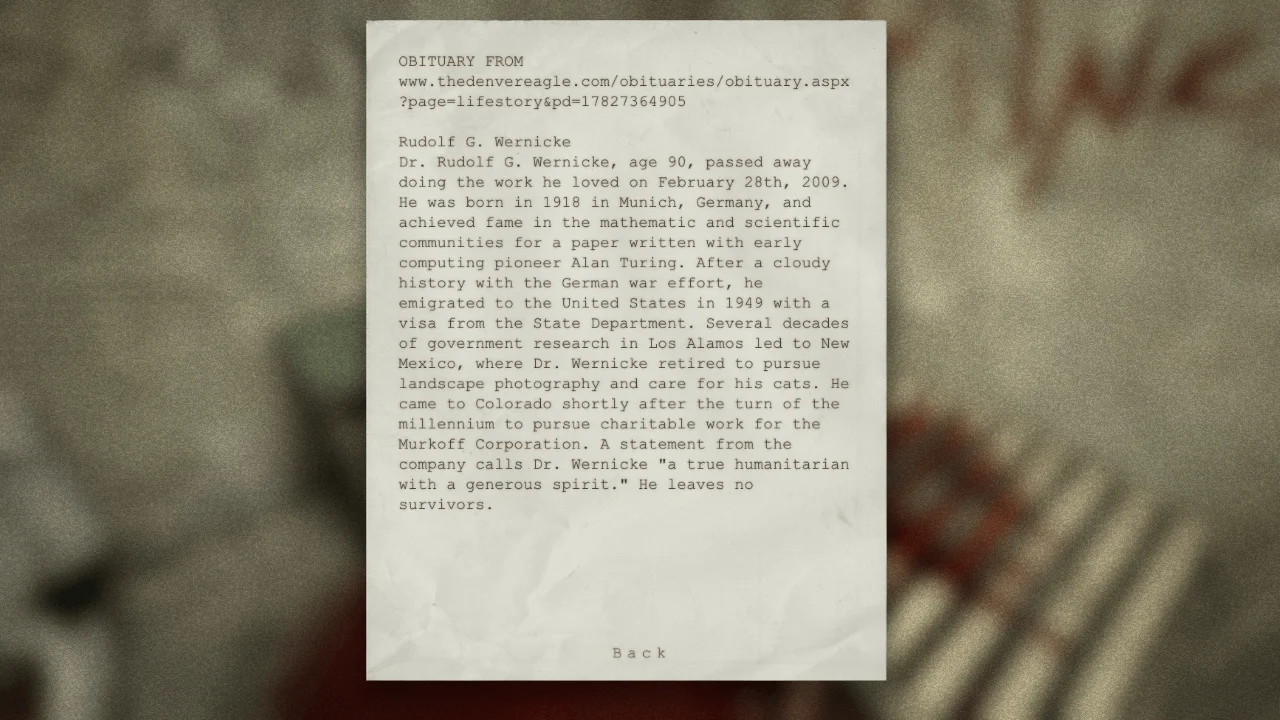
10- Dr. Wernicke Obituary
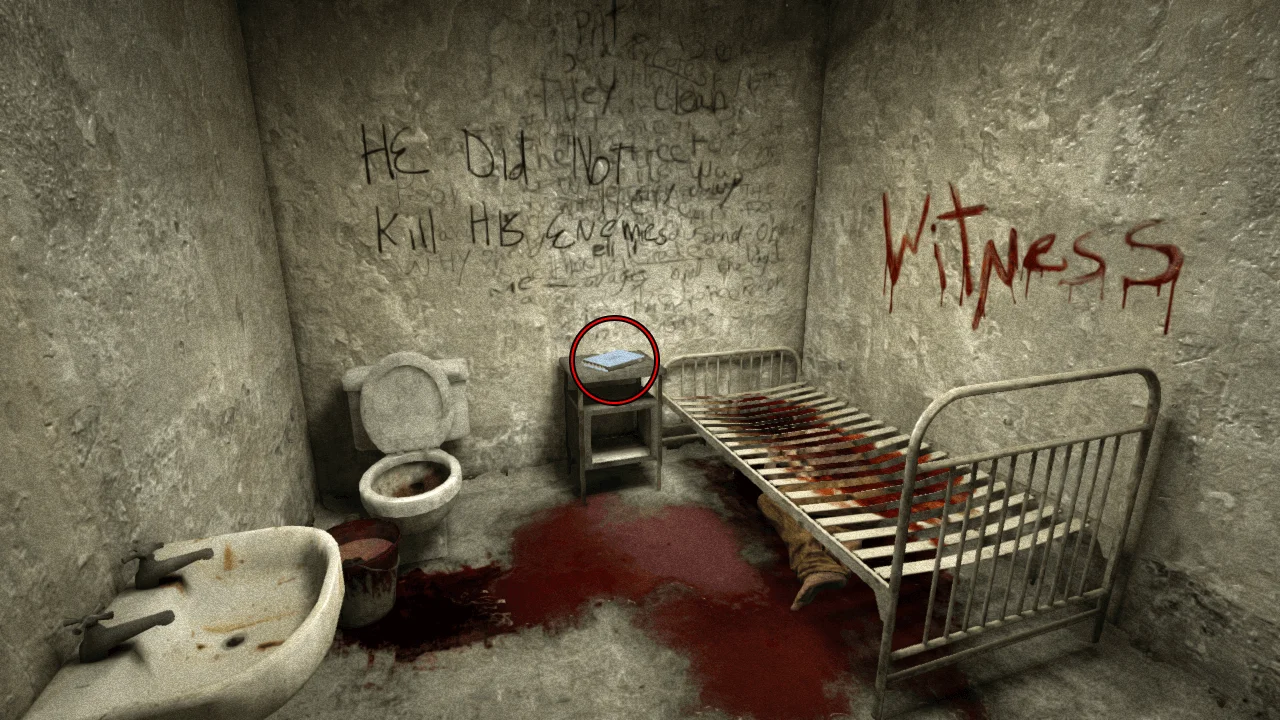
When you reach the prison cells where pig guy ripped a guy's head, you will find it in this cell on the 2nd level.

Chapter 3: Sewer
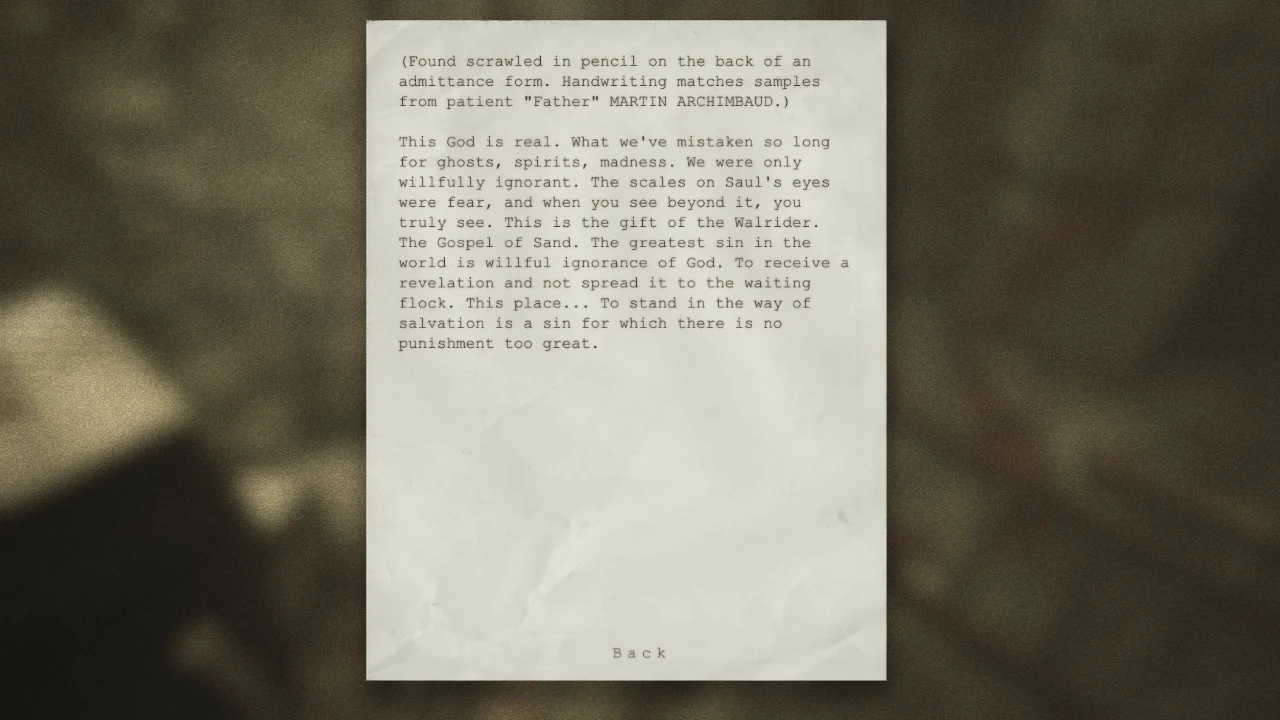
11- The Gospel Of Sand
In the sewers, before you go through the gap.

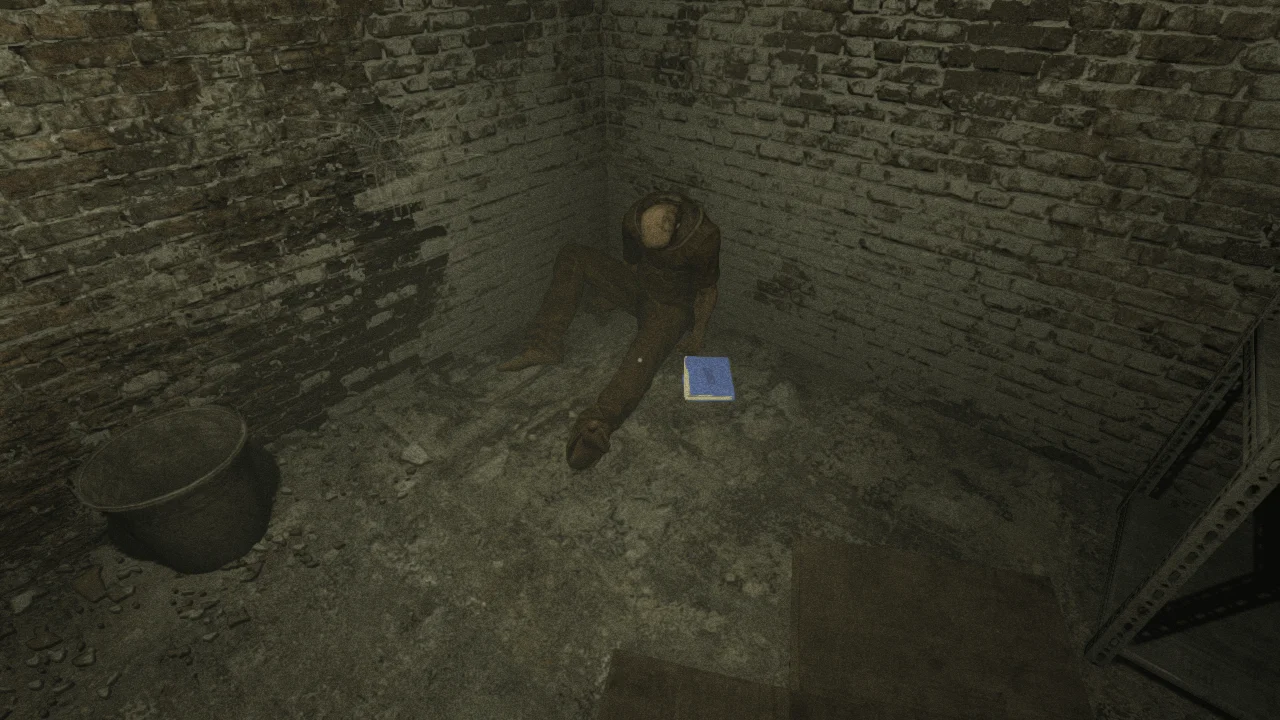
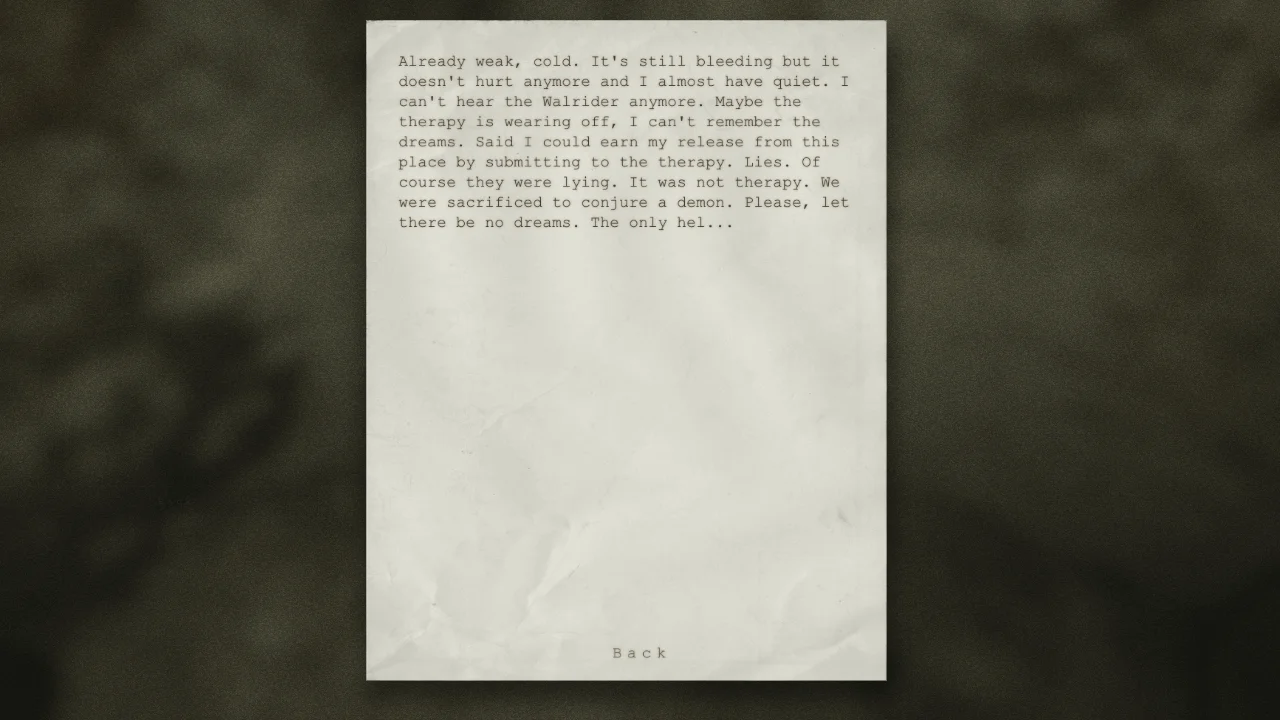
12- Still Bleeding
After going through the water, jump on the platform in front of you at the end before going to the next location (where you will encounter pig guy in the vast space with water), you will find a barely open door, the document is beside the dead body.
Chapter 4: Male Ward
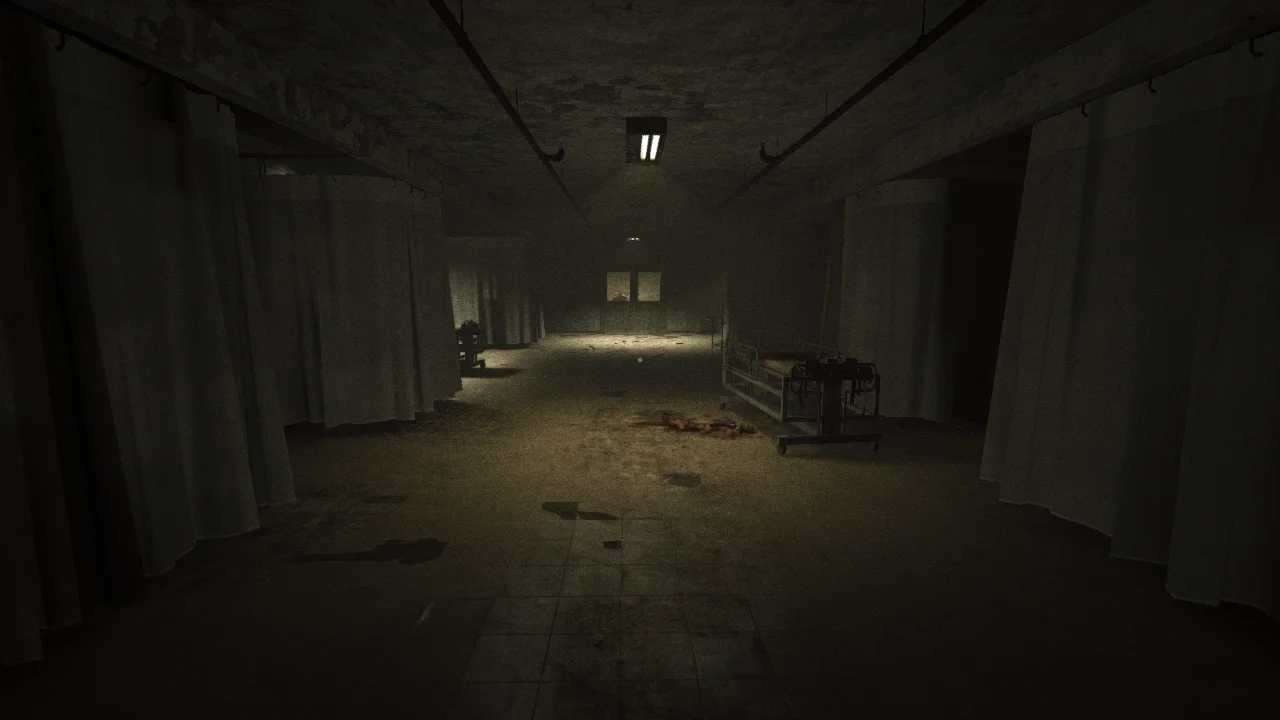
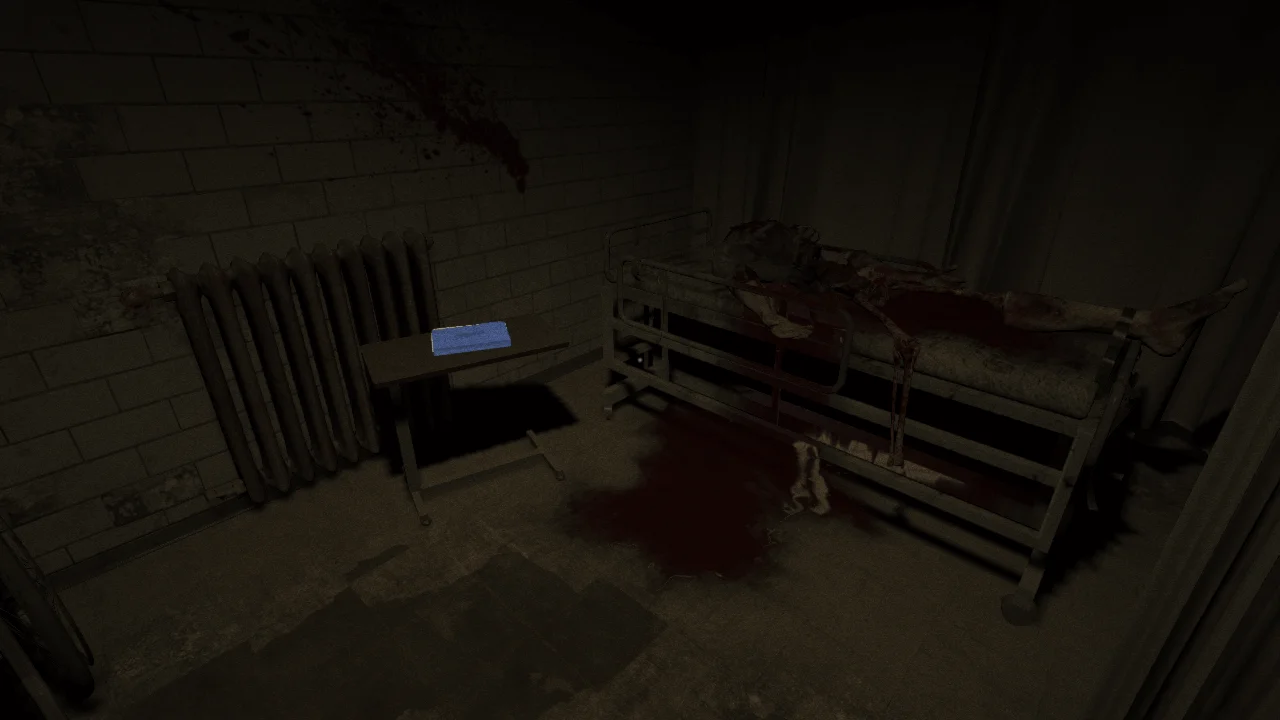
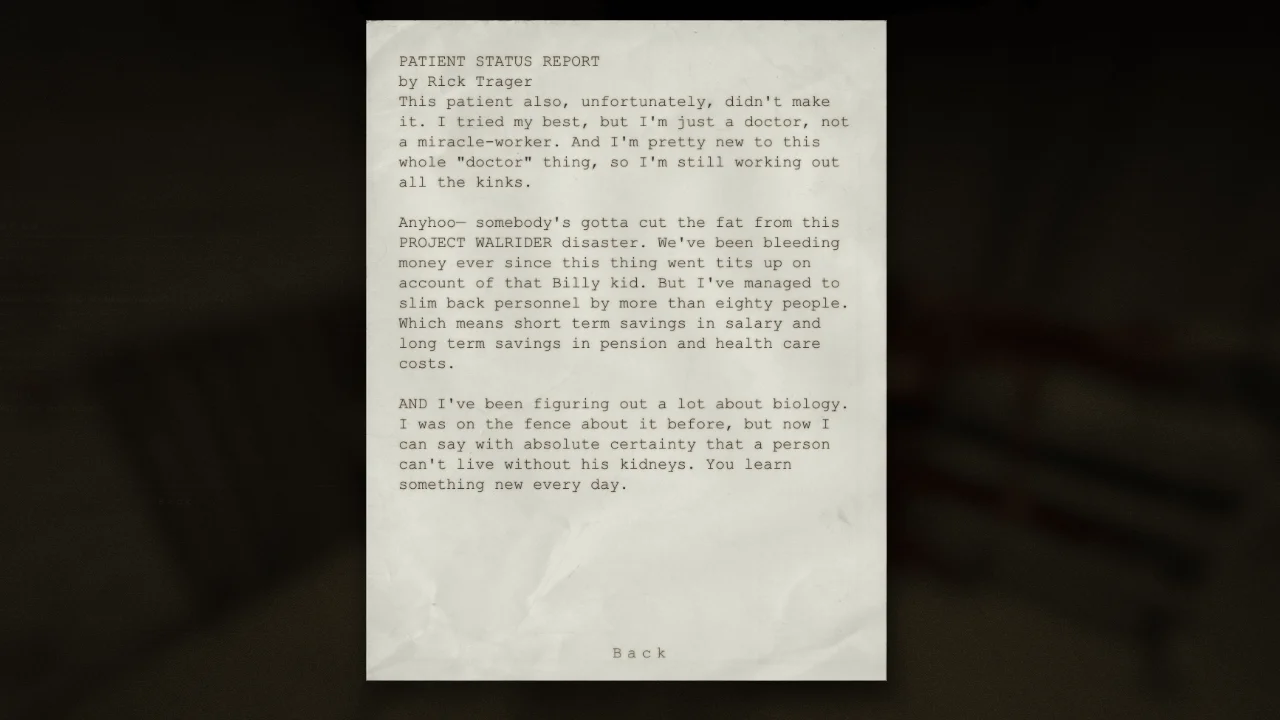
13- Project Walrider Cost Report
When you reach this room and before going through the vent, you will find the document near the bed at the end.
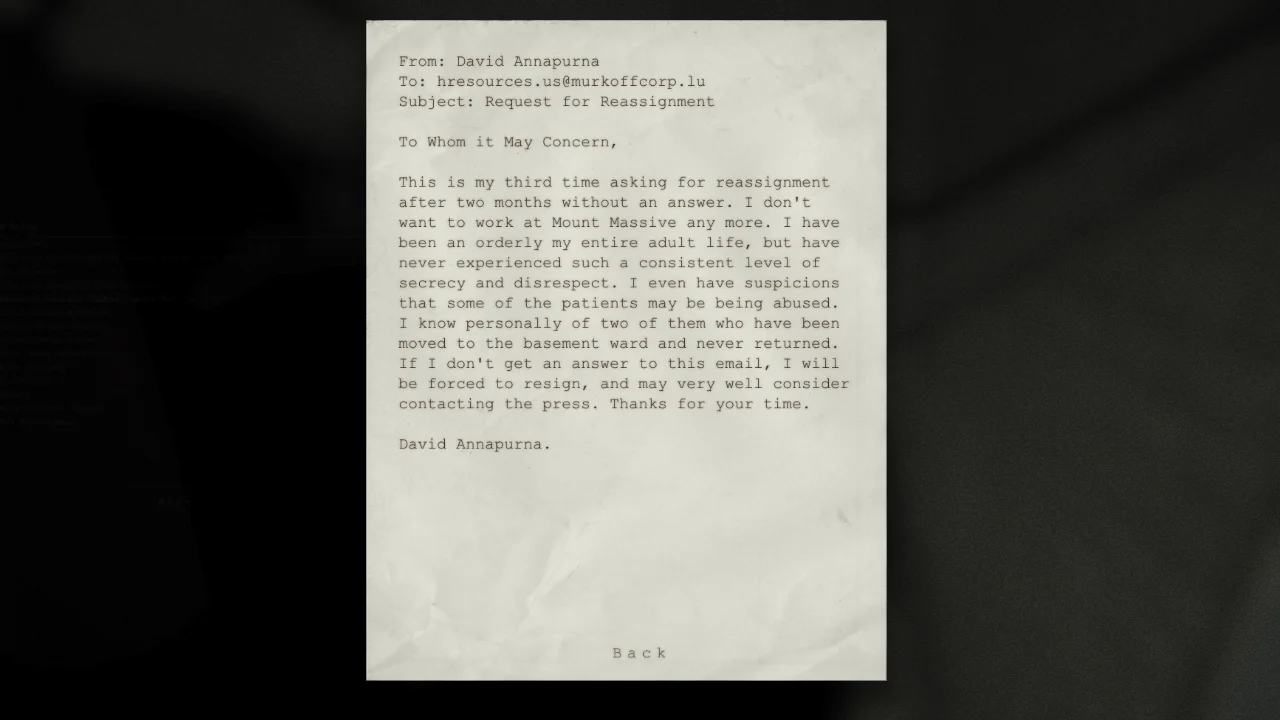
14- Request For Reassigment
When you get down from the vent running away from Trager (2nd vent, before getting the key to the elevator), turn right to find it in this toilet stall.

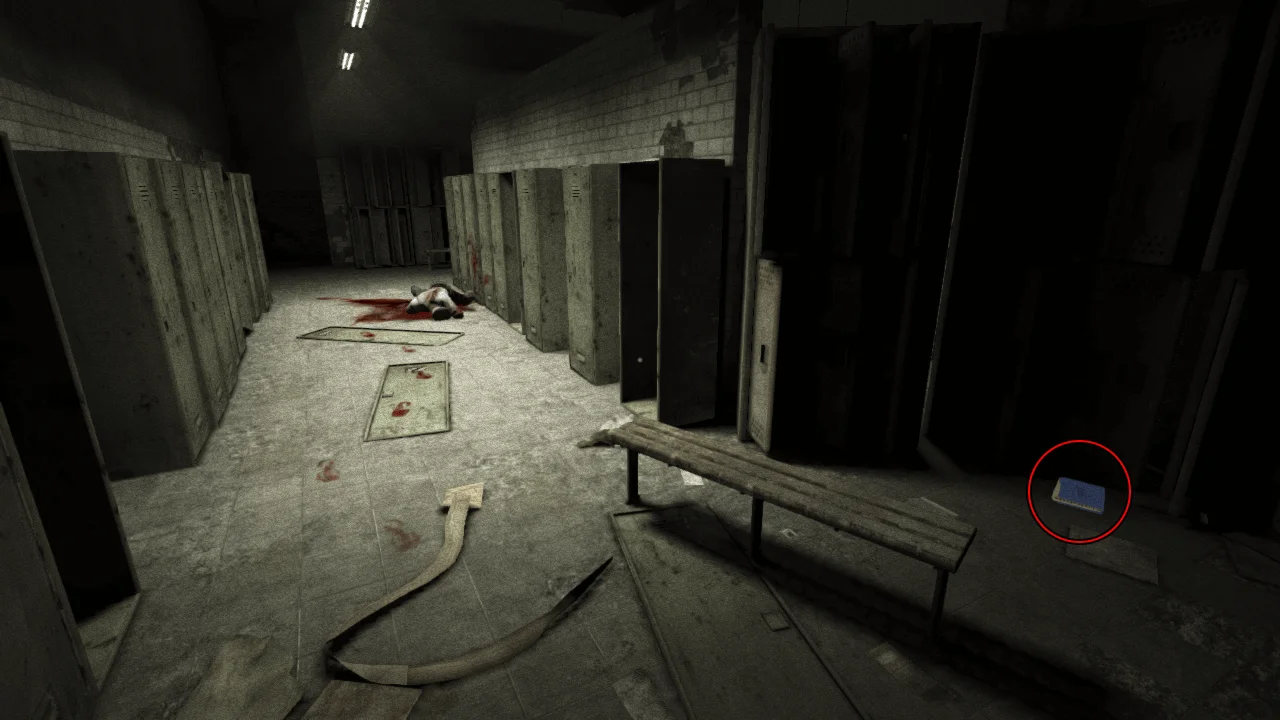
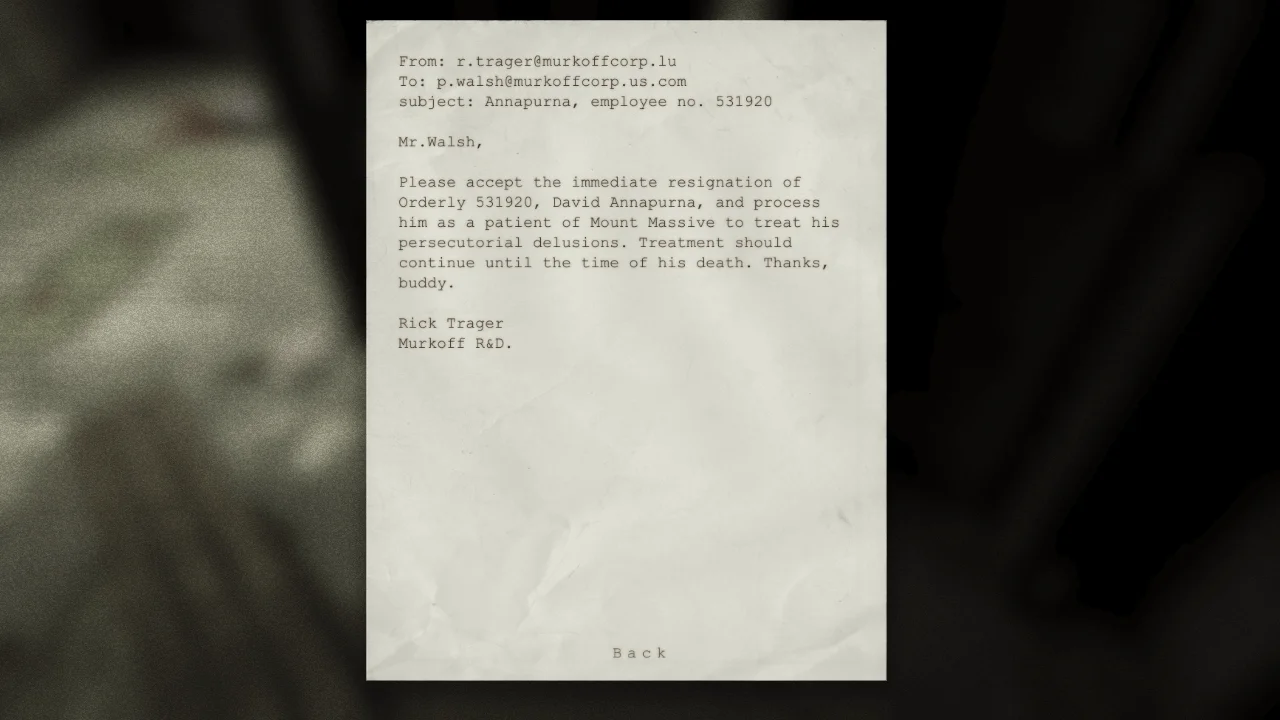
15- Persecutorial Delusions
After the priest tells you to meet him outside, the document is in this locker room.
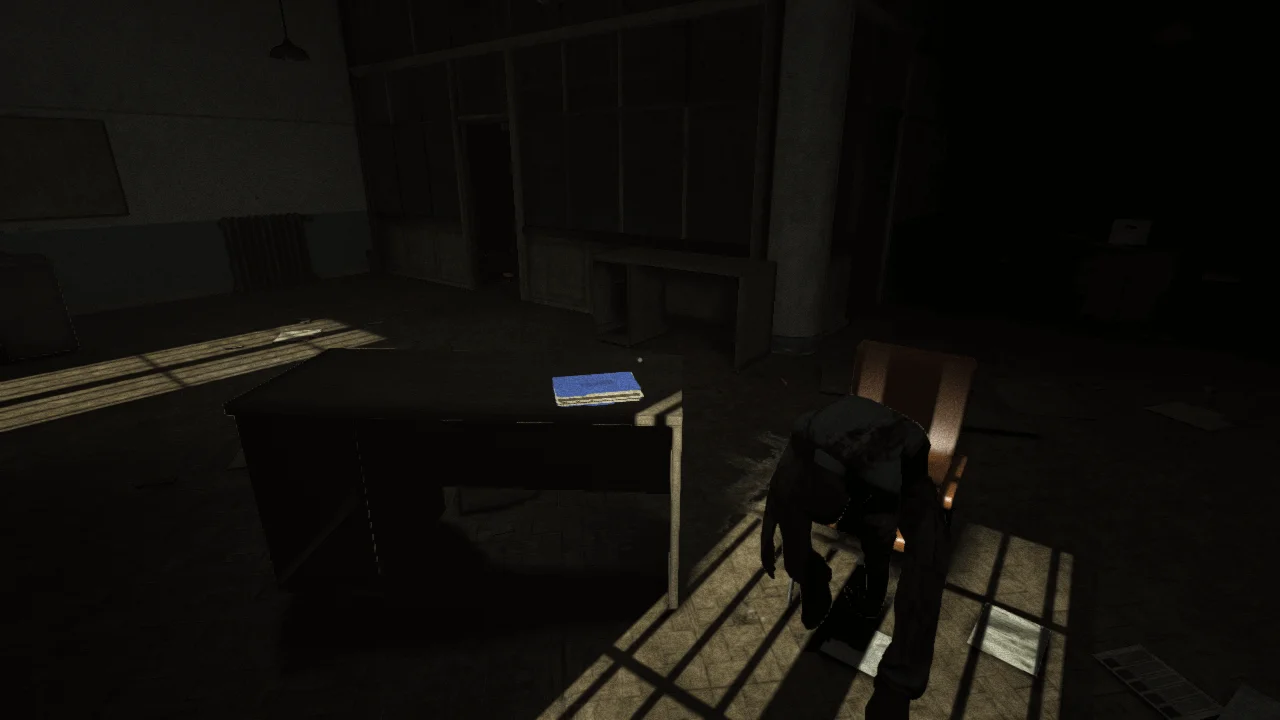
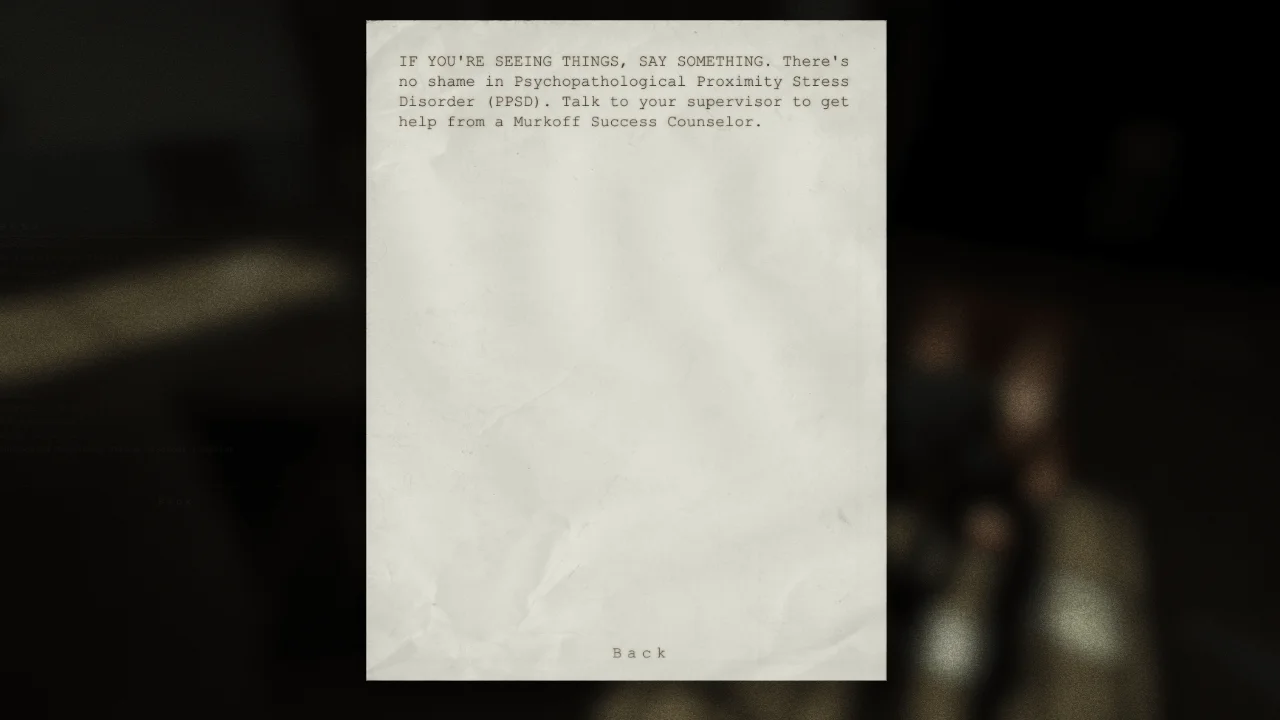
16- Psychopathological Proximity Stress Disorder Pamphlet
After leaving the burning cafeteria to turn on the sprinklers and before going through the gap, go through the darkness until you reach this area.
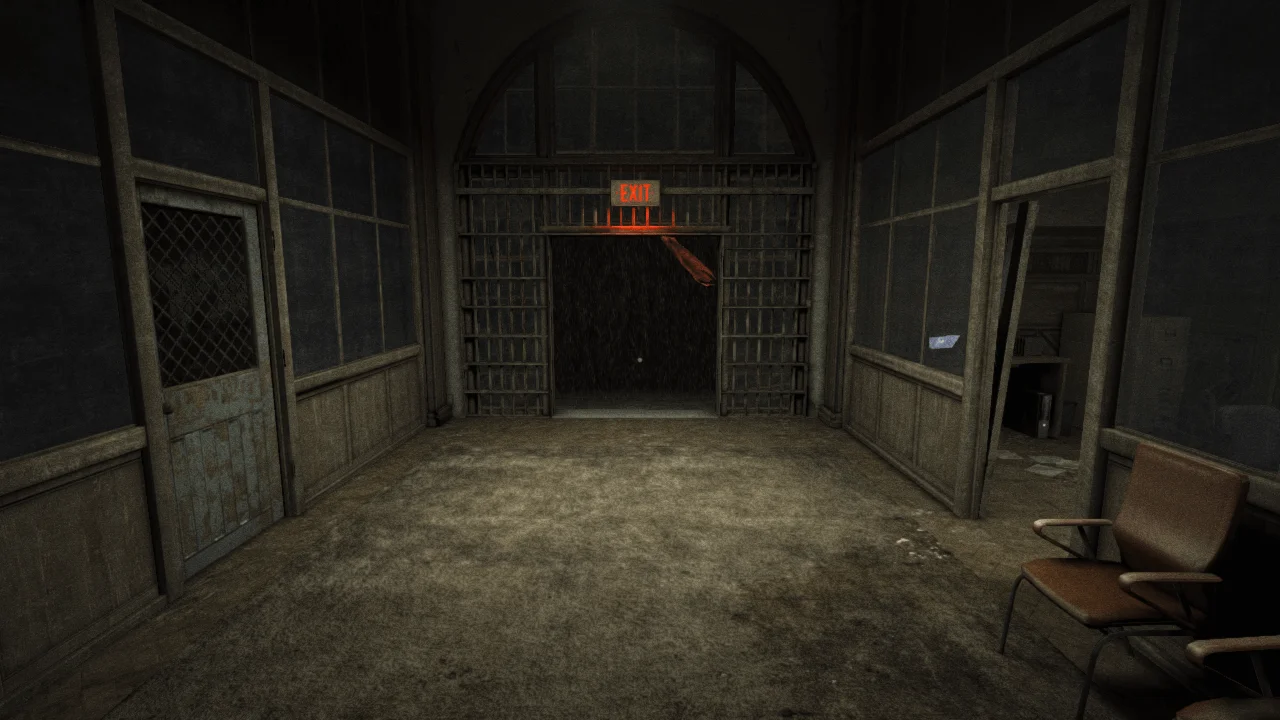
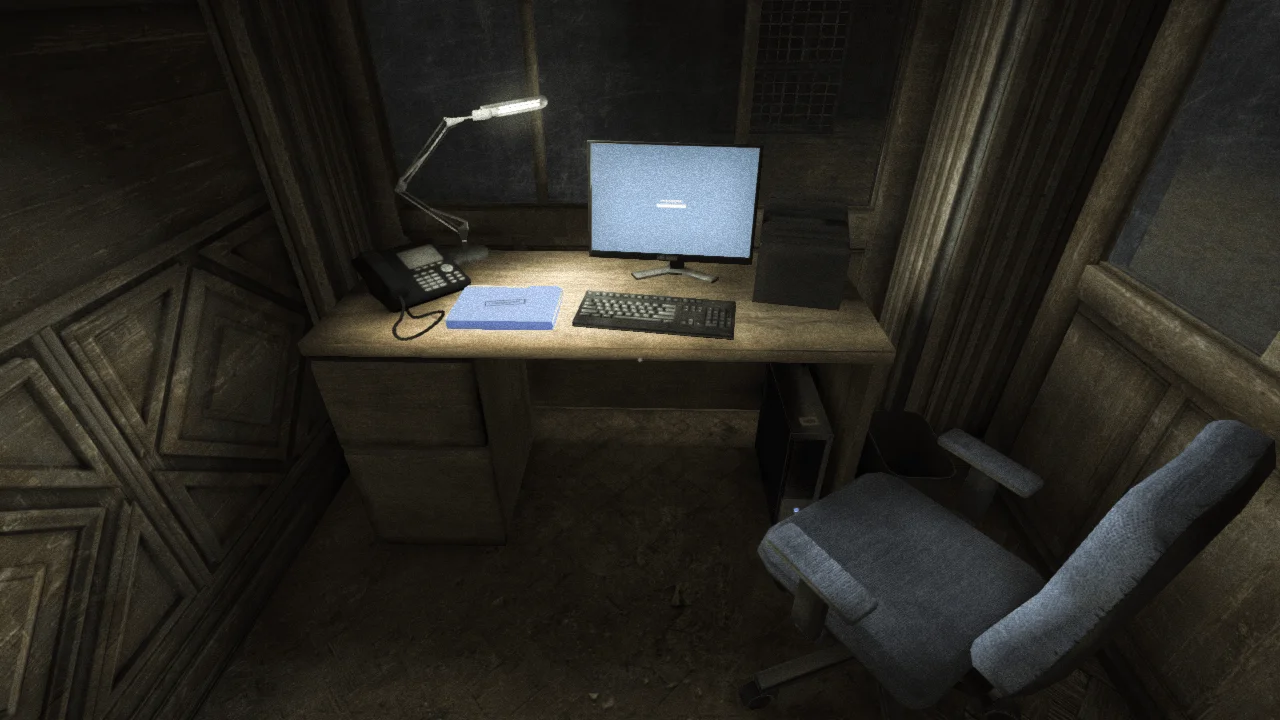
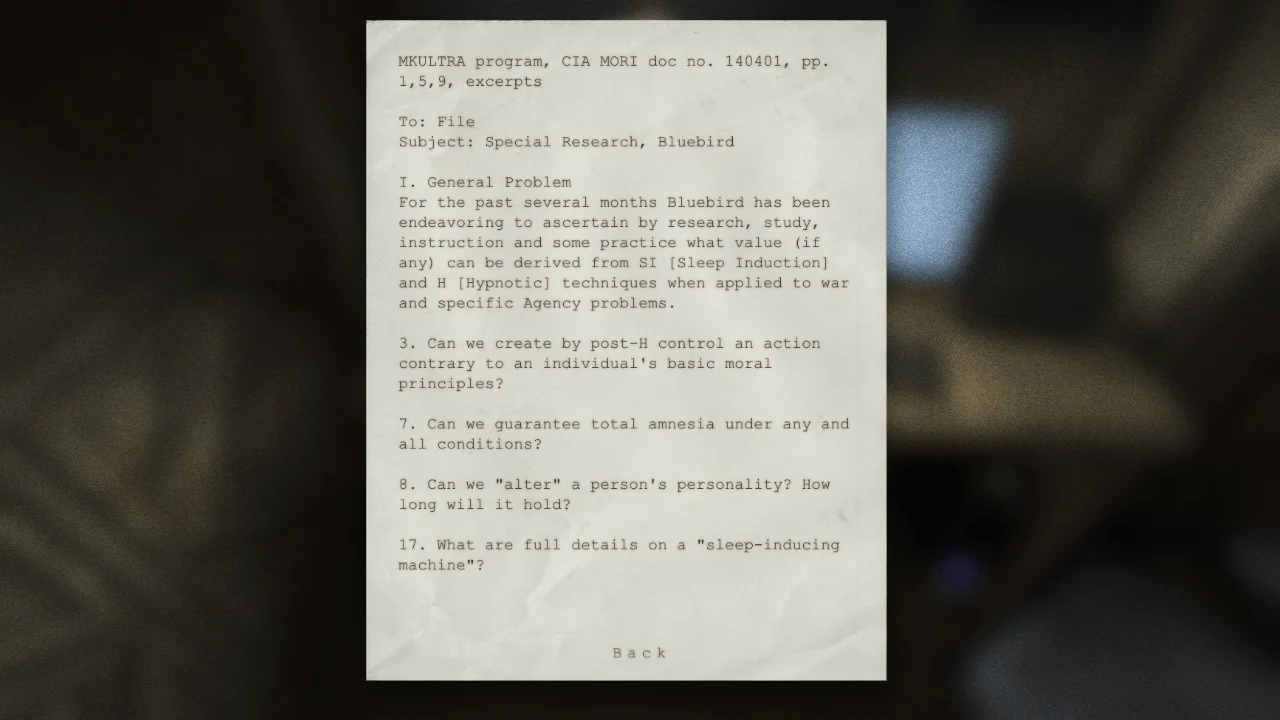
17- MKULTRA Program Excerpt
Before exiting the building, in the office to the right.
Chapter 5: Courtyard
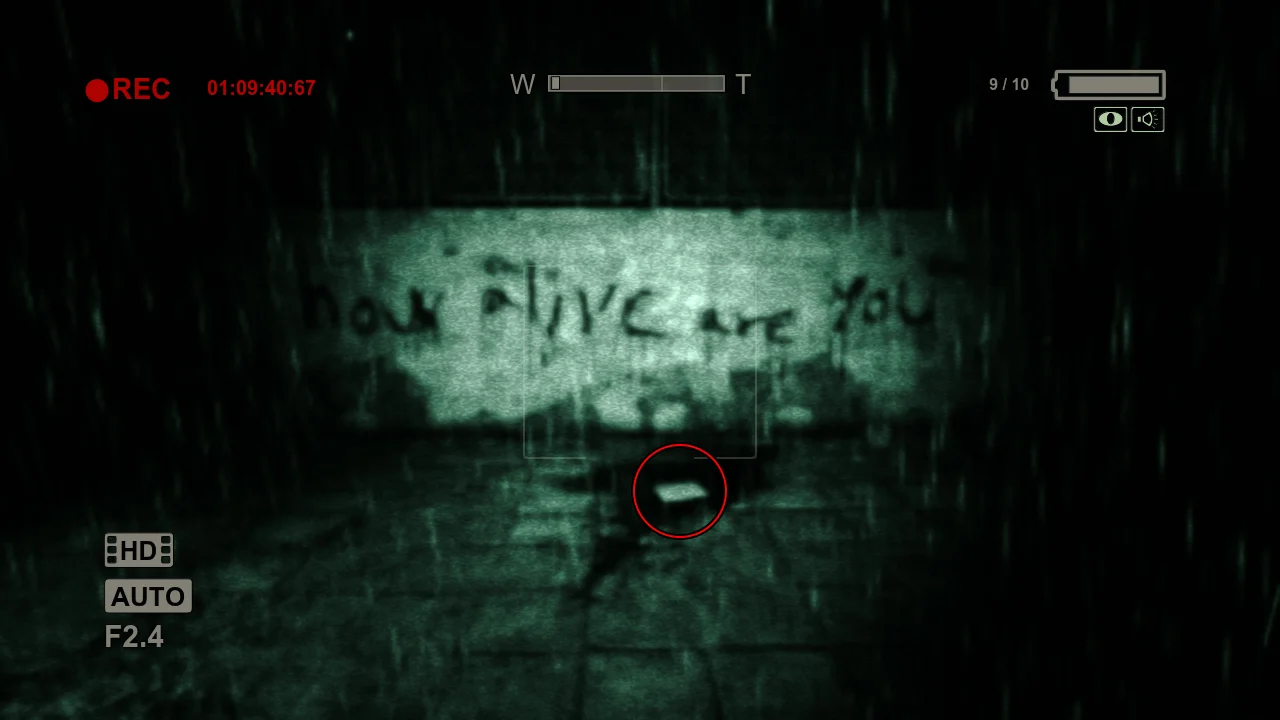
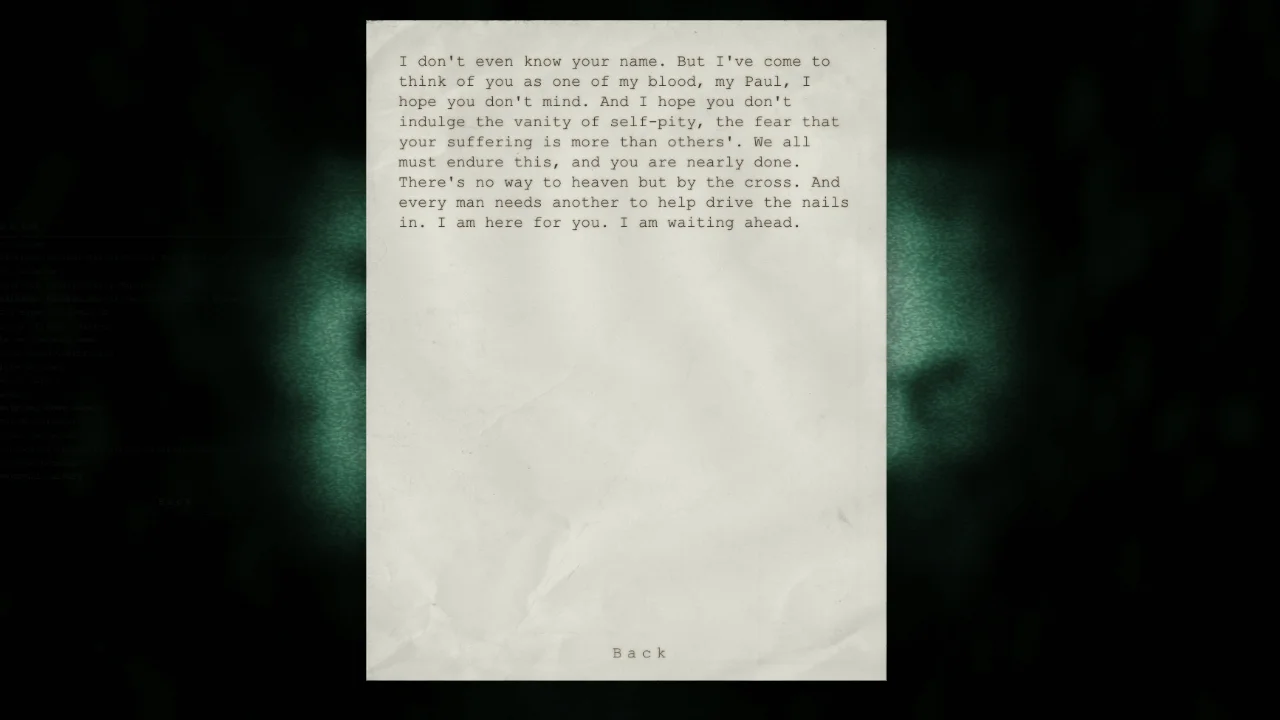
18- Our Own Personal Calvary
After exiting the building and before going through the door that needs a key, in front of the wall where it's written "How Alive Are You".
Chapter 6: Female Ward
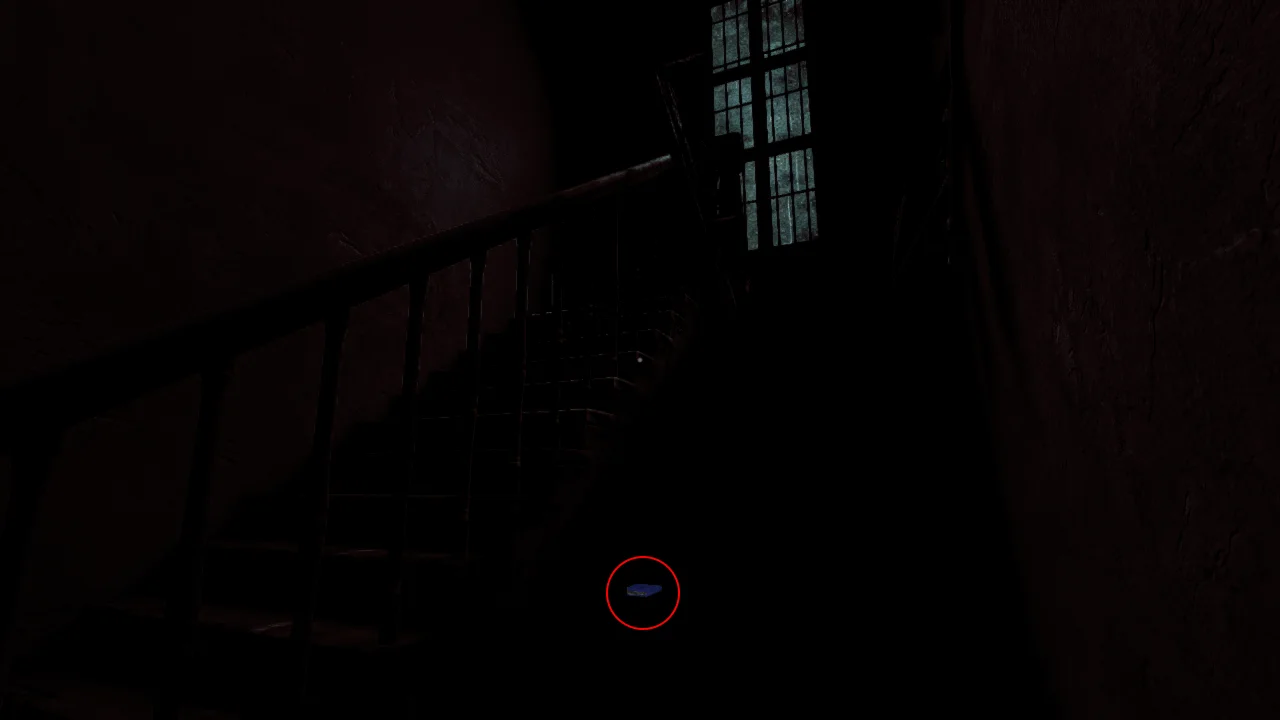
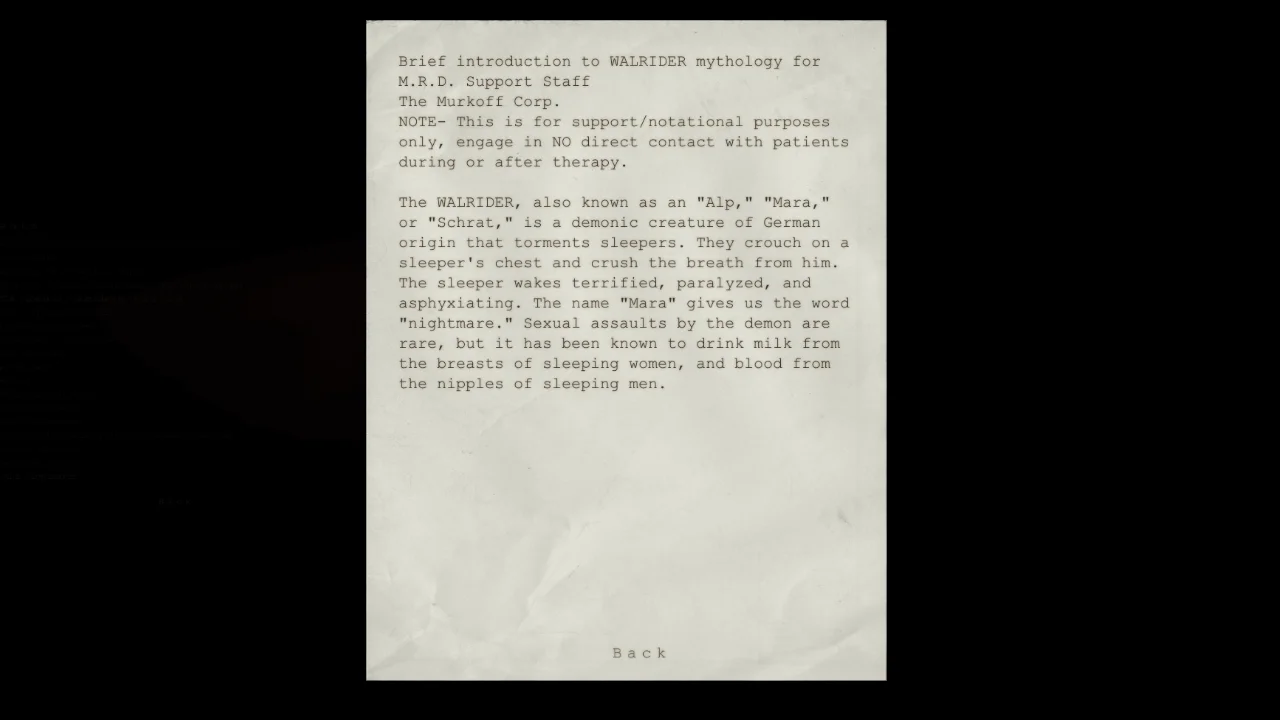
19- Walrider And Nightmares
After exiting the laundry room, go right and keep going straight until you reach the broken staircase, the document is beneath it.
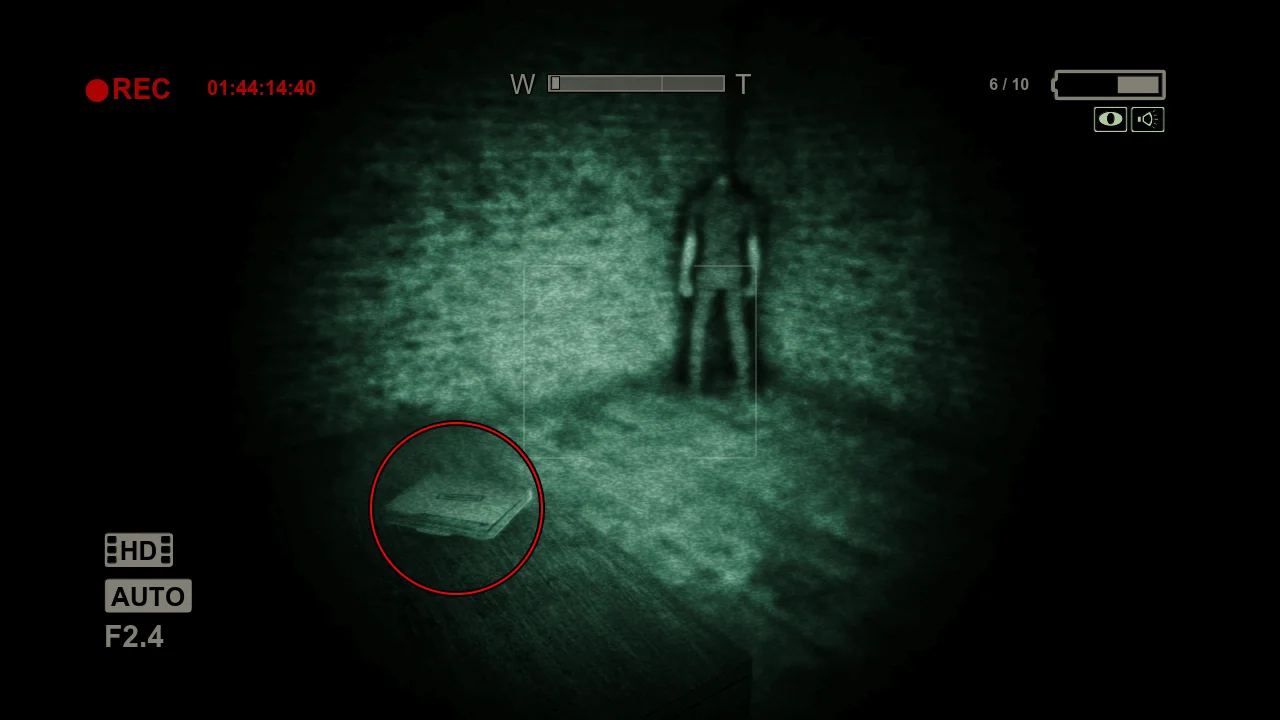
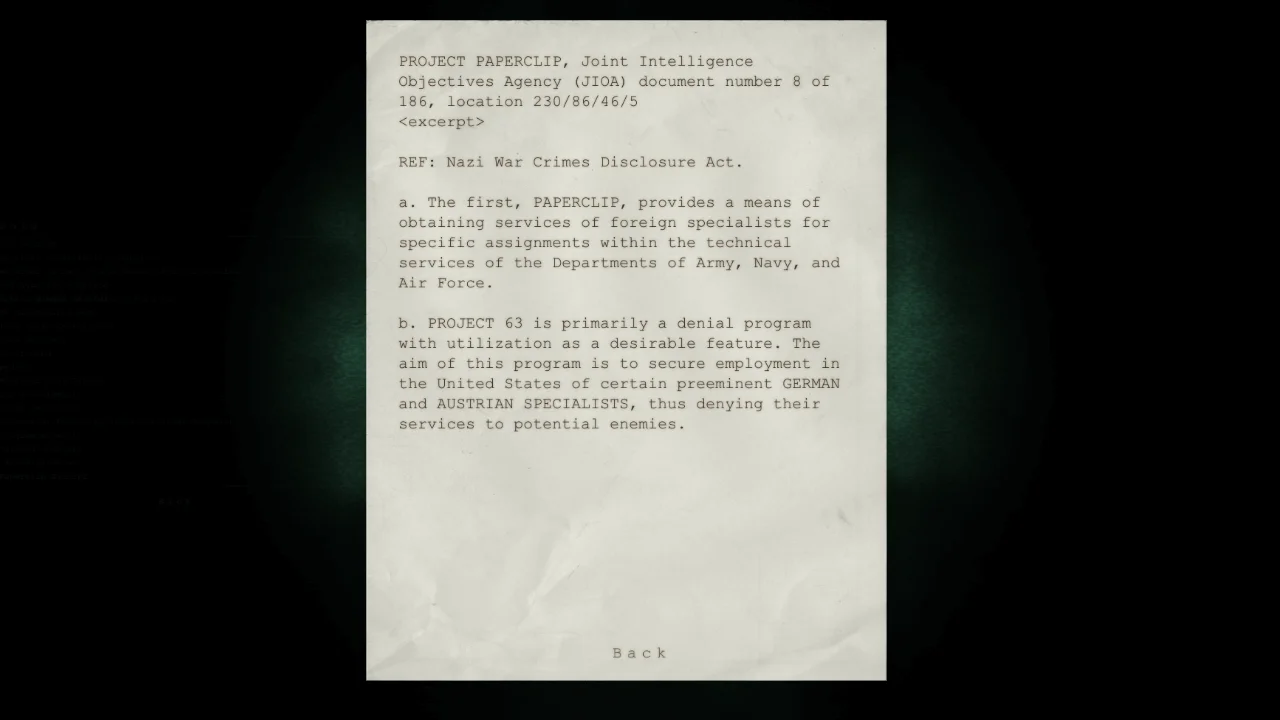
20- Project Paperclip Excerpt
After reaching the elevator past the laundry room, go to the lower floor, the document is on a desk and in front of it is a person in the corner that you shouldn't interact with.
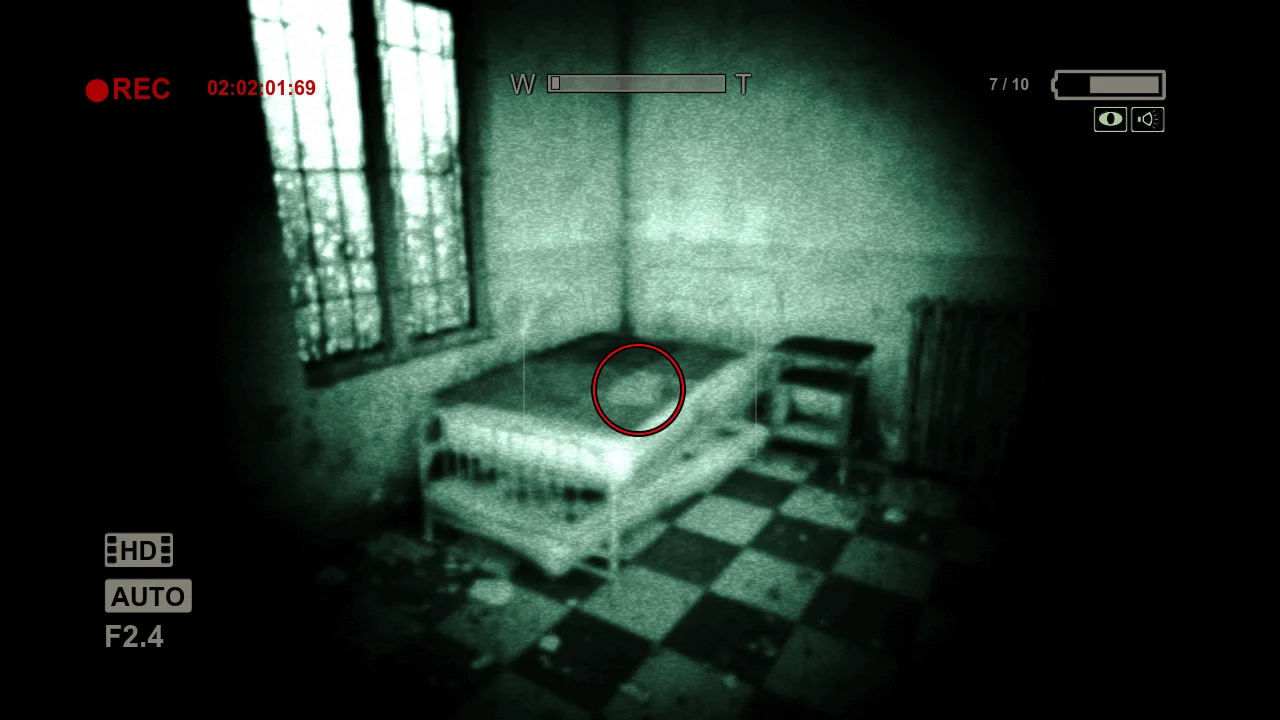
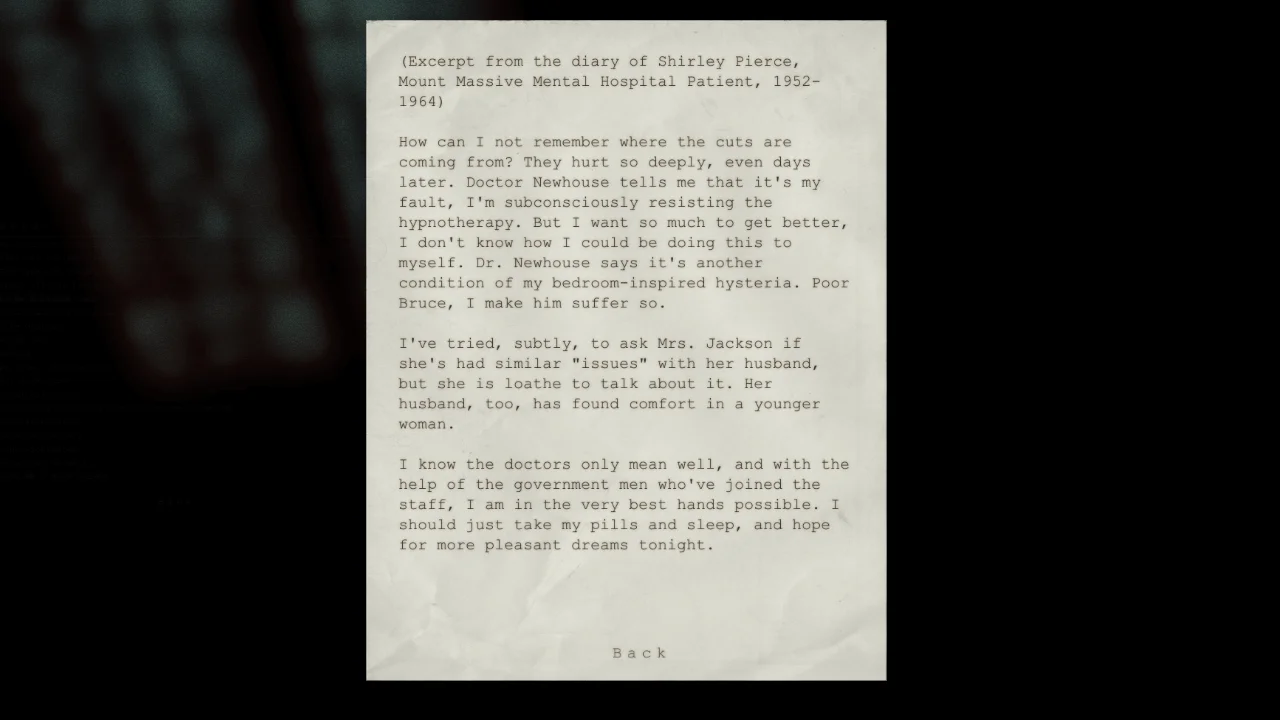
21- You Promised Me A Rose Garden
After getting the key from the laundry room to the upper floor, jumping to the room with lots of beds, falling in the hole, getting back up and going to the next room, the document is on a bed in the corner (this is before meeting the twins again).
Chapter 7: Return to the Administration Block
22- Billy's Dreams
After getting into the vent running away from pig guy and before pushing the dead corpse to get down, use the vent to go to the locked room and get the document on the desk.
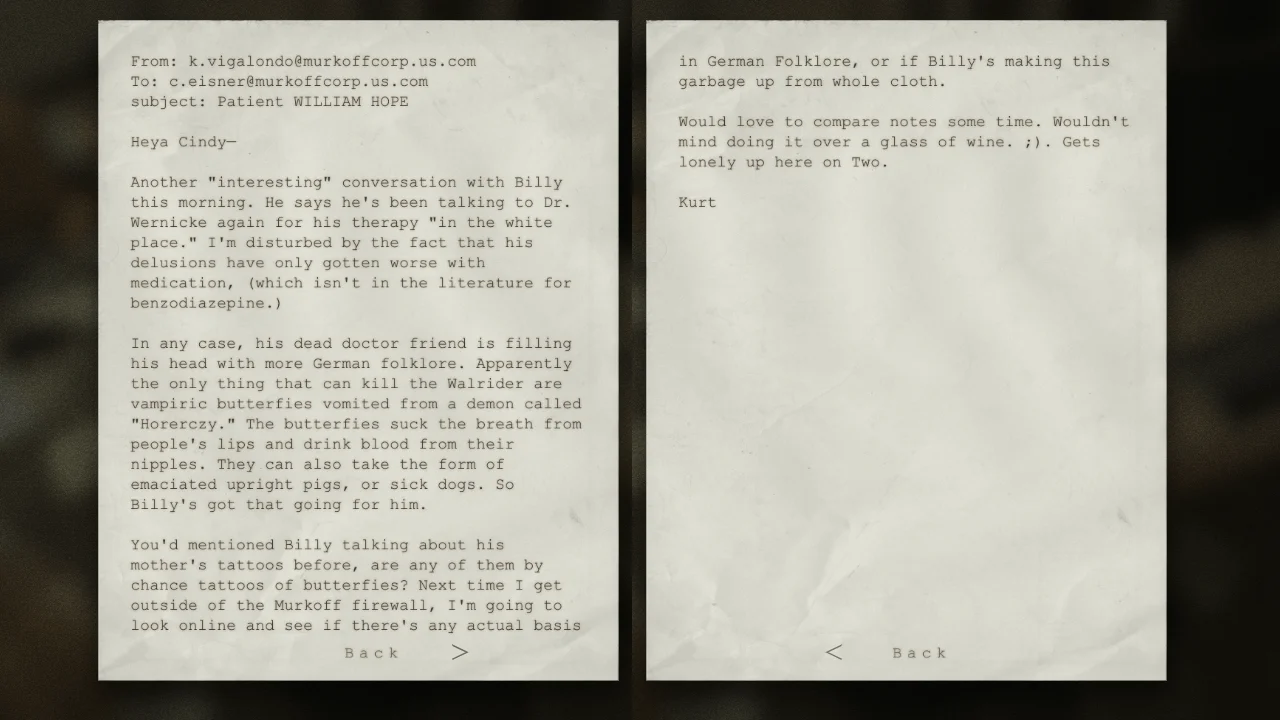
23- The Spirit Breach
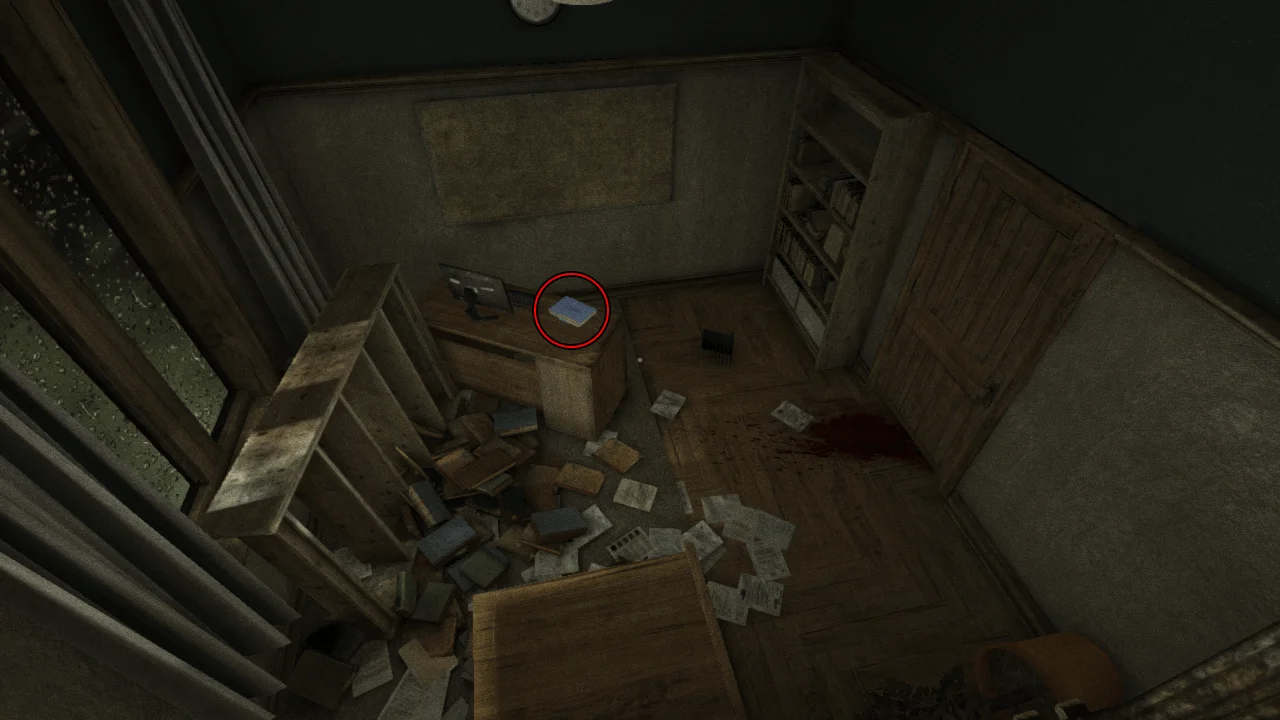
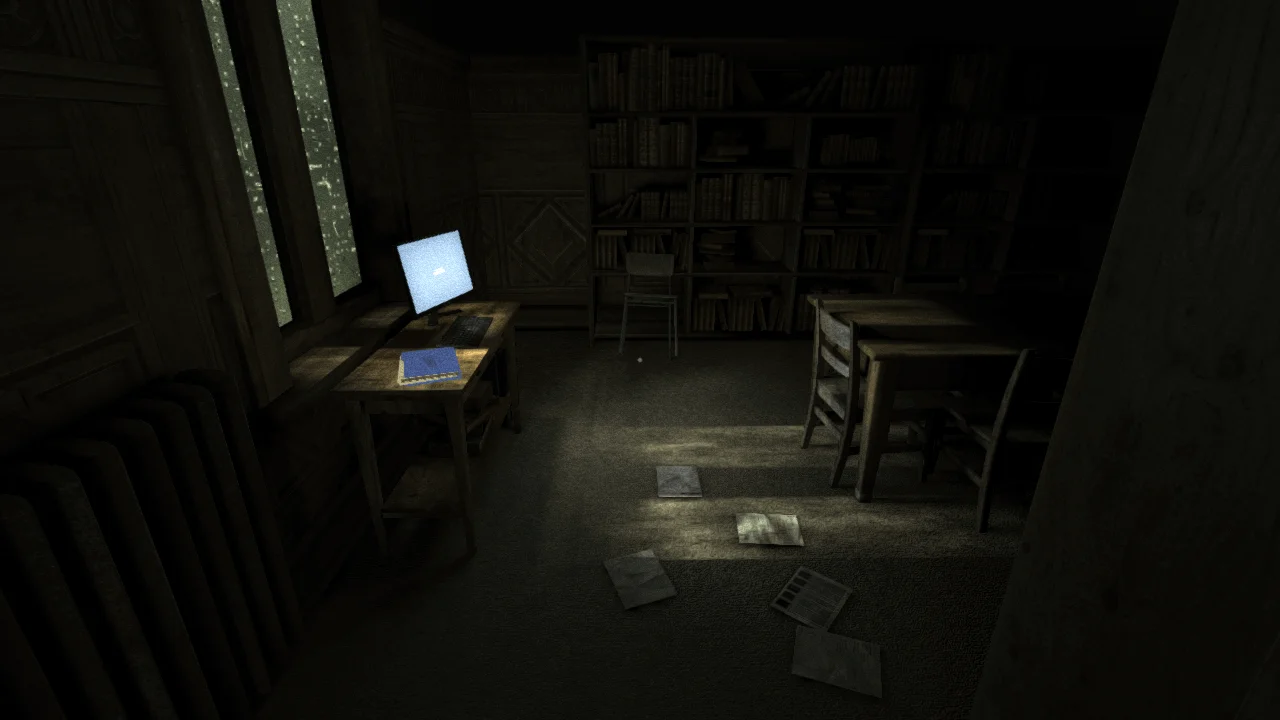
After pushing the dead corpse in the vent and getting down, go left to the library, the document is on a desk at the end.
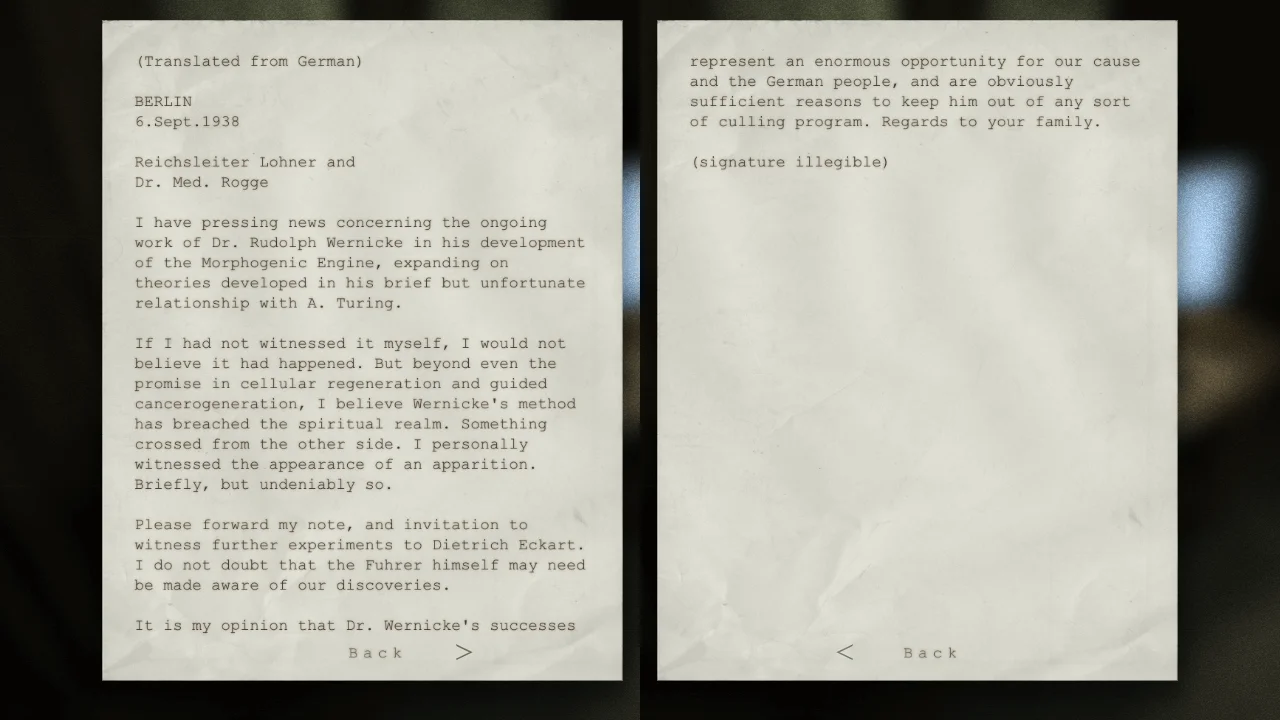
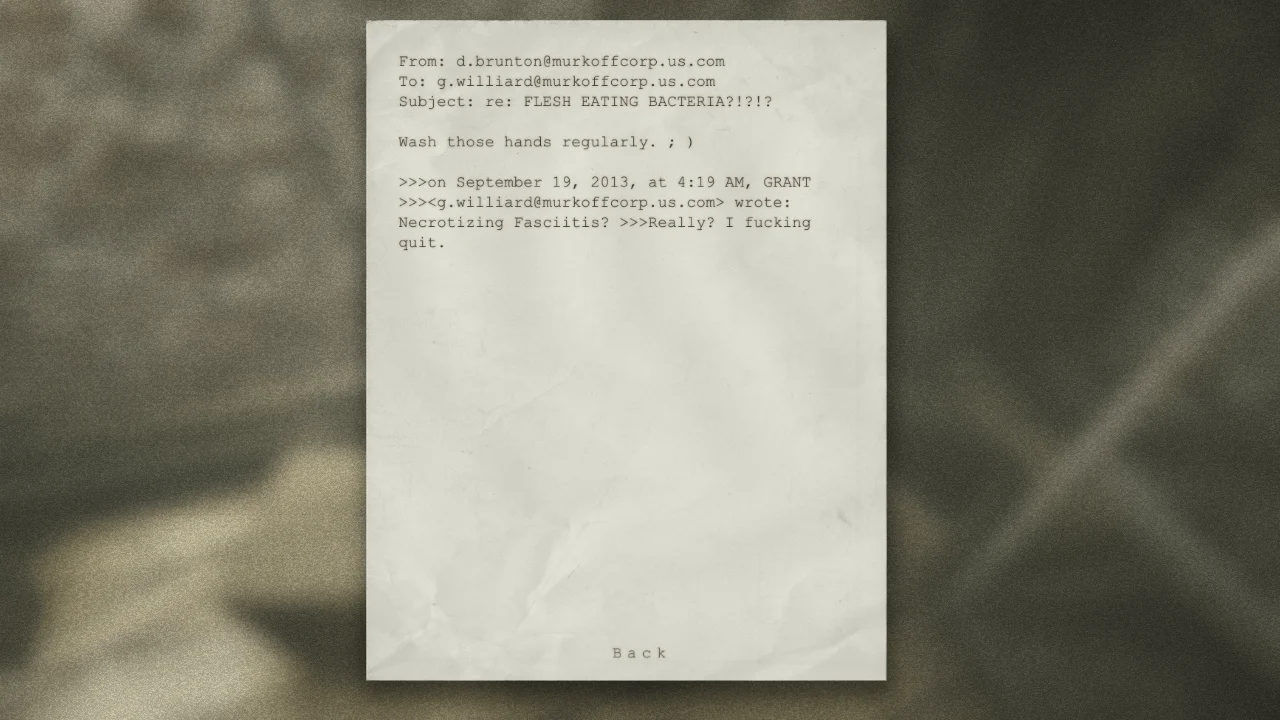
24- Necrotizing Fasciitis
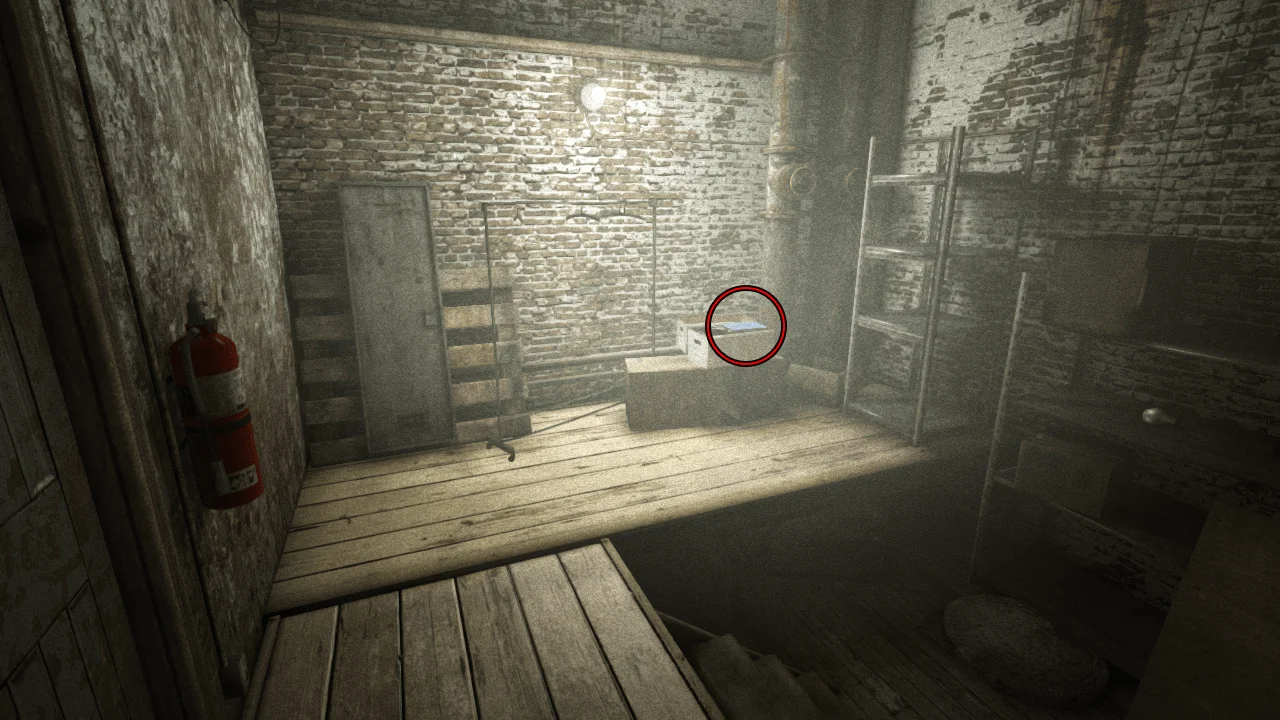
After watching the film in the theater and before going upstairs, the document is on a box.
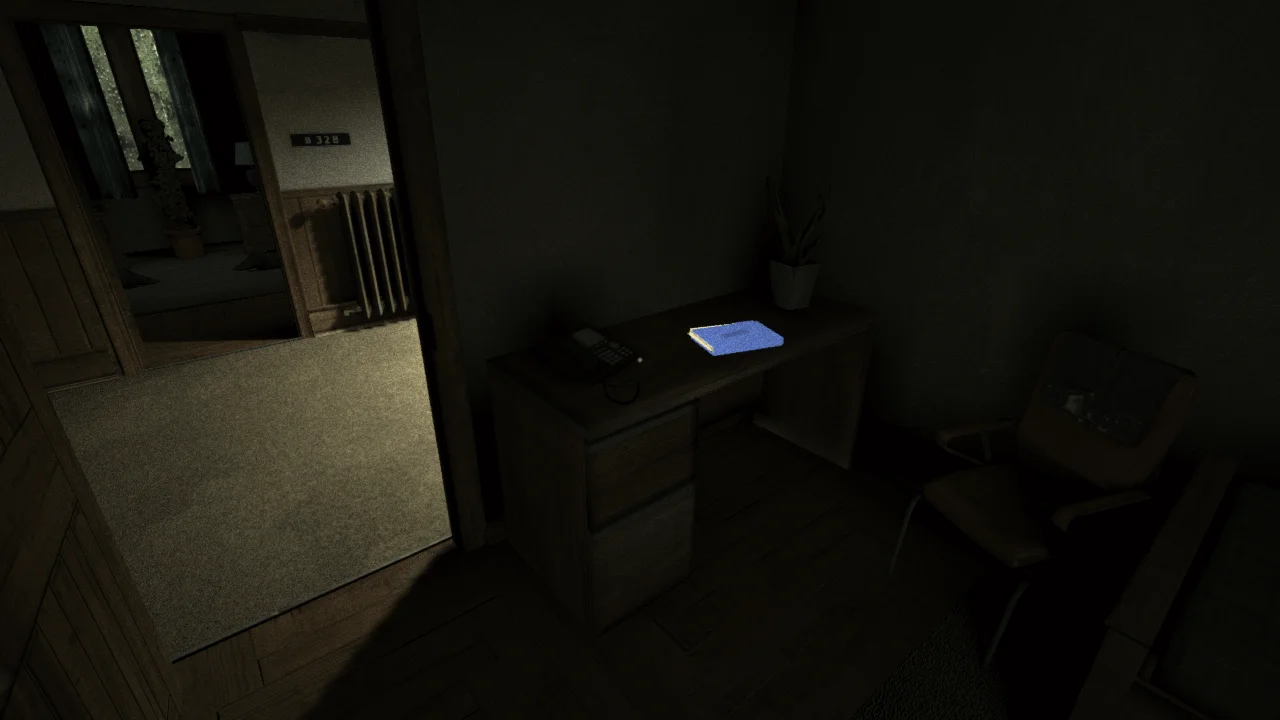
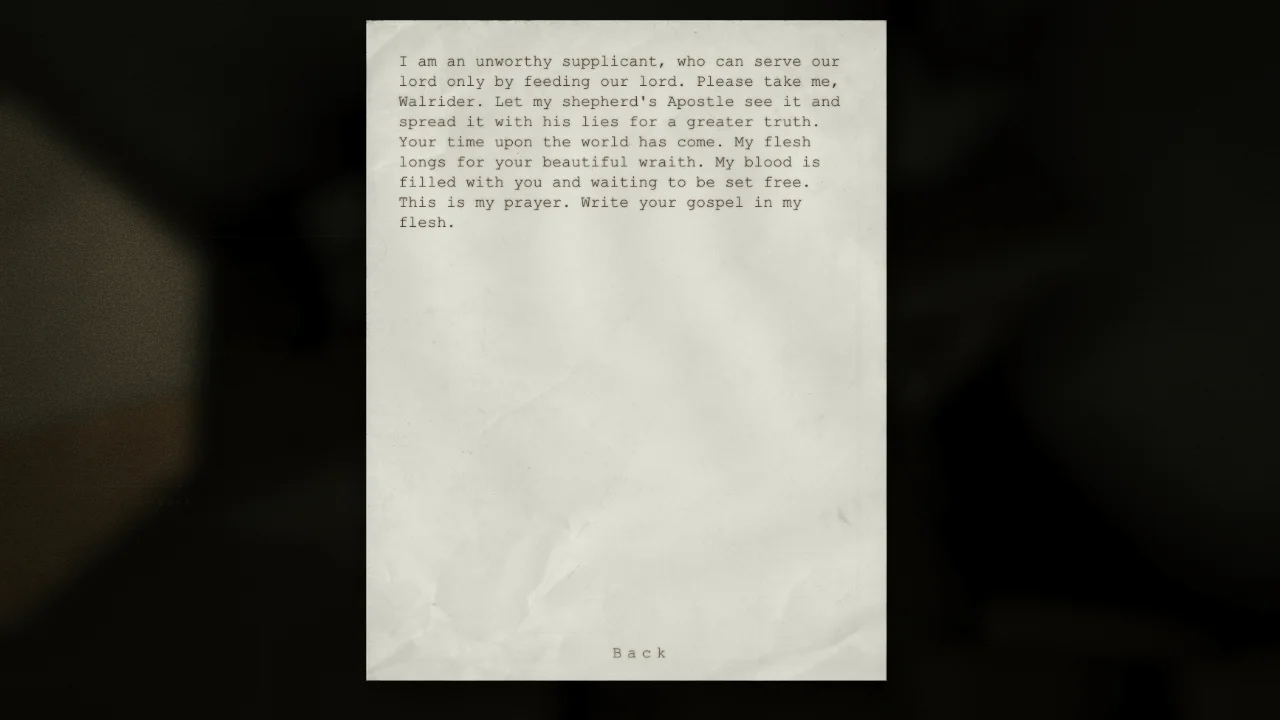
25- The Gospel Of Judas
Before using the broken window to go to the other side, in Room B 329, on the desk (this is the area where everyone is praying by their beds).
Chapter 8: Underground Lab
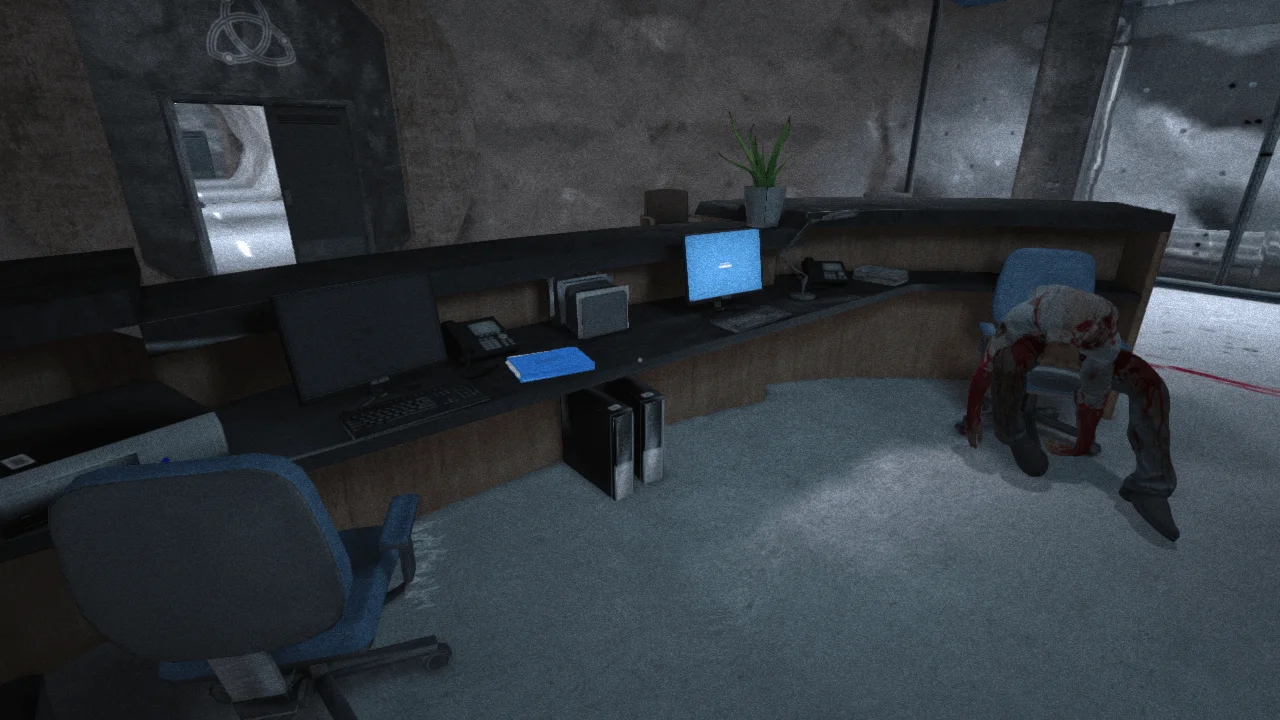
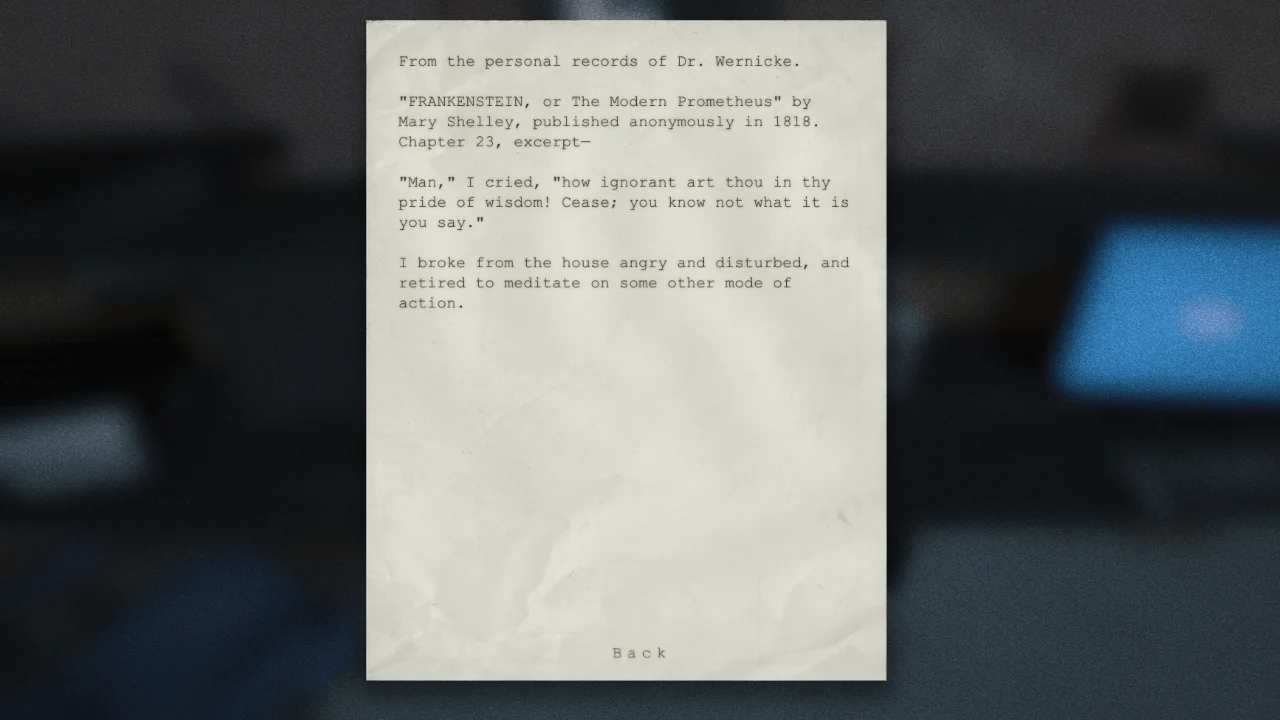
26- The Pride Of Wisdom
After reaching the laboratory, on the reception desk.
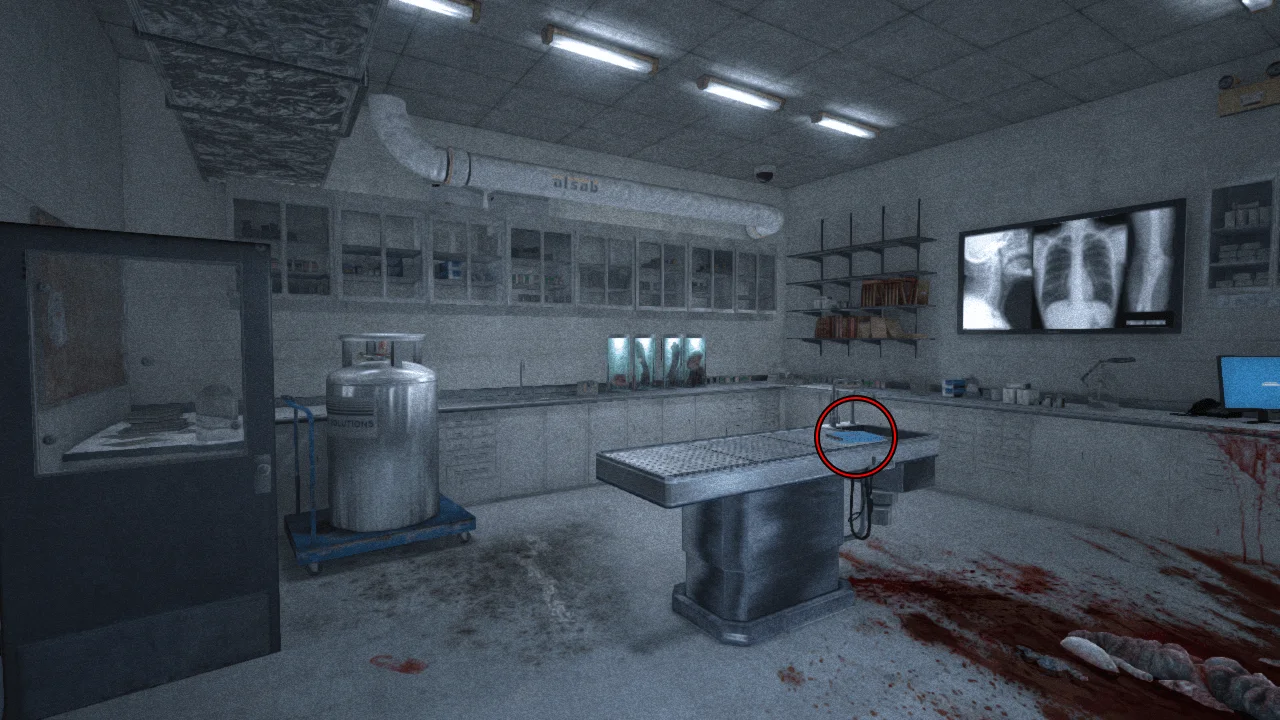
27- Variant Postmortem
Block A, Lab A 004, by the sink.
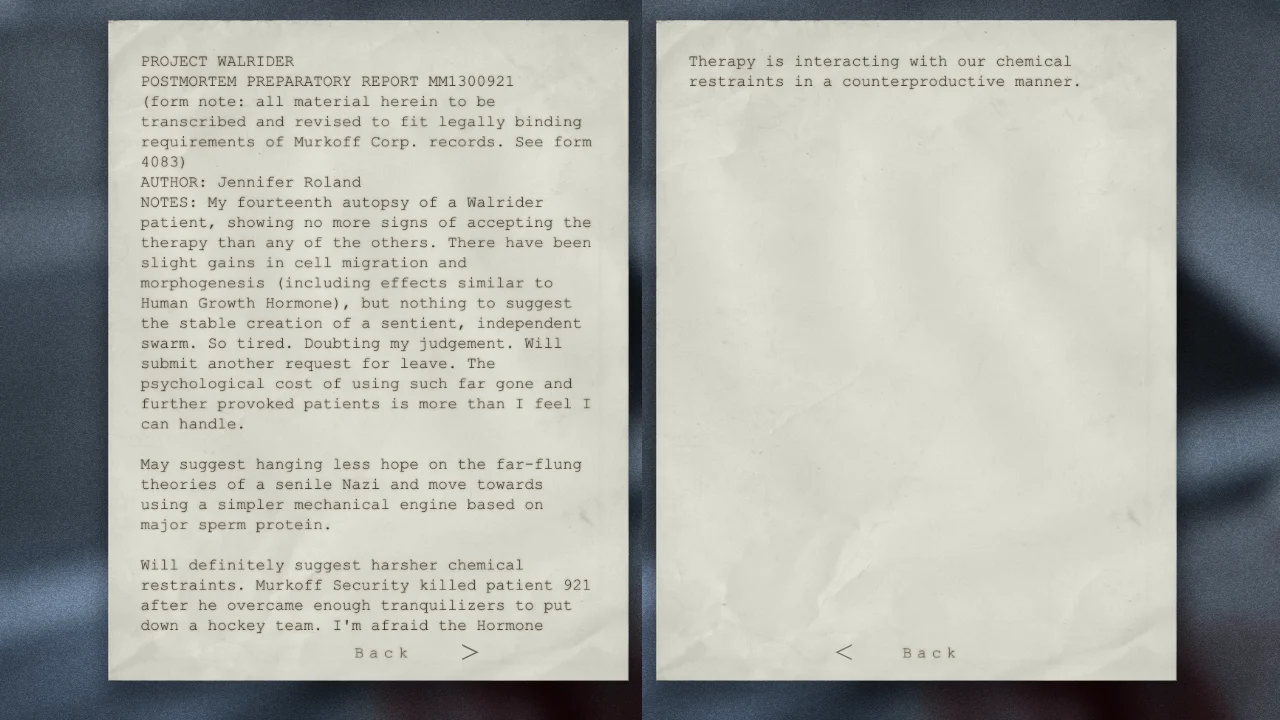
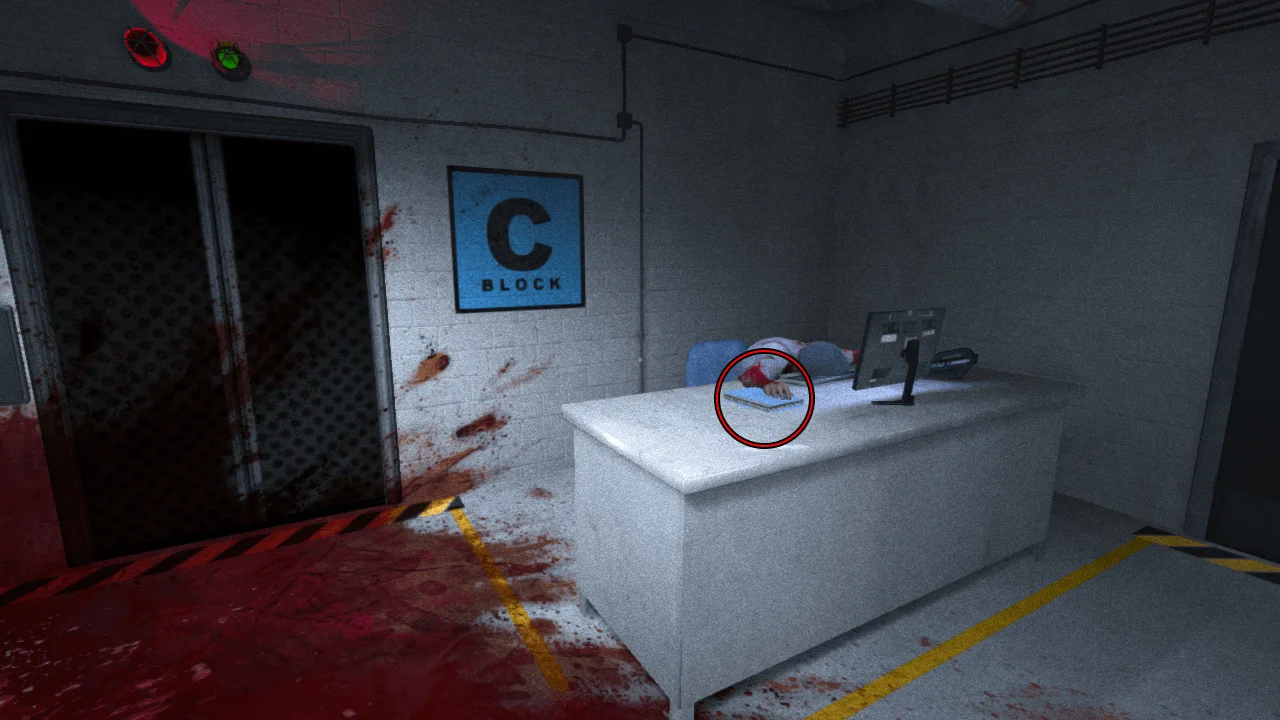
28- Gods And Monsters
After reaching Block C, on the desk.
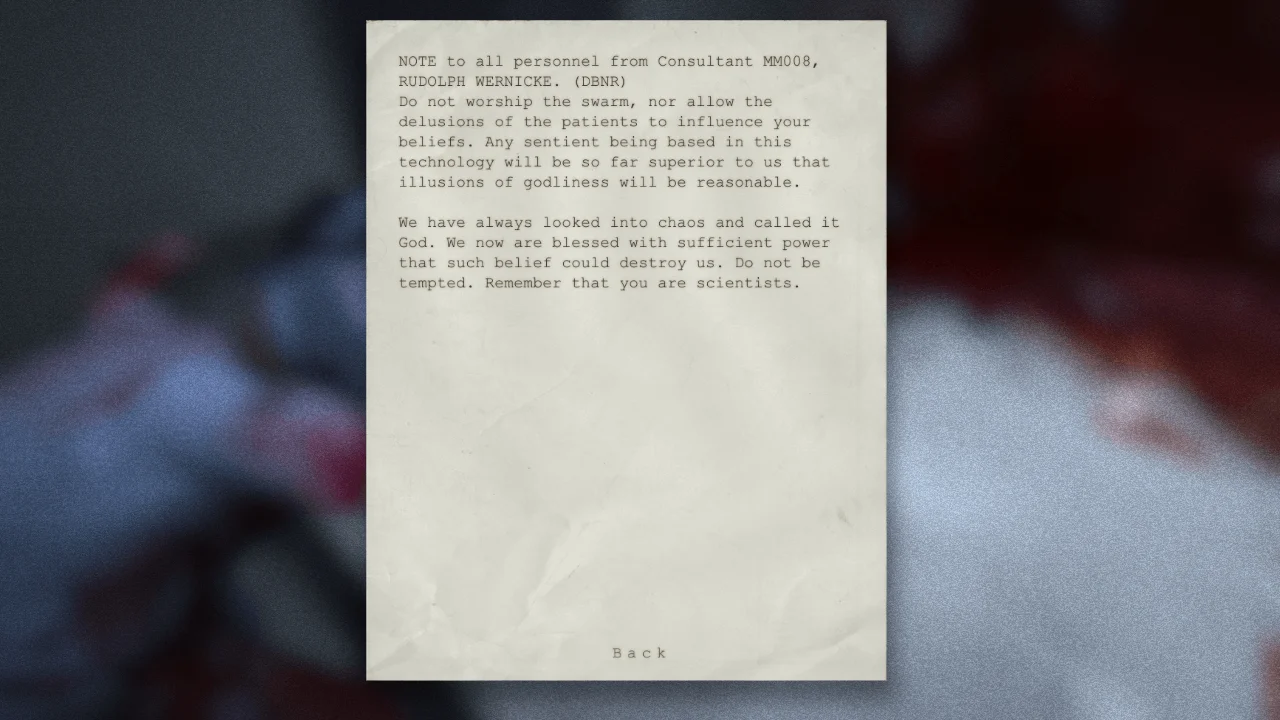
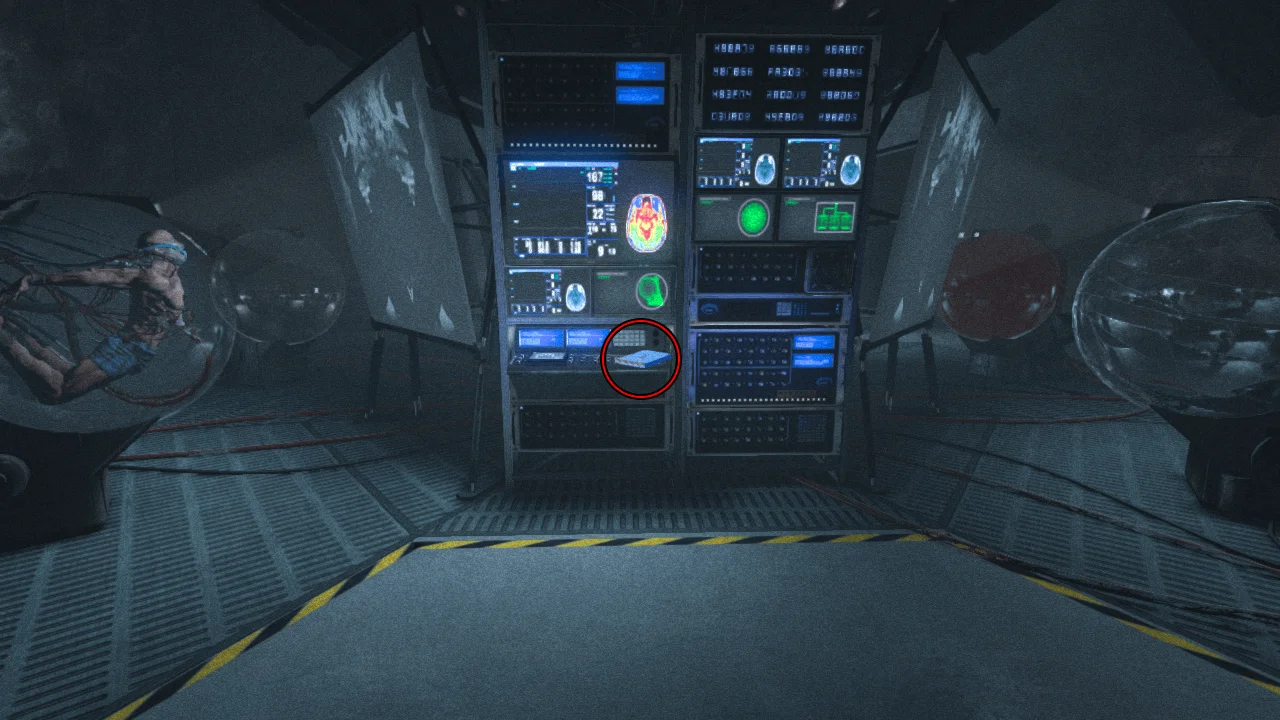
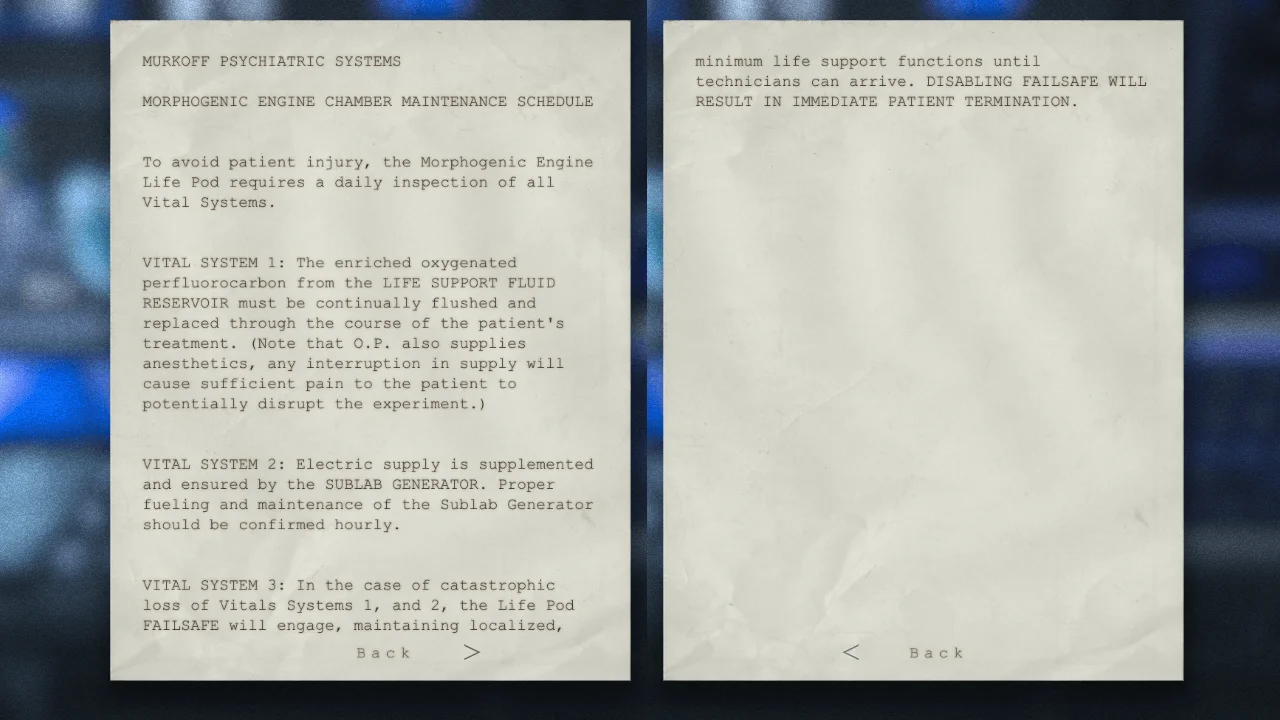
29- Morphogenic Engine Chamber Precautions
On the control panel of Wernicke's machine.
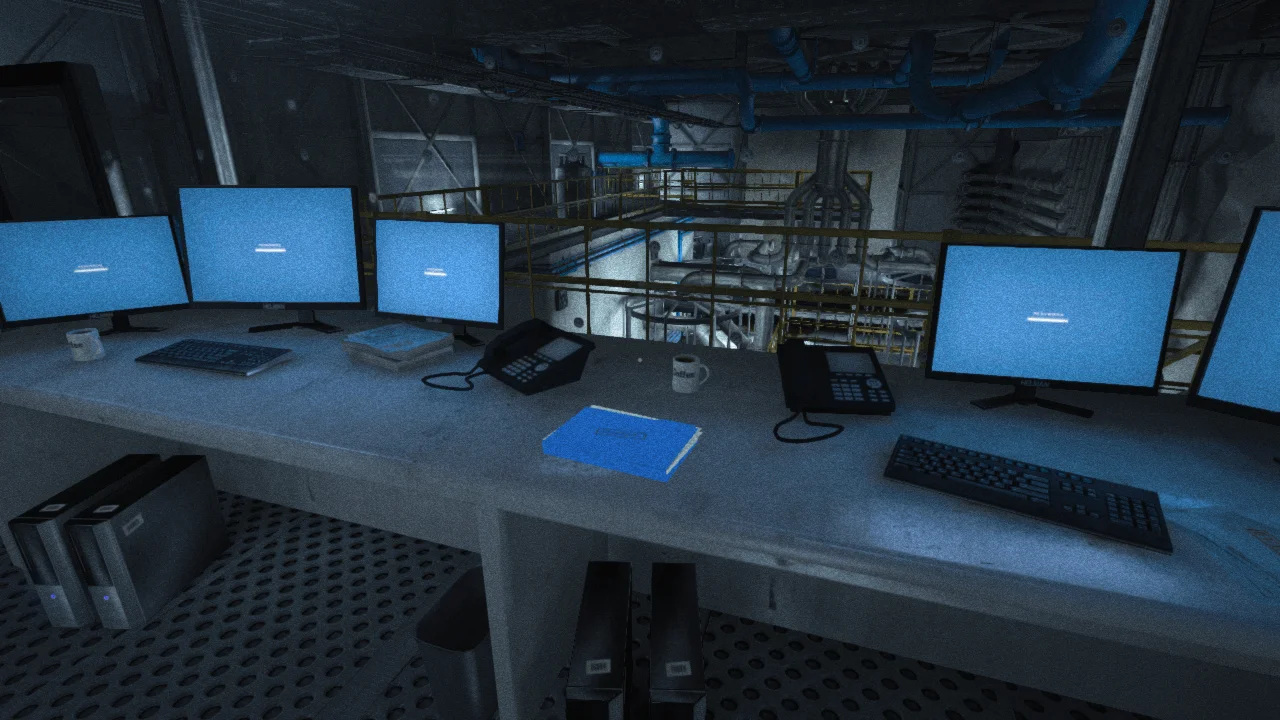
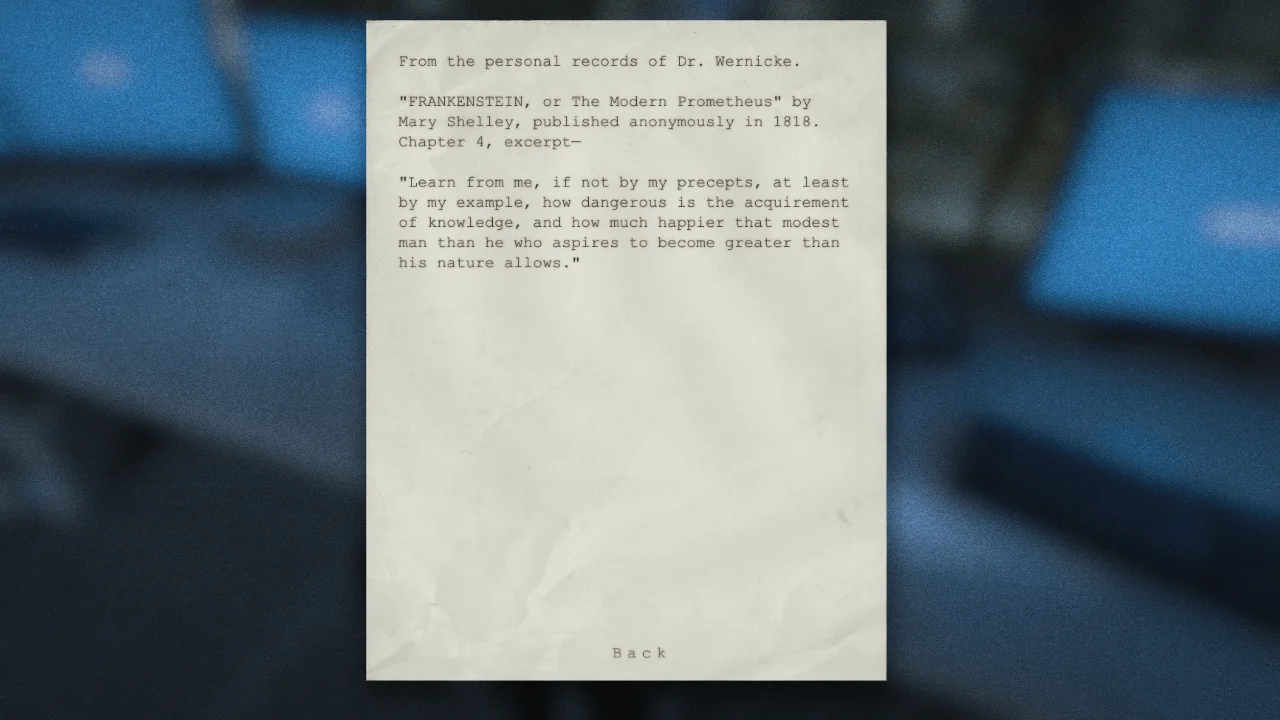
30- The Modern Prometheus
Before turning the valve for Billy's life support.
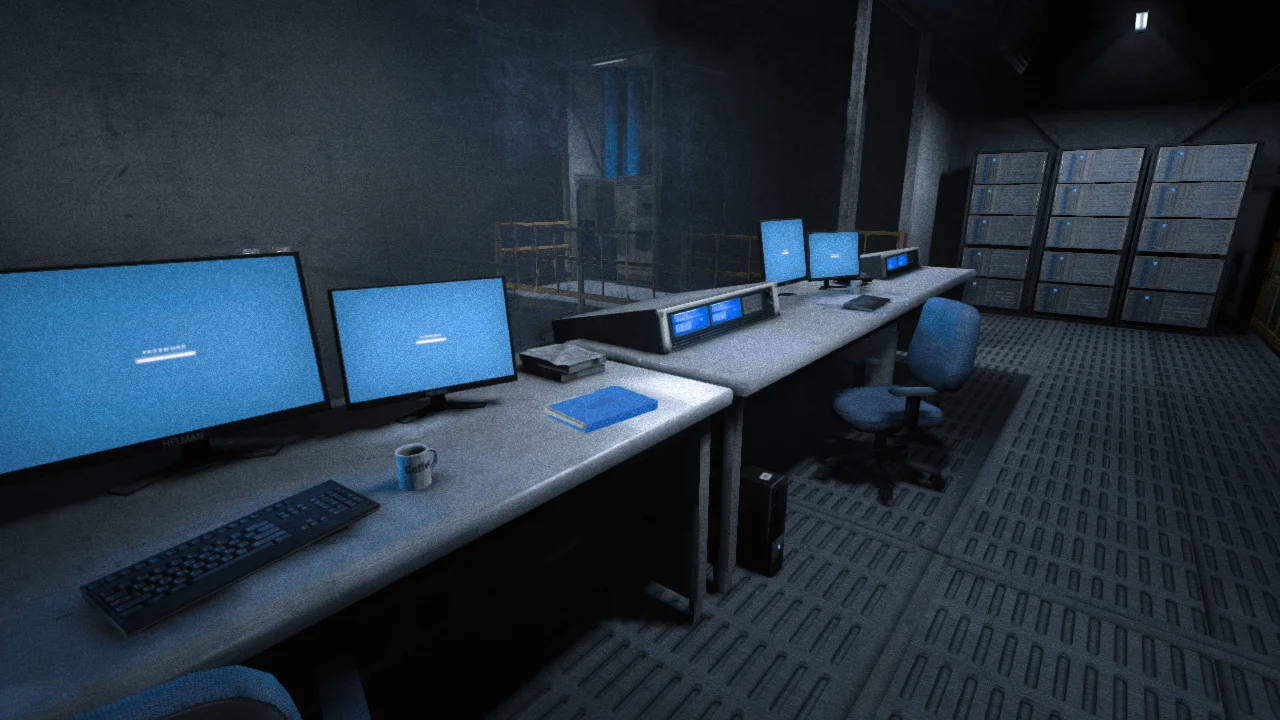
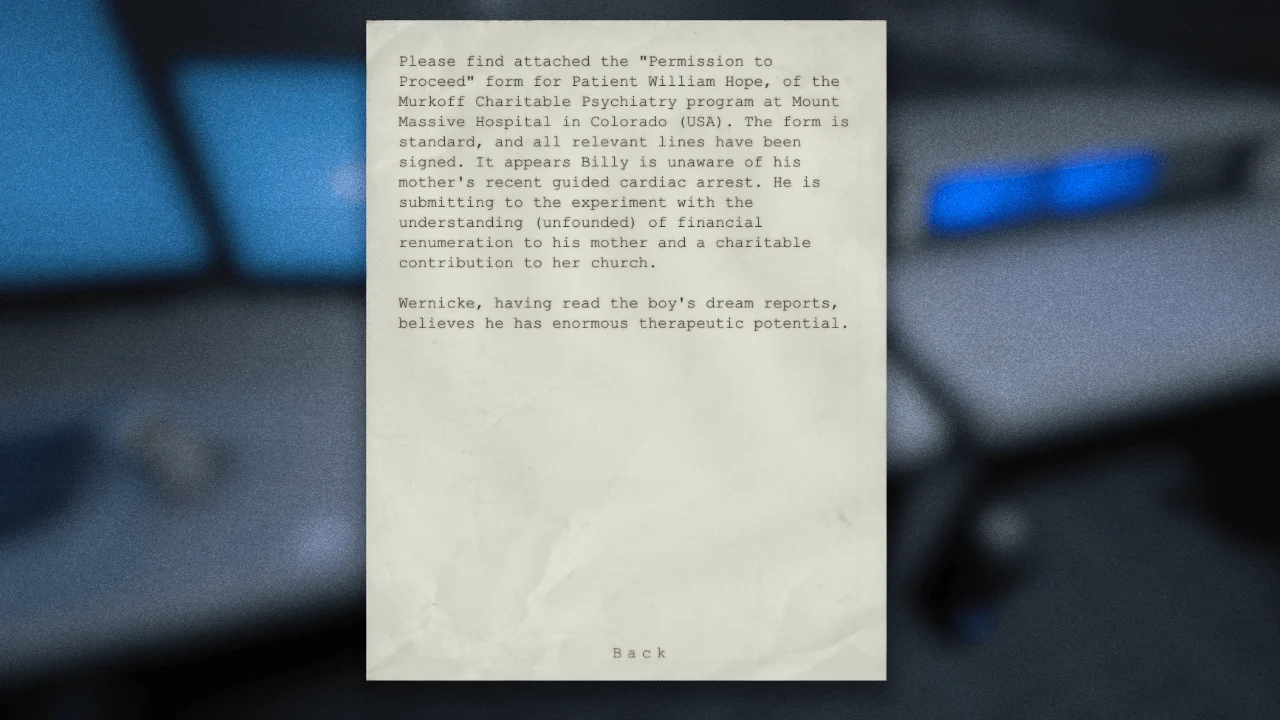
31- Permission To Proceed
Before ripping the cables of the sublab generator.
And that's all the documents in the main game.
Now, the Whistleblower DLC:
Whistleblower DLC Documents Locations
Chapter 1: Underground Lab
No documents.
Chapter 2: Hospital
1- Resignation Of Waylon Park
After getting through the gas chamber running away from the walrider, you will find it in the small room to the right of the exit door.


2- Gender Selection In Mount Massive Contractors
After picking up a key to the handcuffs.


3- God And Family
After breaking the brick wall in the furnace, go to the room to the right, the document is behind the altar on the ground.


4- Lesser Known Ecological Aspects Of Humanity
After getting the objective to turn off the gas, go through the plastic sheet then over the broken window, then go to the dark room to the right and you will find the document on a desk.


5- Project Walrider Patient Status Report For Frank Manera
When you reach this lab after running away from the cannibal using the vent, the document is by the sink.


Chapter 3: Recreation Area
6- The Walrider Delusion
You will at some point meet the twins, after that, you will pass through a basketball court and use a ladder to go up, the document is inside the booth at the top.


Chapter 4: Prison
7- Miscarried Profits
After passing by the priest writing on the wall and going down the hole, get in the room beside you where 2 inmates are locked in their cells screaming, the document is on the desk.


Chapter 5: Drying Ground
8- The Groom
After jumping out of the window running away from pig guy, get down then get inside the workshop from its open window, the document is on the ground by the patient.


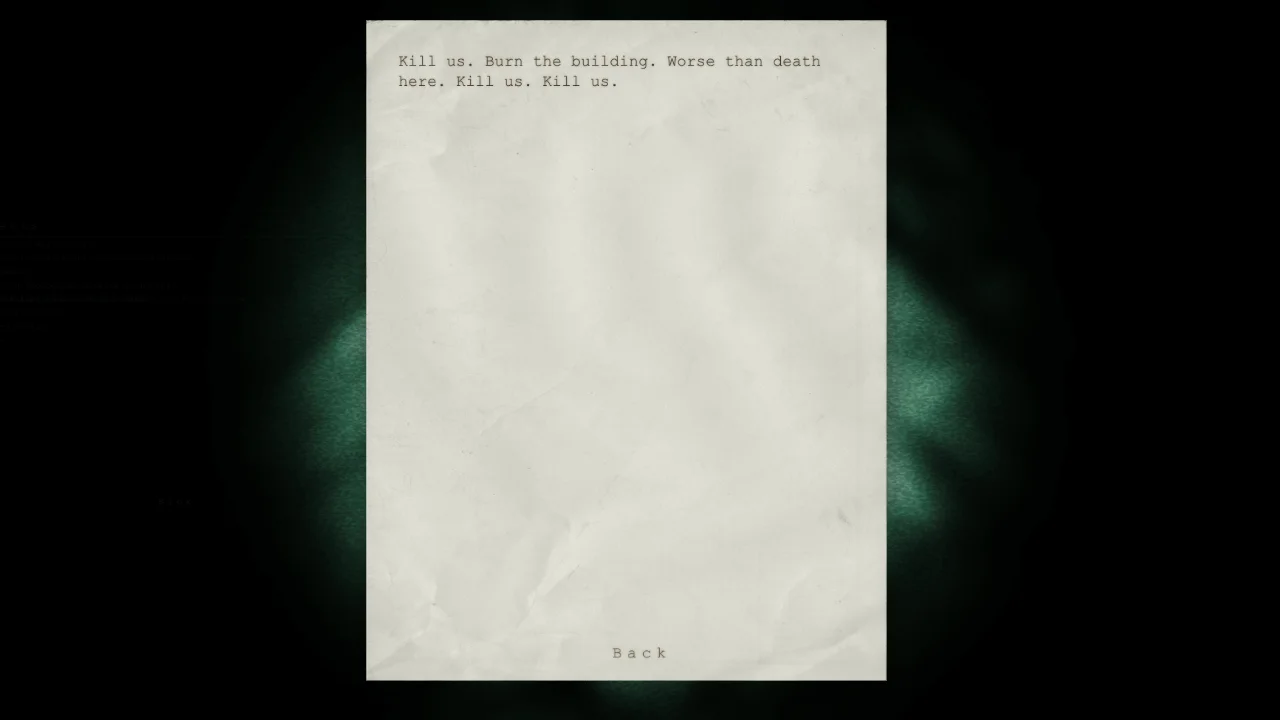
9- Kill Us
At some point you will reach an area with and electrical fence, in front of you is a church and the document is inside by its locked door.


Chapter 6: Vocational Block
10- Patient Dennis
While in the attic, past the hanging body and before pushing aside the unit, the document is in the dark by a bed at the end.


11- Project Walrider Patient Status Report For Eddie Gluskin
After jumping out of the window running away from Gluskin, the document is by the fountain.


Chapter 7: Exit
12- Beyond Hope
After passing by the soldiers surrounding Trager and hearing the order for them to shoot anything that moves, you will find the document in a side office to the right on your way.


13- Three Blind Dreamers
After going through a long hallway where you could see the burning church again, you will go through a room with a dead tv, after getting out of it, check the open dark room to the right, the document is on the table.


The End
Was this guide helpful?
Consider supporting us as these guides take a lot of time to make by following us on Twitter/X or our Other Socials.
Thank you.


